Installation requirements: Debian 9, Ubuntu 18–22, PopOS, CentOS 7. The Agent is available on the following billing plans: **Safe Family, Pro, Pro Plus,** and archived **Safe@Home, Safe@Office**.
#### Getting Started 1\. Log in to your SafeDNS account with your registration email and password. 2\. Navigate to the **Getting Started** tab on the main page of the **Dashboard** and select the Linux button. Choose and download the needed package: .**rpm** or .**deb**. [](https://docs.safedns.com/uploads/images/gallery/2024-08/Q3kh72Gu7GAAPf32-1-agent-for-linux.png) --- #### .rpm package Use the following command for the installation from the Terminal app:sudo rpm -Uvh /home/user/Downloads/safedns-agent-1.3.1-x86\_64.rpm
Please note, that the path to the file and/or package name might be different. --- #### .deb packageFor experienced users. You can use this command to install from the Terminal app:
sudo dpkg -i /home/user/Downloads/safedns-agent-1.3.1-x86\_64.deb
Please note, that the path to the file and/or package name might be different. 1\. Open the “Downloads” folder: [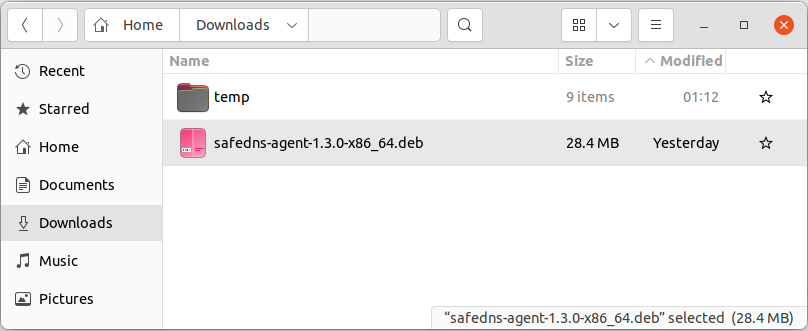](https://docs.safedns.com/uploads/images/gallery/2022-08/HVvgRZxYFe53qLBa-2-safedns-agent-for-linux-setup-guide.png) 2\. Run the downloaded file and install the Agent. Enter the Admin password if prompted. [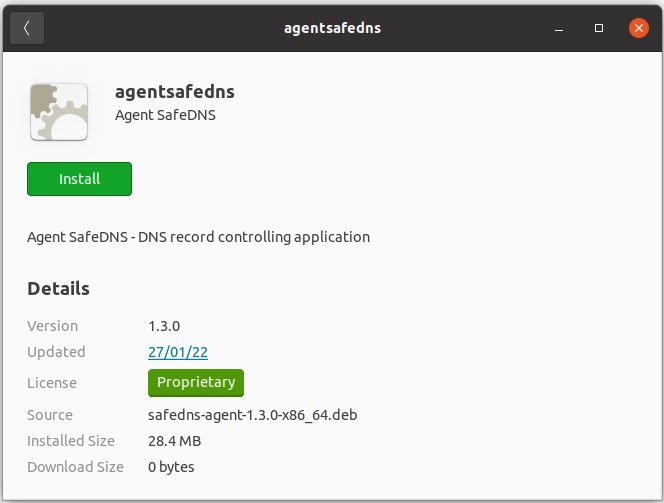](https://docs.safedns.com/uploads/images/gallery/2022-08/FS0RiJsxaIqAI8vD-3-safedns-agent-for-linux-setup-guide.png) 3\. You will see the following window once the installation finishes: [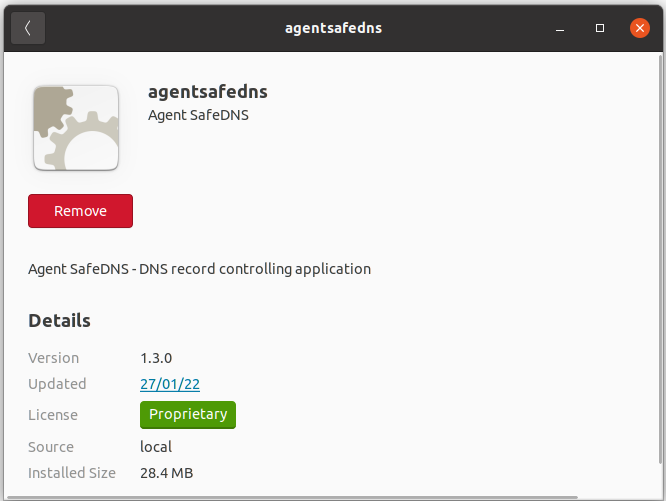](https://docs.safedns.com/uploads/images/gallery/2022-08/yw203JCrHYfnFVzy-4-safedns-agent-for-linux-setup-guide.png) --- ### Agent Setup 1\. **Restart your system.** The Agent icon will appear in the system tray. 2\. Open the Agent by clicking on the icon in the system tray. [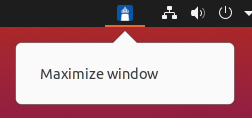](https://docs.safedns.com/uploads/images/gallery/2022-08/izt2g2YelRWKgcO4-5-safedns-agent-for-linux-setup-guide.png) **!**On **Debian 9,** click on the black line in the bottom right corner, if the tray icon is hidden. [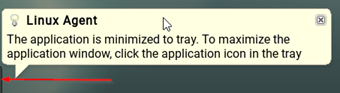](https://docs.safedns.com/uploads/images/gallery/2022-08/TDKs5dzNnjhmccGF-6-safedns-agent-for-linux-setup-guide.png) 3\. Enter your SafeDNS account credentials in the opened window. [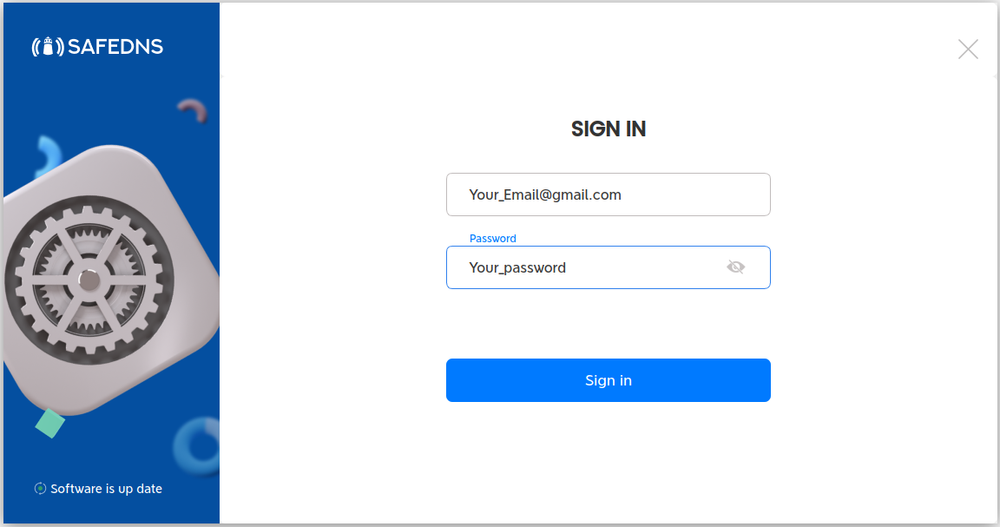](https://docs.safedns.com/uploads/images/gallery/2022-08/vF0cquBQSFeDSXuA-7-safedns-agent-for-linux-setup-guide.png) 4\. Set up the security PIN that will be used later to restrict access to the Agent: [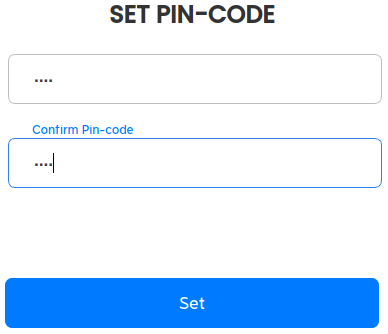](https://docs.safedns.com/uploads/images/gallery/2022-08/hNSAFymCcphNmIkj-8-safedns-agent-for-linux-setup-guide.png) 5\. Enter the PIN once again to sign in to the Agent: [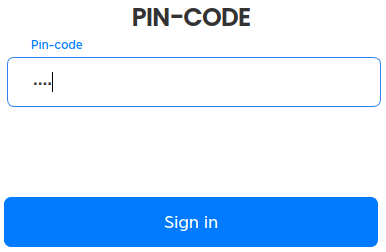](https://docs.safedns.com/uploads/images/gallery/2022-08/PDw0sl1xAaGuRc5k-9-safedns-agent-for-linux-setup-guide.png) --- ### Agent Overview The main window of the Agent. Here you can view your account information, current IP address, your Billing Plan, and Subscription expiration date. Use the Policy menu to view and change the current filtering Policy. [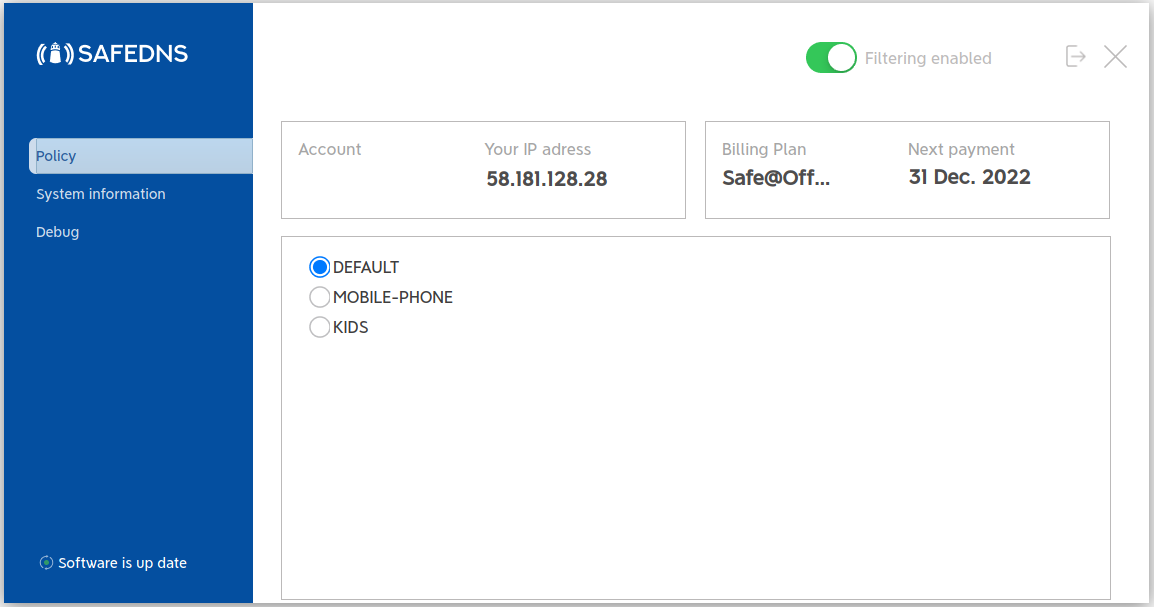](https://docs.safedns.com/uploads/images/gallery/2022-08/bhn8pTmowq1cAM1w-10-safedns-agent-for-linux-setup-guide.png) The system information menu shows brief information about the Agent, current filtering policies, and the network interfaces. The information in this menu can be copied to the clipboard by clicking the "Copy to clipboard" button. [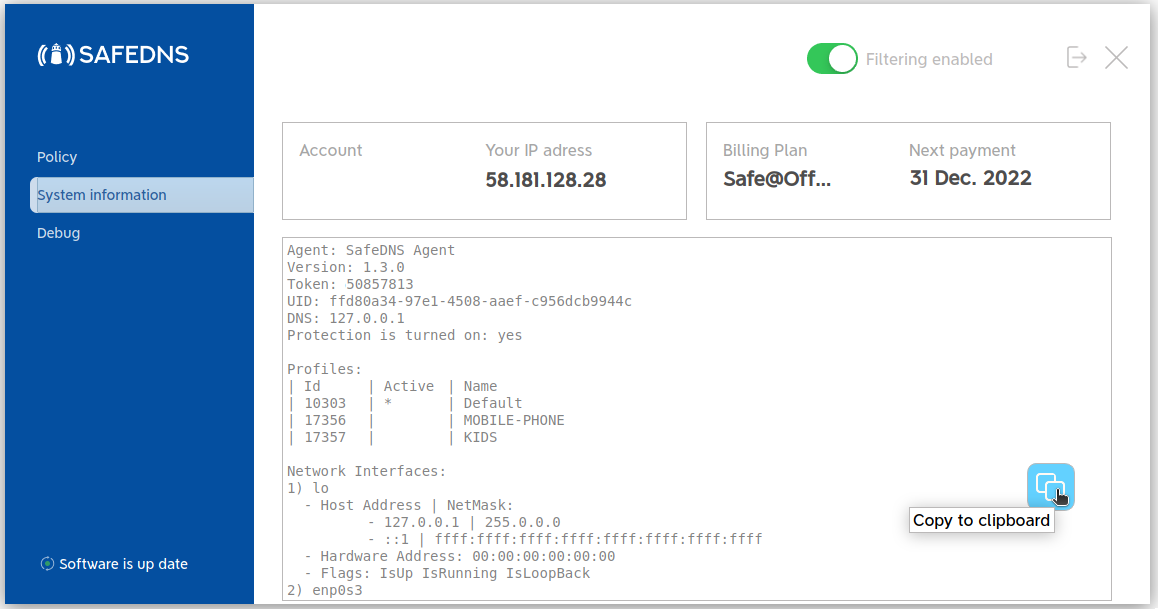](https://docs.safedns.com/uploads/images/gallery/2022-08/p7JqcY6tW9q1Qlvs-11-safedns-agent-for-linux-setup-guide.png) The Debug menu displays the results of the diagnostic commands that are required in case of troubleshooting. To send the debug information to SafeDNS, click the "Send report" button. [](https://docs.safedns.com/uploads/images/gallery/2022-08/IHvKJUtPNnqSRzDx-12-safedns-agent-for-linux-setup-guide.png) --- ### Additional settings To ensure the Agent was installed correctly, please navigate to the "**Settings"** tab in the [SafeDNS Dashboard](https://www.safedns.com/cabinet/devices/) and scroll down to the bottom. If you see the record with the Device name and your IP address, it means that the filtering is working. [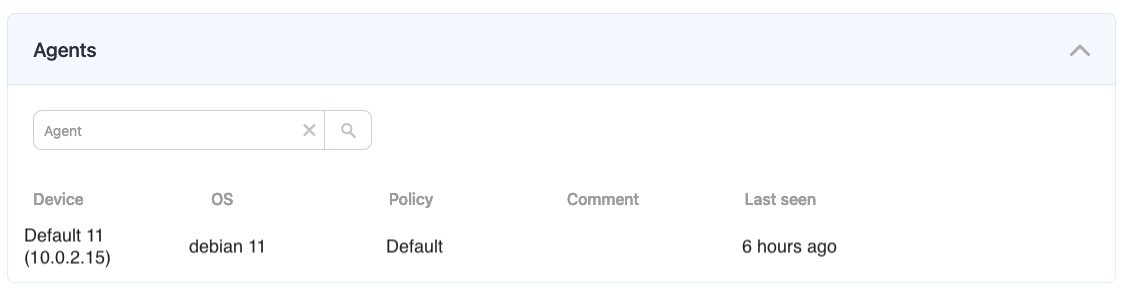](https://docs.safedns.com/uploads/images/gallery/2024-08/IloMTdvzXkOiZUu1-2-agent-for-linux.png) After that, you can adjust the filtering Policy according to your needs. You can select categories to block [here](https://www.safedns.com/cabinet/categories/). **Don't forget to click the "Save changes" button.** [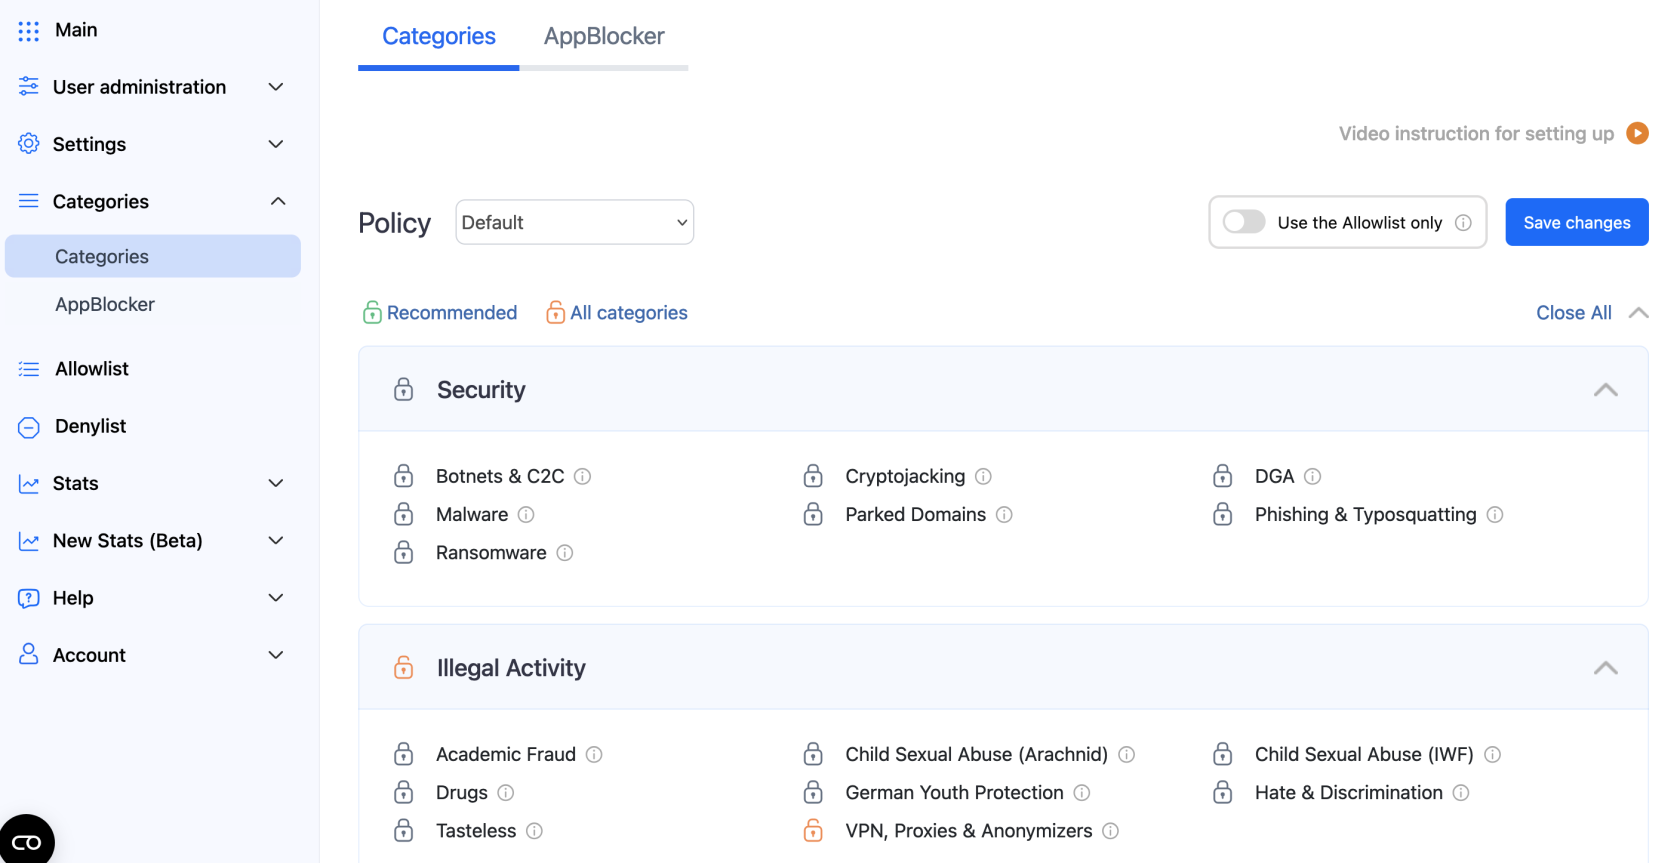](https://docs.safedns.com/uploads/images/gallery/2024-08/0kRBpl5gpfGg3BPz-3-agent-for-linux.png) The setup is complete! A blocked website will display an error message that the Access is closed: [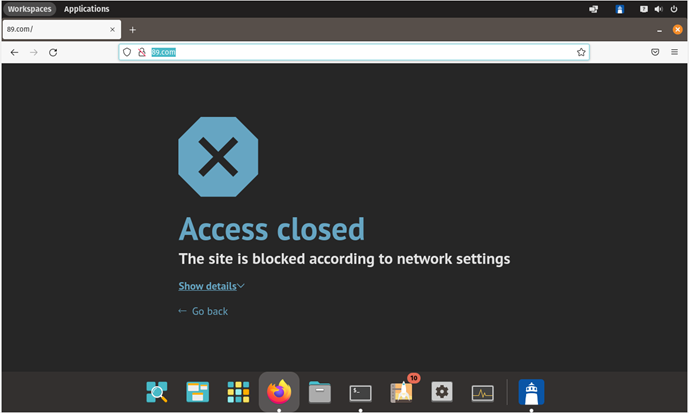](https://docs.safedns.com/uploads/images/gallery/2022-08/TLGTKFCY84b9x2Ke-15-safedns-agent-for-linux-setup-guide.png) If the filtering doesn't work according to your policy settings, [clear the cache of your browser](https://docs.safedns.com/books/installation-guides/page/how-to-clear-dns-cache).Please note, that settings take 5-7 minutes to apply. Stats and filtering status update every 10 minutes.
--- ### Uninstallation ##### .rpm package Use the following command in the Terminal:sudo rpm -e agentsafedns
To remove the config file, manually delete the following folder:/etc/agentsafedns
Enter **"y"** if prompted to confirm the Agent removal. ##### .deb package Use the following command in the Terminal:sudo apt-get remove agentsafedns
To remove the config file, use the following command:sudo apt-get purge agentsafedns
Enter **"y"** if prompted to confirm the Agent removal. # Linux Filtering Setup via OpenVPNPlease note, that this filtering option works via the third-party app OpenVPN. If you encounter any issues, please contact our Technical Support.
--- 1\. Open the SafeDNS Dashboard and navigate to **Settings > Devices**. [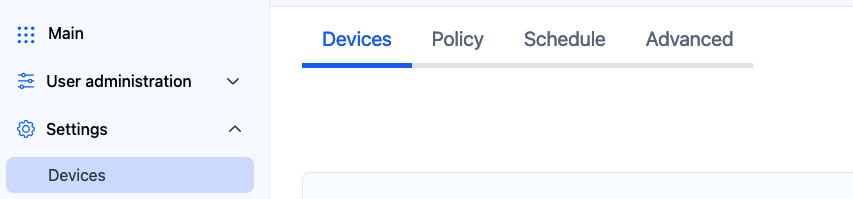](https://docs.safedns.com/uploads/images/gallery/2024-08/01Ru6Y2RIJpi3PSl-1-linux-setup-via-openvpn.png) 2\. Scroll down to the VPN section, enter any name for a new VPN connection, and click Add. Choose a filtering policy before adding a VPN connection, if needed. [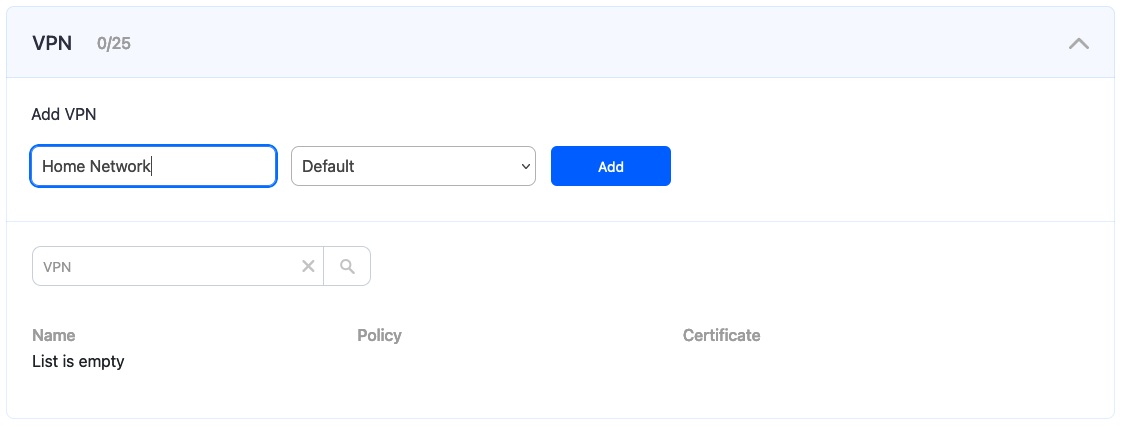](https://docs.safedns.com/uploads/images/gallery/2024-08/IYhwViDE6xhimucP-2-linux-setup-via-openvpn.png) 3\. Upon creating the connection, two icons will appear in the "Certificate" column. One is for downloading the Certificate, and the other is for sending it by email. Press the "Cloud download" icon. Multiple devices can use the same filtering policy, but **each device should use its own VPN certificate**. You can also change the filtering policy of the created VPN connection by clicking on the pencil icon to the right. Please note, that you don't need to redownload your VPN certificate on your mobile device if you change its filtering policy. [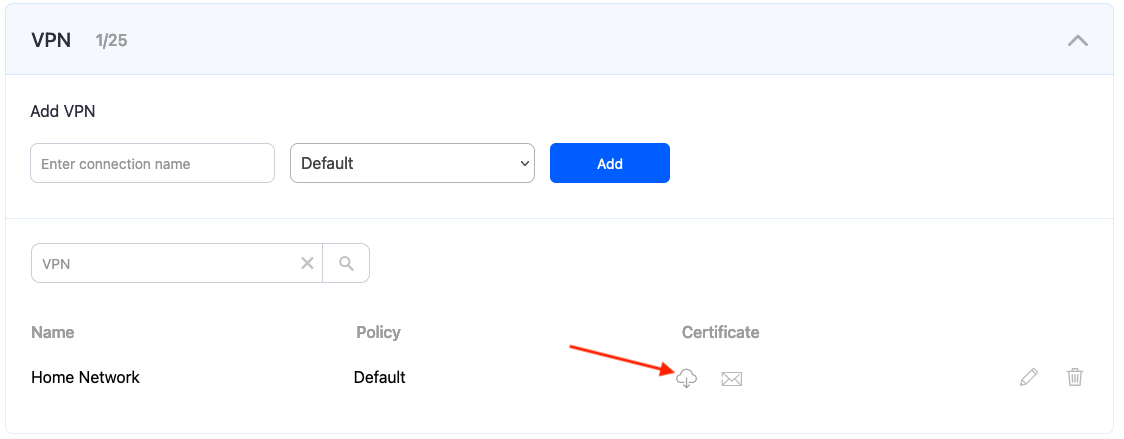](https://docs.safedns.com/uploads/images/gallery/2024-08/KQJd4Jrgw27TjZWH-3-linux-setup-via-openvpn.png) --- Some Linux distributions have the OpenVPN application pre-installed. In this case, skip to **Step 5**. 4\. Install the OpenVPN application on your device with the following command:sudo apt install openvpn
5\. Enter the administrator account password and approve the installation if prompted. 6\. Copy the downloaded Certificate to */etc/openvpn* You can use this command with Terminal opened in folder with the certificate:sudo cp safedns-123456.ovpn /etc/openvpn/
7\. Start OpenVPN with the following command:sudo openvpn --config /etc/openvpn/safedns-123456.ovpn
8\. Enter the administrator account password if prompted. If the connection is established correctly, you will see the following notification: [](https://docs.safedns.com/uploads/images/gallery/2022-08/zmeHzKymtCRV3feh-4-linux-filtering-setup-via-openvpn-guide.png) Your Linux device is now filtered with the SafeDNS filtering policy. --- You can check the OpenVPN connection with the ***ifconfig*** command. OpenVPN interface has the name ***tun***: [](https://docs.safedns.com/uploads/images/gallery/2022-08/WP53ij1Befj4kAqK-5-linux-filtering-setup-via-openvpn-guide.png) ---Please note that settings take 5-7 minutes to apply. Stats and filtering status update every 10 minutes.
# Linux DNS Setup #### Static IP address 1\. Navigate to the SafeDNS **Dashboard > Settings** and copy your IP address in the "**Enter an IP address or DynDNS**" box. Click "**Add**". [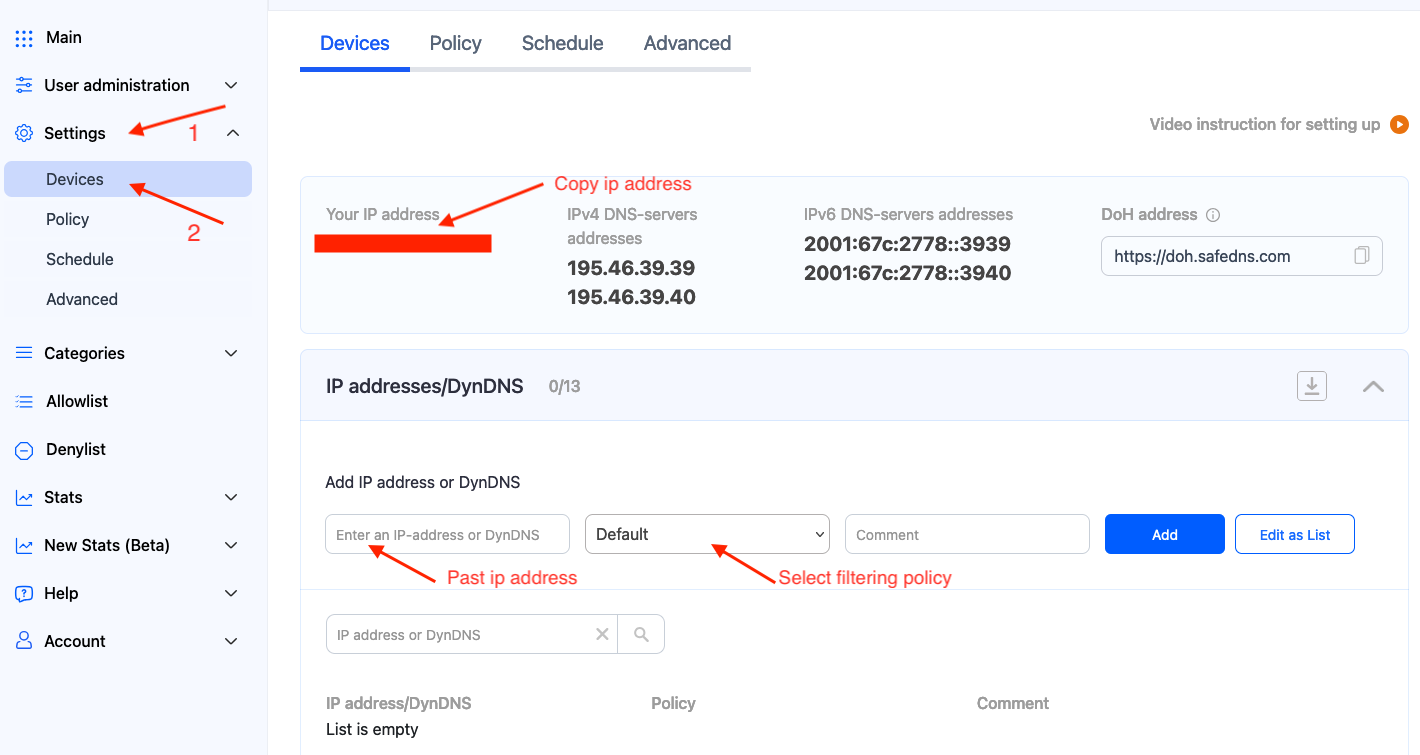](https://docs.safedns.com/uploads/images/gallery/2024-08/qurQz4uZ4kx8NCoe-1-linux-dns-setup.png) 2\. Change your system’s DNS servers to SafeDNS addresses - **195.46.39.39** and **195.46.39.40** If you configure the network through NetworkManager, it will be sufficient to add SafeDNS servers there. Open the settings of the current Network Interface. [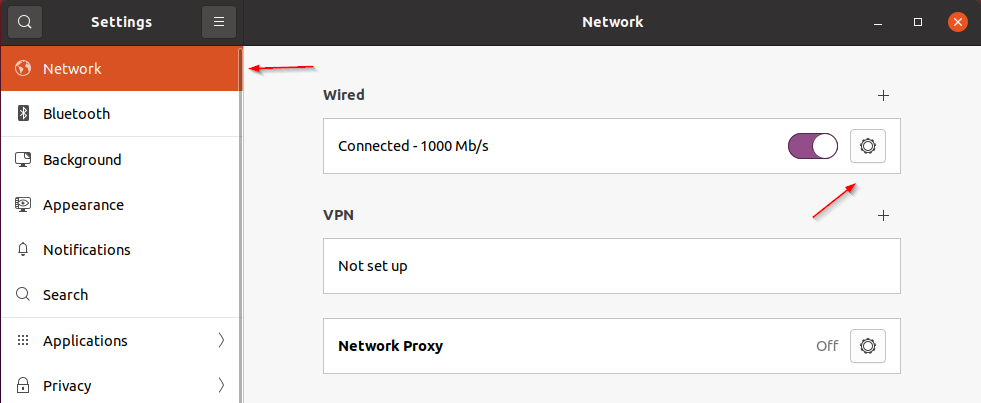](https://docs.safedns.com/uploads/images/gallery/2022-08/AGQcYoyf5jiLIPFD-1-linux-dns-setup-guide.png) Add SafeDNS servers: **195.46.39.39** and **195.46.39.40**.Please note, that servers must be separated by a comma.
[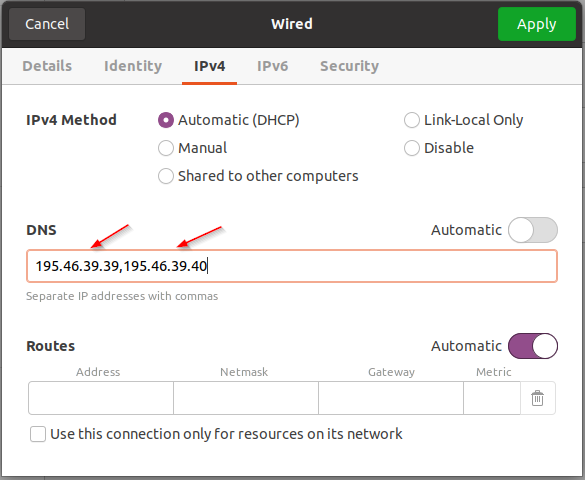](https://docs.safedns.com/uploads/images/gallery/2022-08/I4zYcf6G4A6u7hmJ-2-linux-dns-setup-guide.png) Otherwise, you need to find out which application is used for the network settings and add SafeDNS servers there. **Your Linux device is now filtered with the SafeDNS filtering policy.**Please note that settings take 5-7 minutes to apply. Stats and filtering status update every 10 minutes.
--- #### Dynamic IP address 1\. Install and configure **ddclient**. **ddclient** package is shipped with most Linux distributions. If your Linux distribution doesn’t have ddclient, you can download it from [GitHub](https://github.com/ddclient/ddclient). After ddclient is installed, you need to insert the next configuration in its config file (/etc/ddclient.conf or /etc/ddclient/ddclient.conf):daemon=300 syslog=yes ssl=yes protocol=dyndns2 server=www.safedns.com use=web web=http://www.safedns.com/nic/myip \# Replace with your email and password for www.safedns.com login=you@yourmail.com password=your\_password \# Enter any name for your device. \# If you have several computers with dynamic IPs their names must differ. laptop
Reboot your device and start ddclient. If the similar string is shown in the system logs (/var/log/syslog, /var/log/daemon.log or /var/log/messages), ddclient is successfully configured:Aug 14 12:49:13 laptop ddclient\[4105\]: SUCCESS: updating laptop: good: IP address set to 18.26.28.10
2\. Change your system’s DNS servers to SafeDNS addresses - **195.46.39.39** and **195.46.39.40** If you configure the network through NetworkManager, it will be sufficient to add SafeDNS servers there. Open the settings of the current Network Interface. [](https://docs.safedns.com/uploads/images/gallery/2022-08/AGQcYoyf5jiLIPFD-1-linux-dns-setup-guide.png) Add SafeDNS servers: **195.46.39.39** and **195.46.39.40**.Please note, that servers must be separated by a comma.
[](https://docs.safedns.com/uploads/images/gallery/2022-08/I4zYcf6G4A6u7hmJ-2-linux-dns-setup-guide.png) Otherwise, you need to find out which application is used for the network settings and add SafeDNS servers there. Your Linux device is now filtered with the SafeDNS filtering policy.Please note that settings take 5-7 minutes to apply. Stats and filtering status update every 10 minutes.