SafeDNS iOS/iPad Agents Enterprise
- SafeDNS Application deployment using MDM Integrators for iOS
- SafeDNS Agent Enterprise Application initial setup
SafeDNS Application deployment using MDM Integrators for iOS
General guide
1. Obtain a personal AuthKey from SafeDNS support in your Personal Account in the form of a String (Base64 encoding is handled on our side). Example format: MGNjYnYyYWItMTQxNy00MjVlqTkzNjEtMDMzY2I2MTU4YzVi.
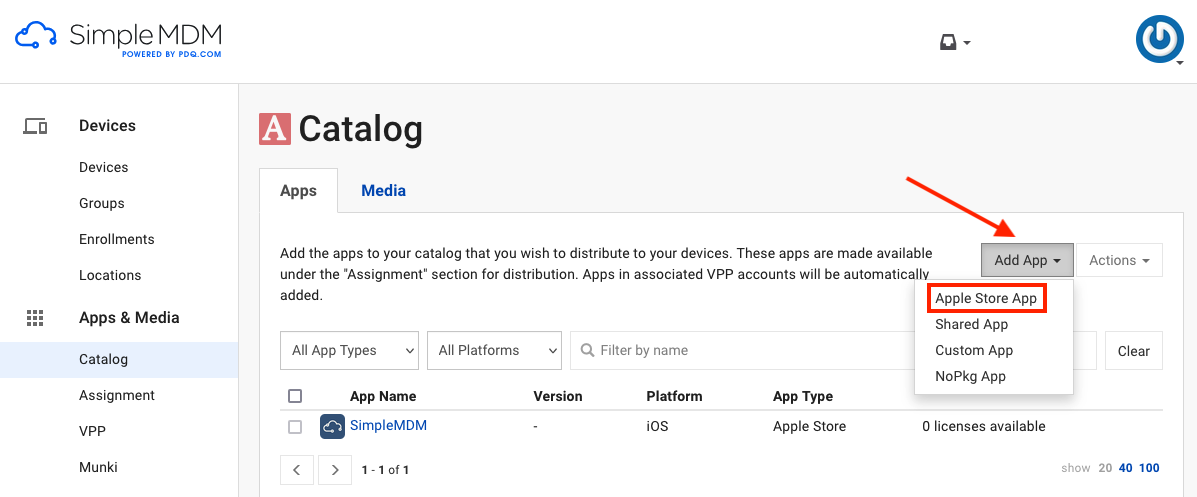
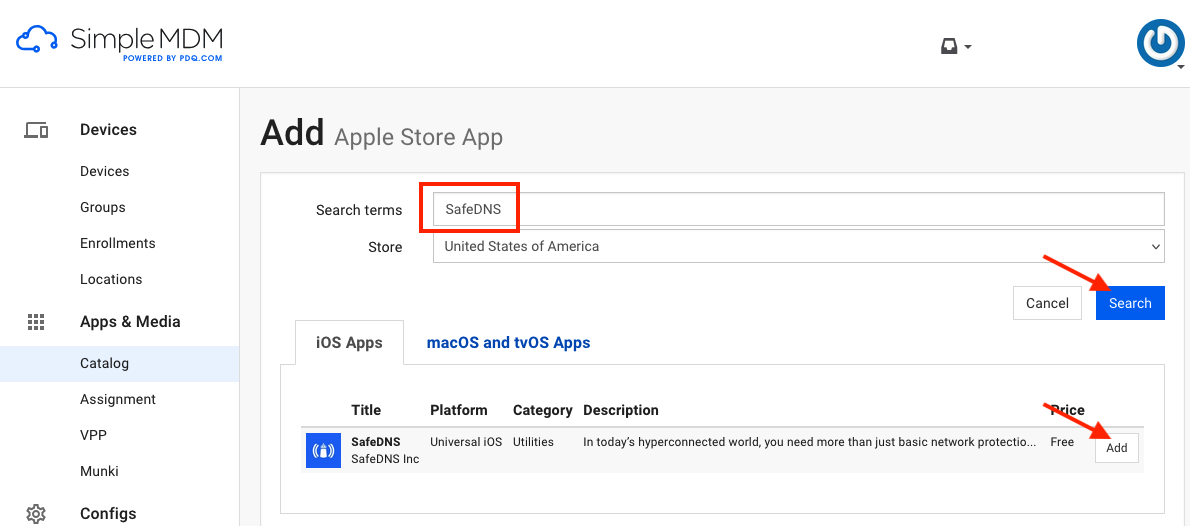
2. Install the SafeDNS application in the MDM Integrator's Personal Account by adding it through Apple Store App in the Apps catalog.
3. Wait for the application to be deployed on the devices.
4. Once the initial setup is complete and the device is registered in the SafeDNS Dashboard, create a Custom Configuration Profile in the Integrator's menu. This profile should include our DNSProxy.mobileconfig with the AppBundleIdentifier and the AuthKey: com.safedns.agent and ProviderBundleIdentifier: com.safedns.agent.dnsProxy. Then, this profile is deployed to the devices. After the profile is installed, a new DNS Proxy Server section will appear in the smartphone's settings with SafeDNS parameters, initiating the traffic interception, redirection, and filtering module.
The filtering process may take 3-5 minutes to start.
SimpleMDM example
1. Create an account on https://simplemdm.com and add your Apple id.
2. Obtain a personal authKey from SafeDNS support in your Personal Account in the form of a String (Base64 encoding is handled on our side). Example format: MGNjYnYyYWItMTQxNy00MjVlqTkzNjEtMDMzY2I2MTU4YzVi.
2. Install the SafeDNS application in the SimpleMDM Personal Account by adding it through Apple Store App in the Apps catalog.
3. Now the application can be deployed on the devices.
If your devices are already enrolled the deployment will be done automatically.
If not you first need to enroll them in SimpleMDM: Go to Devices > Enrollments > Add Enrollment.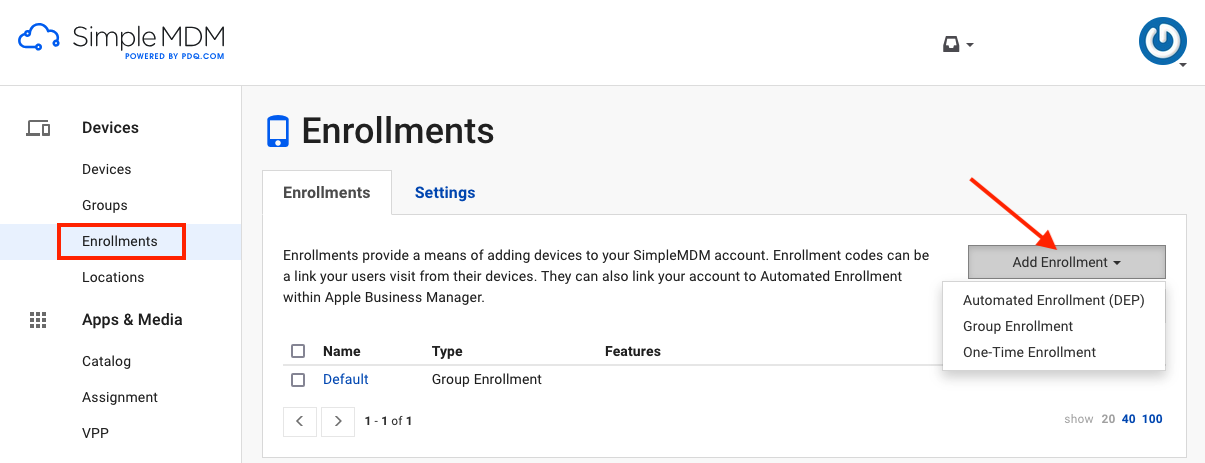
After a successful installation, the application does not need to be launched on end devices.
4. After the application is installed on the devices, complete the full configuration of the app by adding the profile with the authKey.
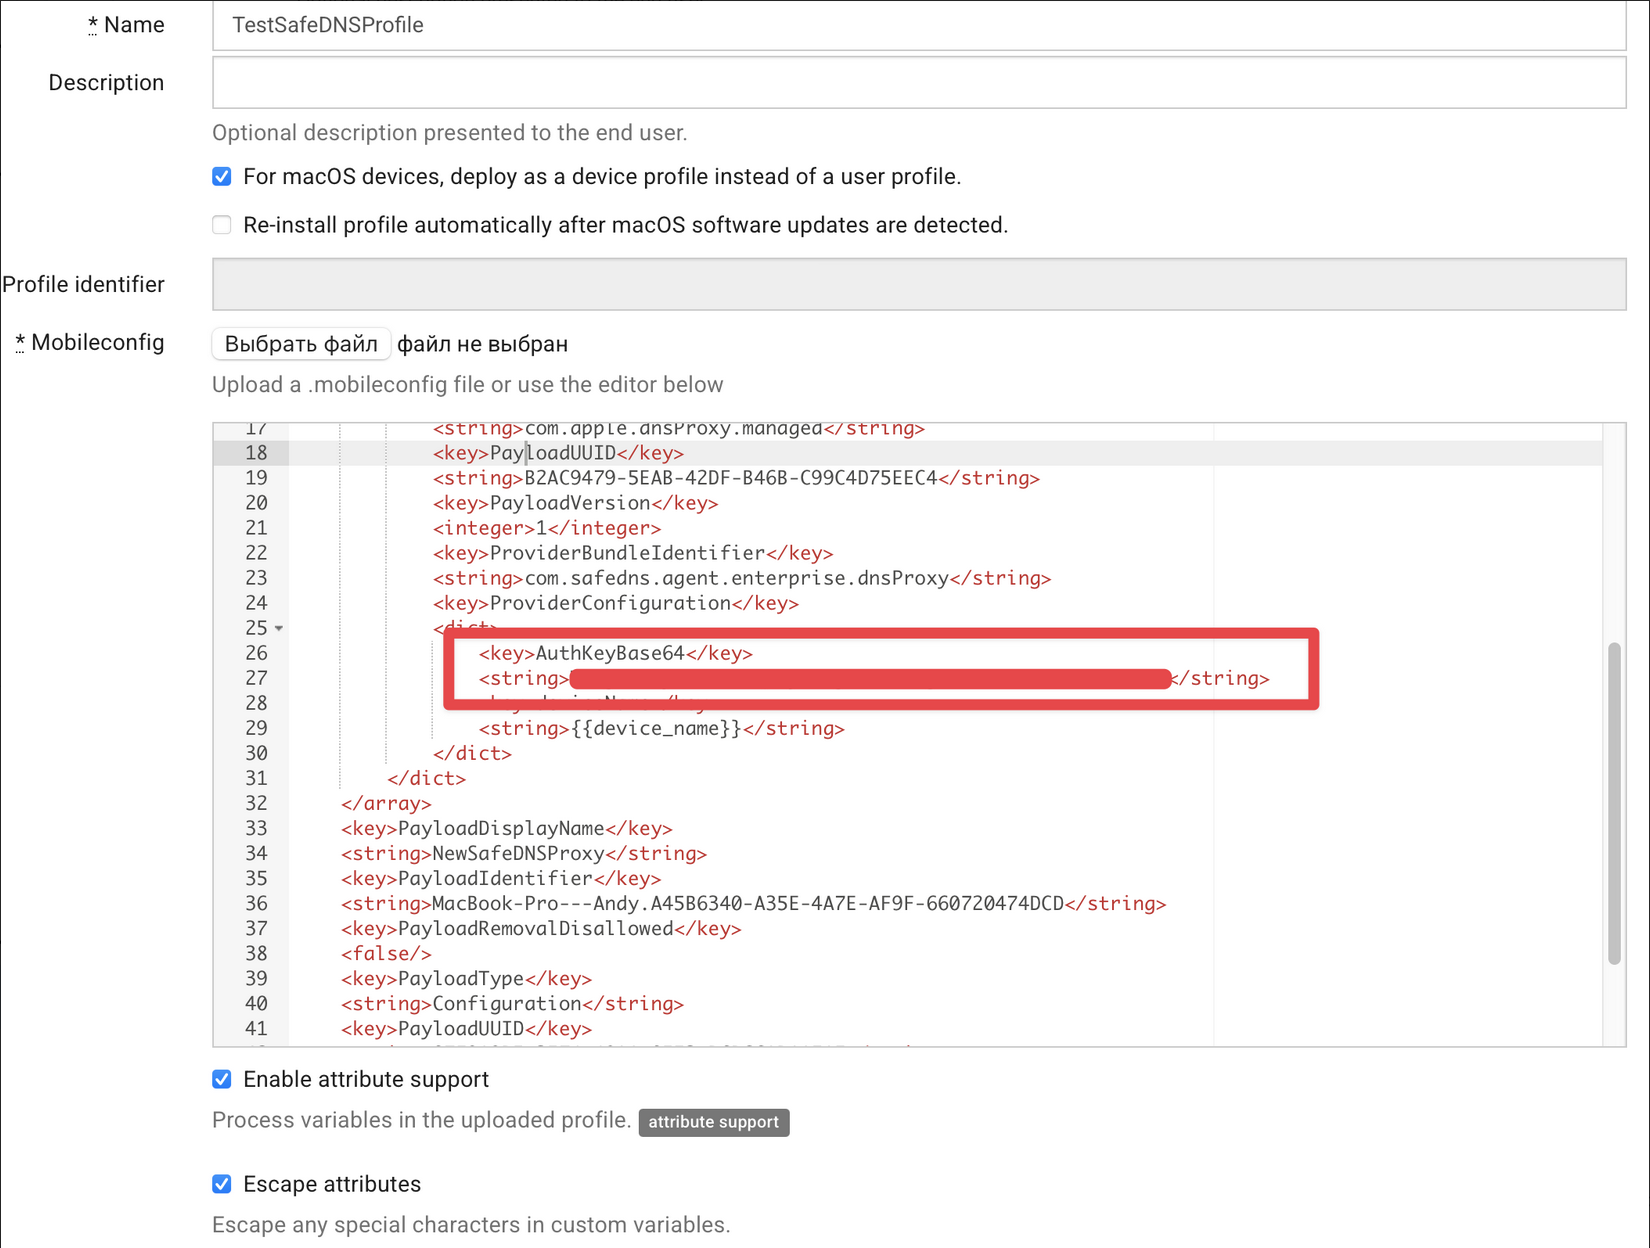
Once the initial setup is complete and the device is registered in the SafeDNS Dashboard, create a Custom Configuration Profile in the Integrator's Personal Account. Upload the custom DNSProxy.mobileconfig profile (received from SafeDNS).
This profile includes DNS-Proxy details showed below where you need to change one line by adding the AuthKey:
<key>AuthKeyBase64</key>
<string>!!!! Enter here your AuthKey</string>
"!!!! Enter here your AuthKEY" − needs to be replaced with the AuthKey received from SafeDNS support
Please find below the link to the file: SafeDNS-Proxy.mobileconfig
Depending on the connection speed and profile propagation on the devices, a DNS-Proxy section with our settings will be added to the Device Management and VPN menu in the device settings. After this, the application and filtering module will synchronize, and filtering will begin based on the configuration settings in the SafeDNS.com Personal Account.
The filtering process may take 3-5 minutes to start.
SafeDNS Agent Enterprise Application initial setup
This step follows the mass deployment of the Agent application. It must be completed to enable the filtering on the device.
Before installation, please ensure that the device's battery level is at least 50% and that you have a stable internet connection.
Initial setup
1. Open the application after it is installed on the device.
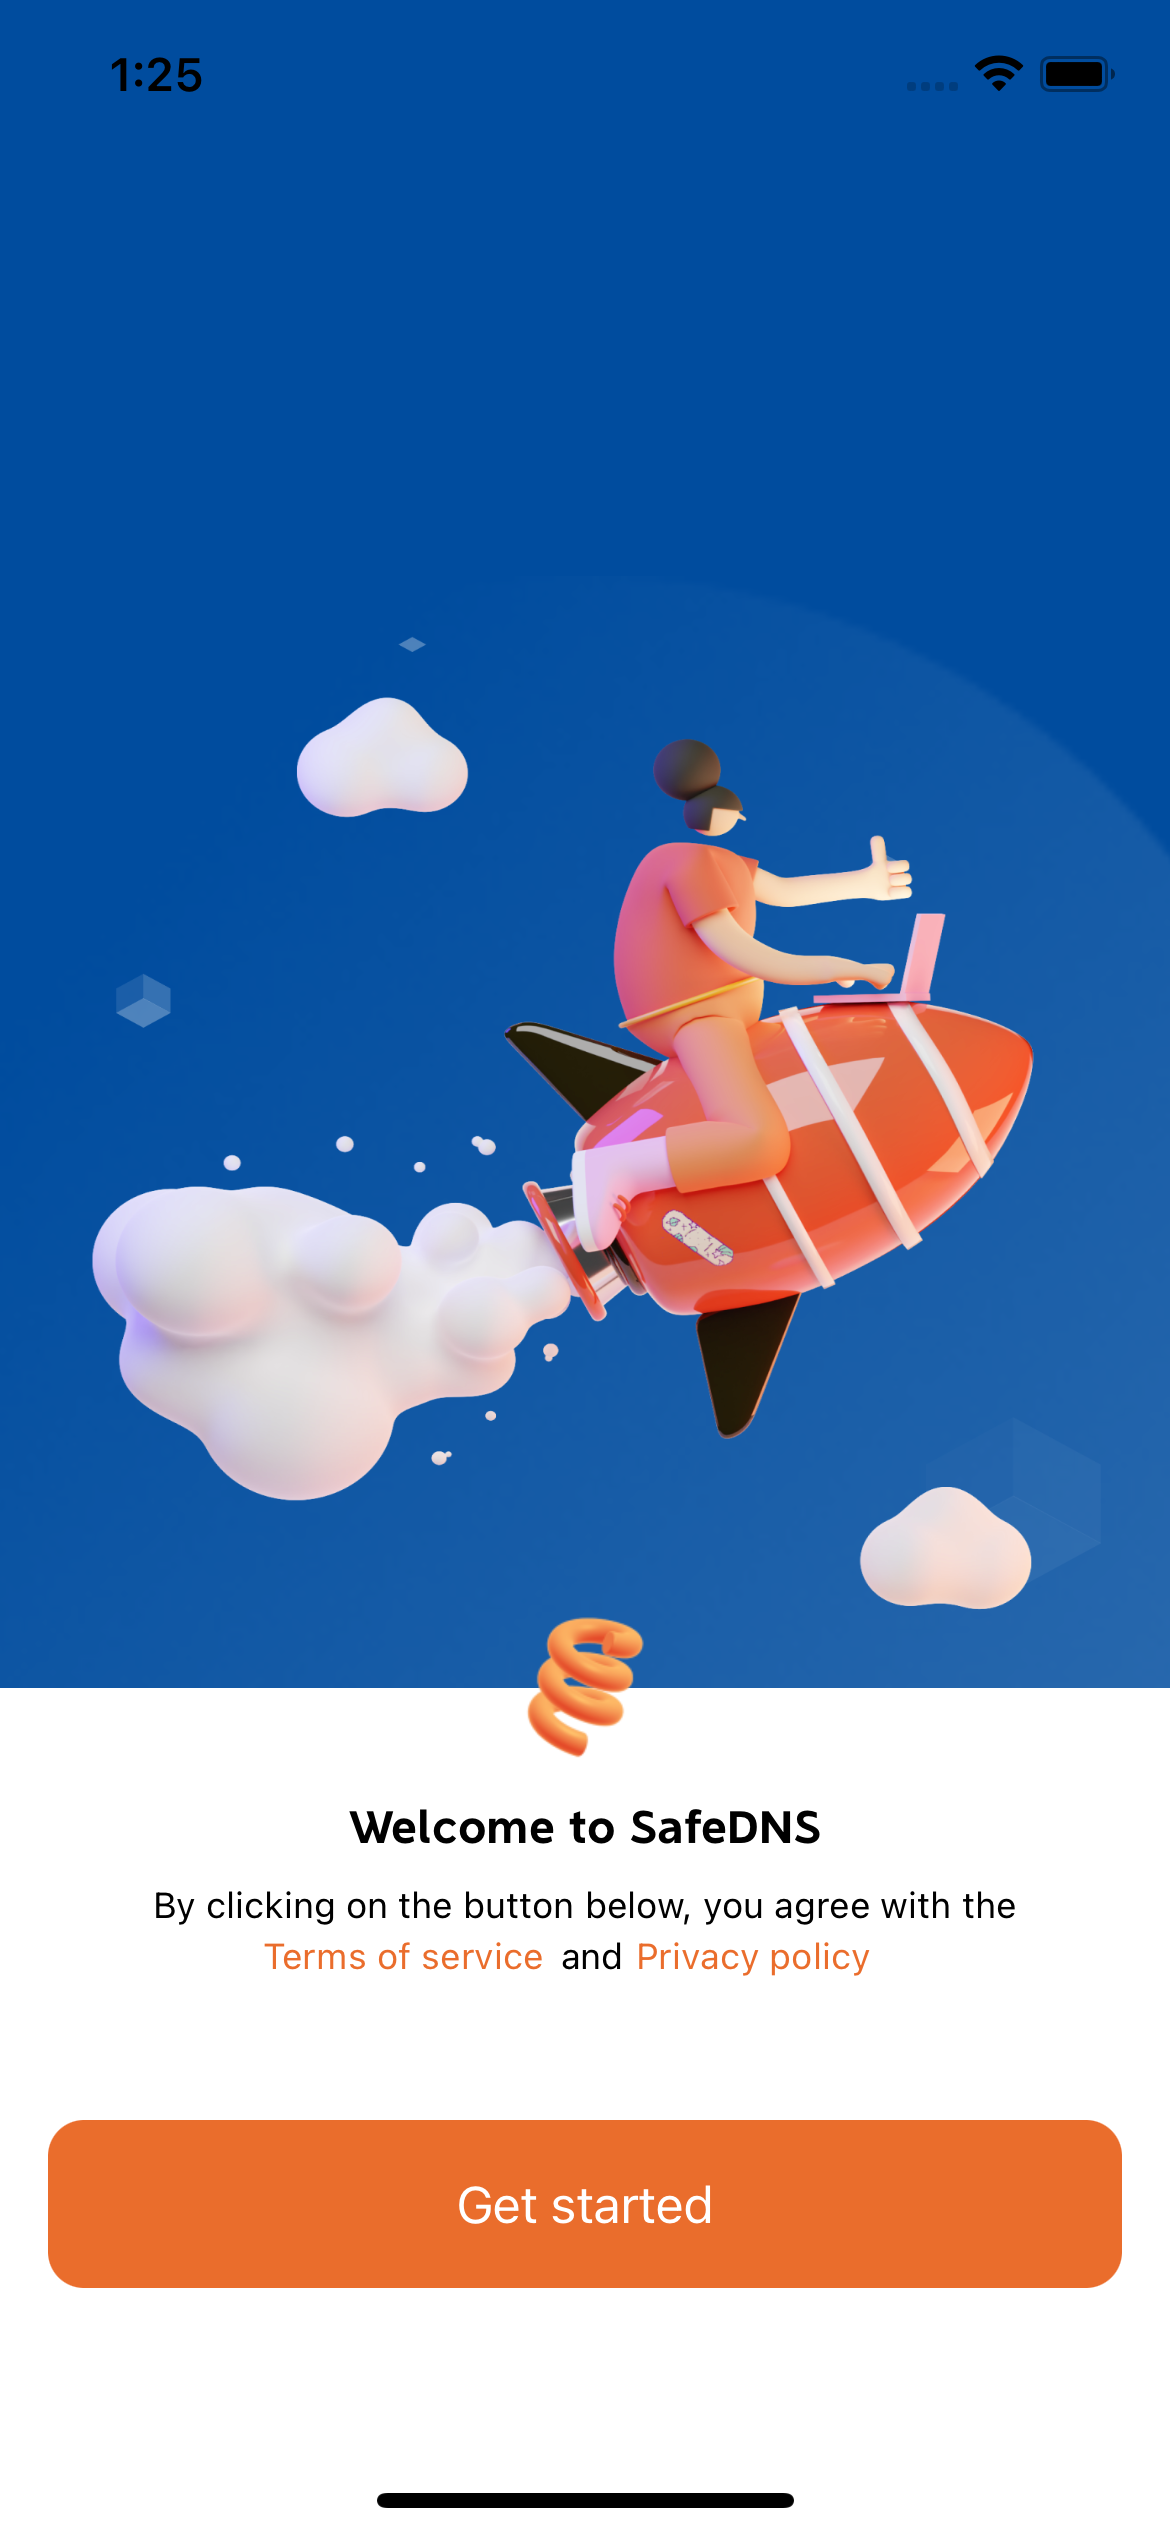 On this screen, the user can review Terms of Service and Privacy Policy.
Press Get started to continue.
2. Enter your work email (Apple ID under control) or another identifier controlled by the IT admin.
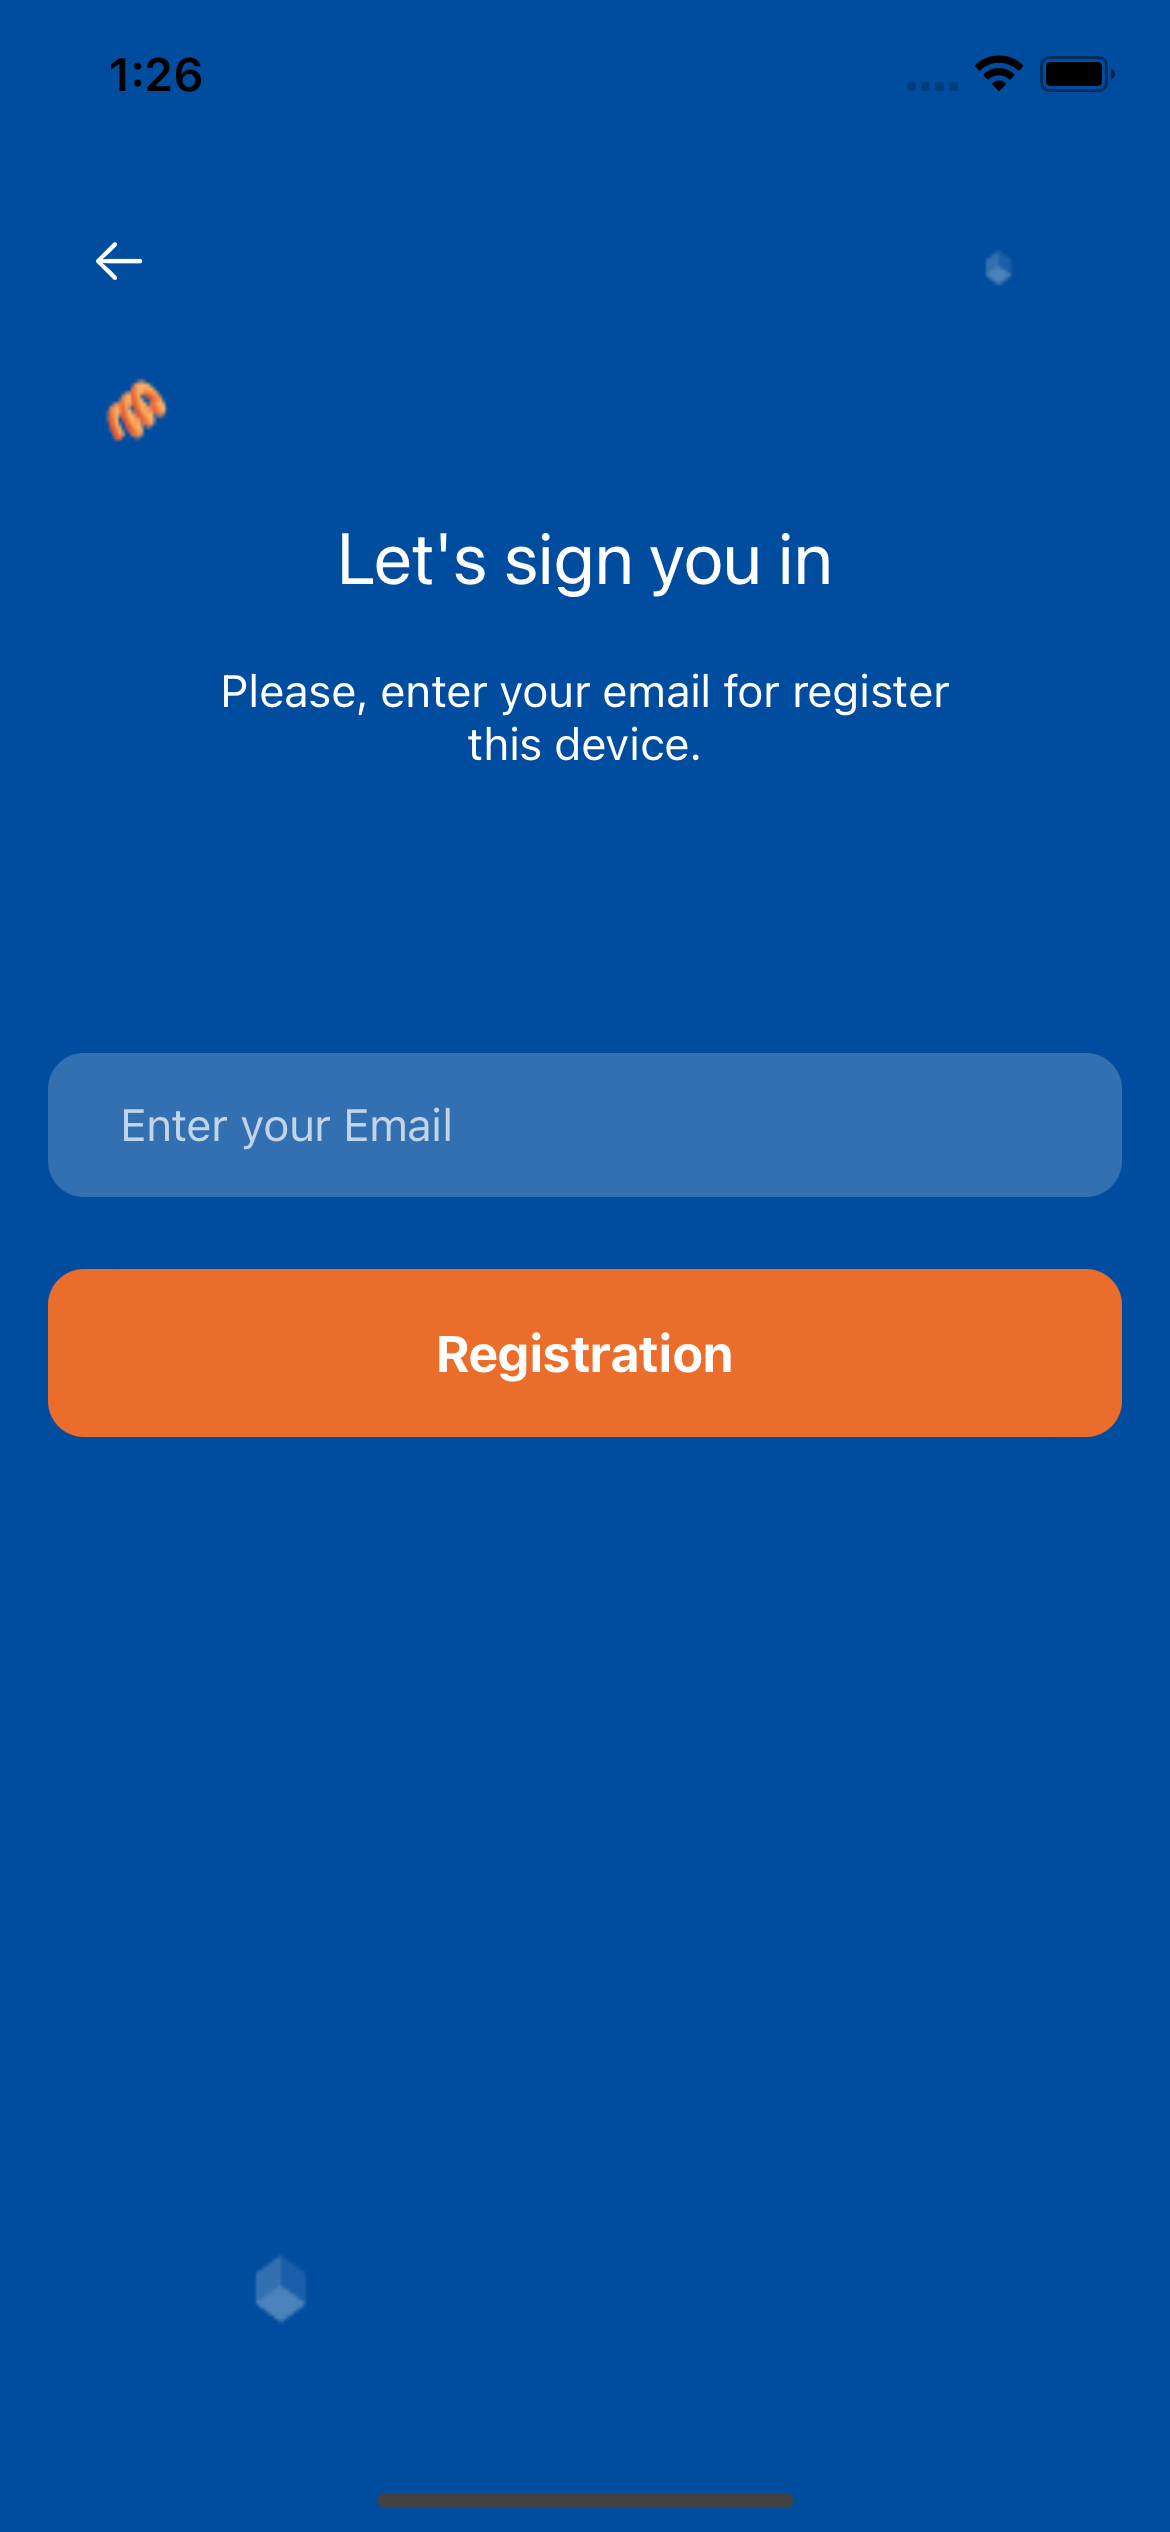
A manual entry option for the AuthKey is also available in case of any key delivery issues with the MDM integrator server (rare scenario). The user will have fields to enter the authKey and email.
3. Press the Next button on the MDM system notification screen.
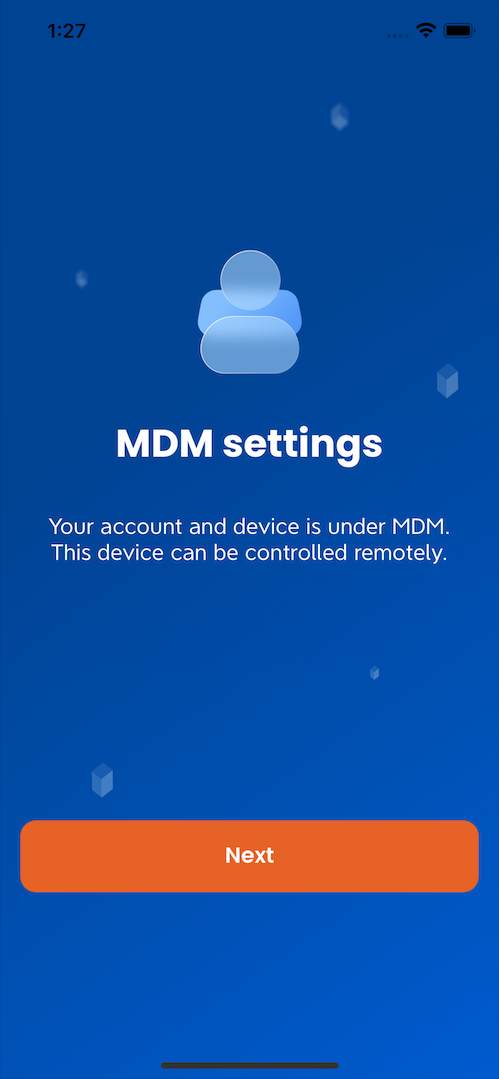
This completes the initial setup and opens the Agent interface.
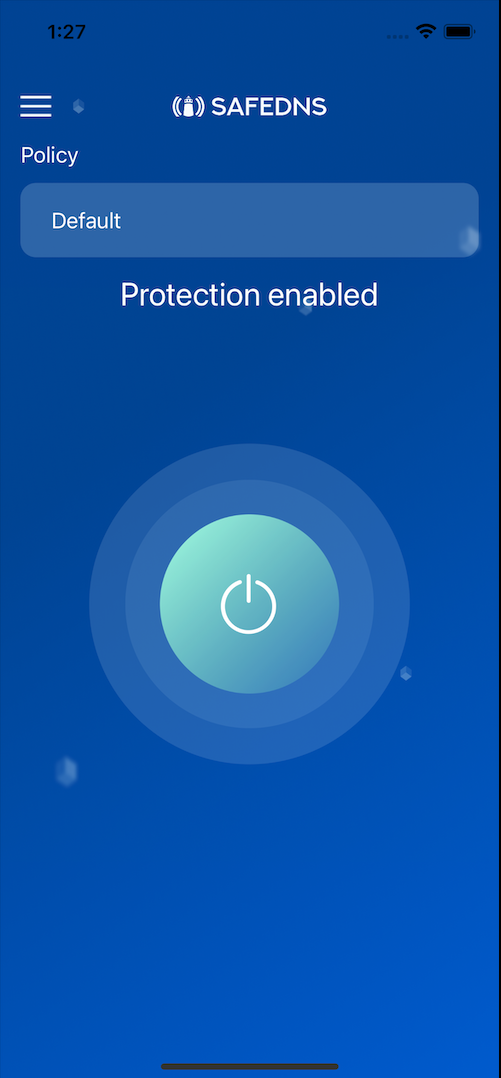
Agent interface
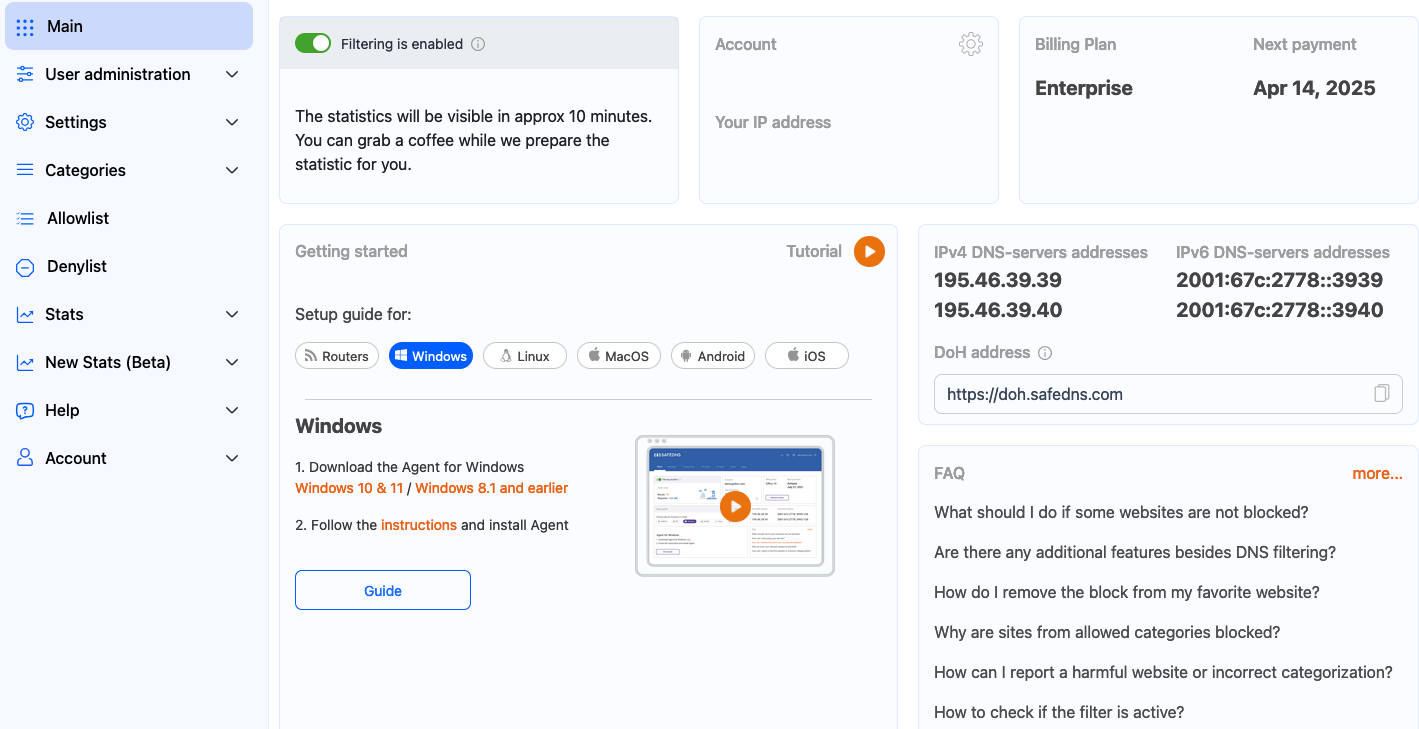
The main screen shows the status of the filtering, and the current filtering policy. Both can be adjusted by the admin in the SafeDNS Dashboard.
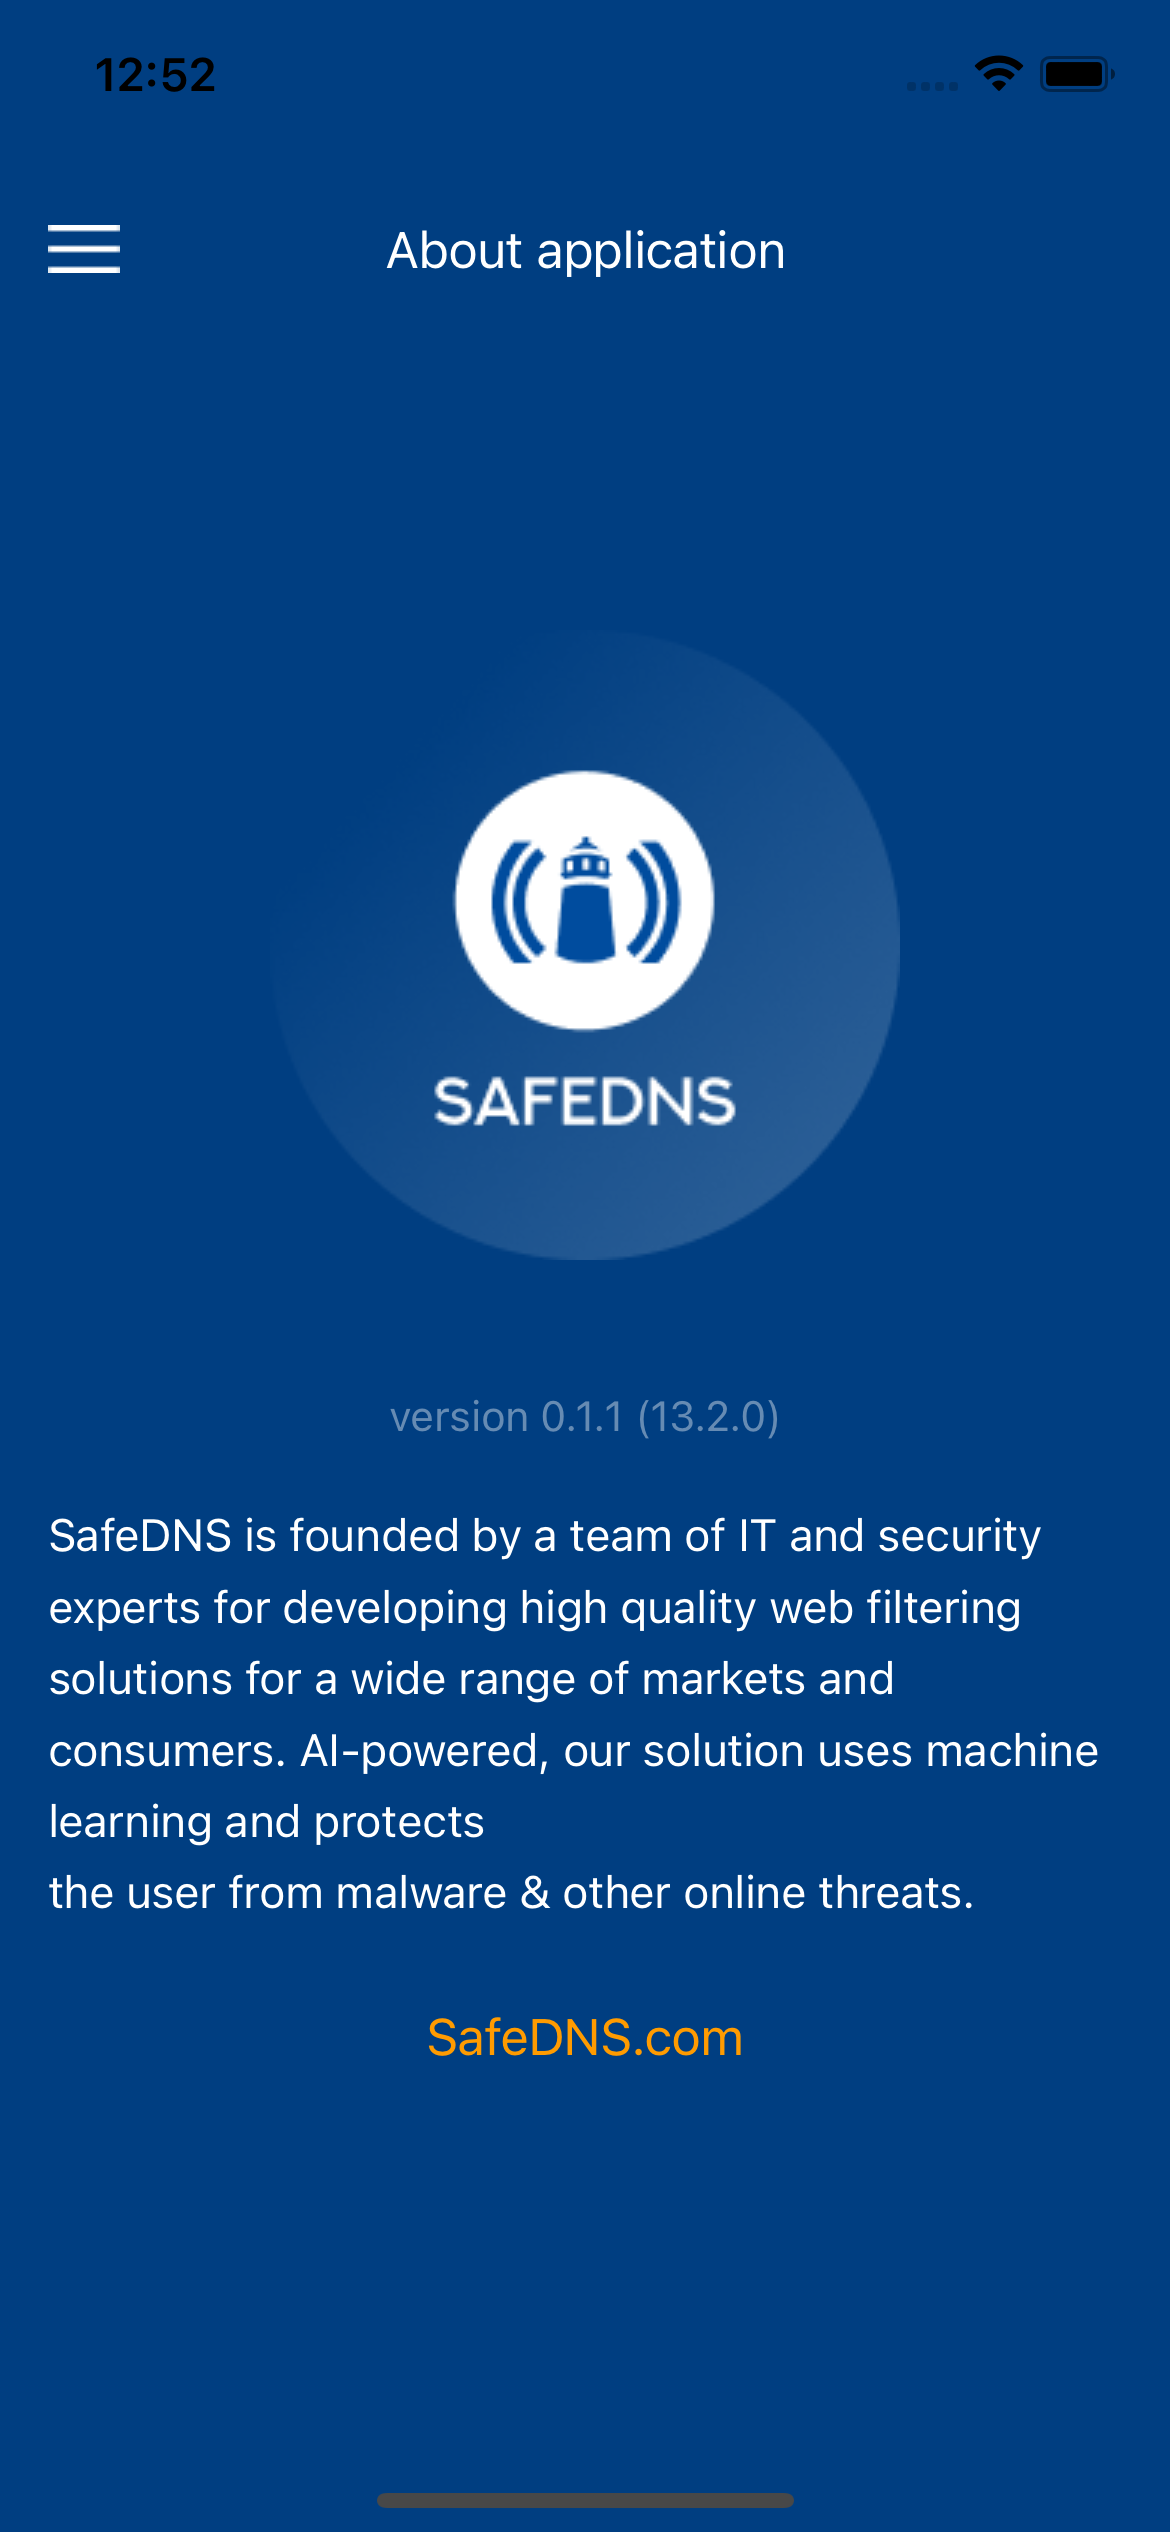
You can find the application version and build information in the About Application section in the settings menu.
If the internet connection is lost, the user will be simply notified on some screens, while on others, the interface will be disabled to reduce the likelihood of errors.