# White Labeling - SafeDNS
This guide will describe how to deploy a white-labeled edition of SafeDNS service for your customers.
#### Prerequisites
To deploy a white-labeled version of the SafeDNS service you should prepare the following images and send them to your Account Manager.:
1. logo for login page (size 270x150, png with transparency)
2. logo for dashboard pages (size 165x25, png)
3. logo for a favicon (size 40x40, png with transparency)
After becoming a white-labeled reseller you will be able to define custom text and links to show your customers on the welcome screen (first page of the dashboard).
Also please send to your Account Manager information on the name and IP address of the host where your user's dashboard will be accessed by your customers. e.g. *control.yourdomain.com
Then you should complete the following tasks on your side:
1. Get an SSL certificate for your domain (yourdomain.com in your case) or a single host (control.yourdomain.com). If you will use the certificate for the domain then it should be a wildcarded certificate.
2. Set Nginx or Apache server that will proxy requests to our dashboard (host [https://resellers.safedns.com](https://resellers.safedns.com/)) from your host control.yourdomain.com.
We offer such variants to provide full white labeling, not like others where only the entry portal has your URL.
---
#### Example of Nginx config file
```
server {
listen 80;
listen 443 ssl;
root /var/www/html;
ssl_certificate /etc/ssl/private/control.yourdomain.com.combined.pem;
ssl_certificate_key /etc/ssl/private/control.yourdomain.com.key;
ssl_protocols TLSv1 TLSv1.1 TLSv1.2;
server_name control.yourdomain.com;
if ( $request_uri ~ ^(/downloads/|/nic/) ) { break; }
if ( $scheme = "http" ) { rewrite ^/(.*)$
https://control.yourdomain.com/$1 permanent; }
location / {
proxy_set_header X-Forwarded-Host "control.yourdomain.com";
proxy_set_header X-Real-IP WL_PORTAL_IP_ADDRESS;
proxy_set_header X-Forwarded-For $proxy_add_x_forwarded_for;
proxy_pass https://resellers.safedns.com;
}
}
```
You need to replace **WL\_PORTAL\_IP\_ADDRESS** in string 18 to the **IP address** of your WL portal.
For example, if IP is 33.44.55.66, then it should be **proxy\_set\_header X-Real-IP 33.44.55.66;**
---
#### Example of Apache configuration
Install apache2:
```
sudo apt-get install apache2
```
Connect needed modules:
```
sudo a2enmod proxy remoteip
```
Tune configuration file for Apache Web Server:
Example of Apache config file:
```
ServerAdmin serveradmin@control.yourdomain.com
Redirect permanent / https://control.yourdomain.com/
ServerName control.yourdomain.com
SSLEngine on
SSLCertificateKeyFile /etc/ssl/private/control.yourdomain.com.key
SSLCertificateFile /etc/ssl/private/control.yourdomain.com.combined.pem
ServerAdmin serveradmin@control.yourdomain.com
SSLProxyEngine On
SSLProtocol -all +TLSv1 +TLSv1.1 +TLSv1.2
ProxyPass / https://resellers.safedns.com/
ProxyPassReverse / https://resellers.safedns.com/
RemoteIPHeader X-Real-IP
RemoteIPHeader X-Forwarded-For
```
Restart Apache Web Server:
```
sudo service apache2 restart
```
We'll identify requests from your users by the combination of X-Forwarded-Host header and IP address of your host and will show a white-labeled edition for your users.
---
#### Screenshots of the white-labeled version
Login screen:
[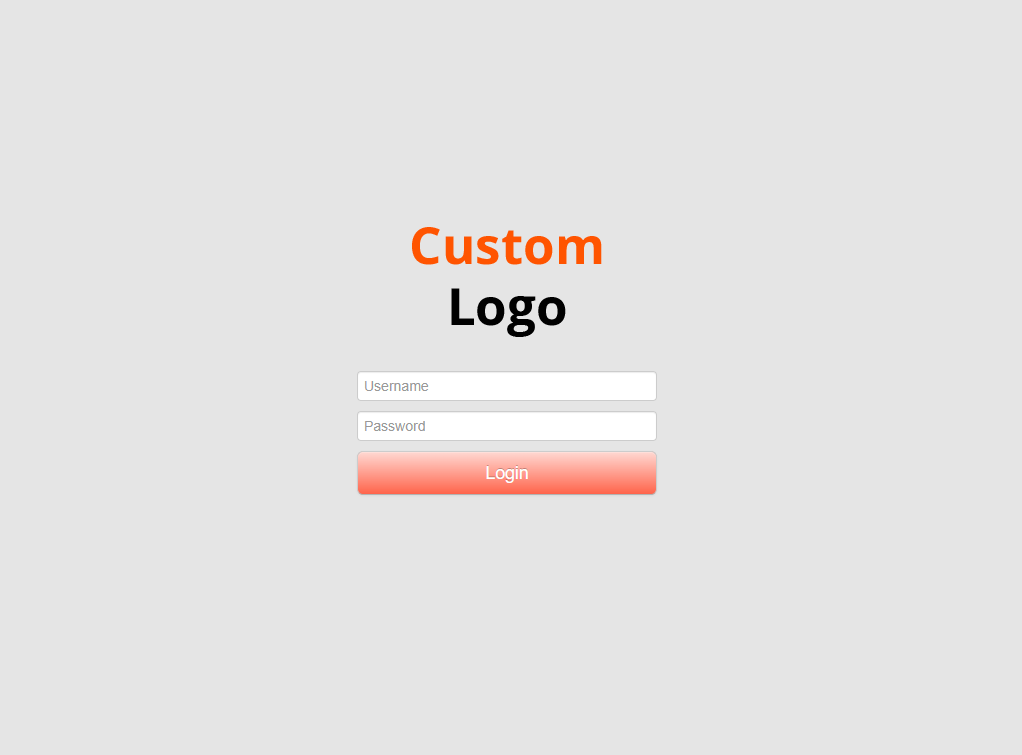](https://docs.safedns.com/uploads/images/gallery/2023-10/1BejJ06eRRGbwnBI-screenshot-22.png)
Main page of the Dashboard:
[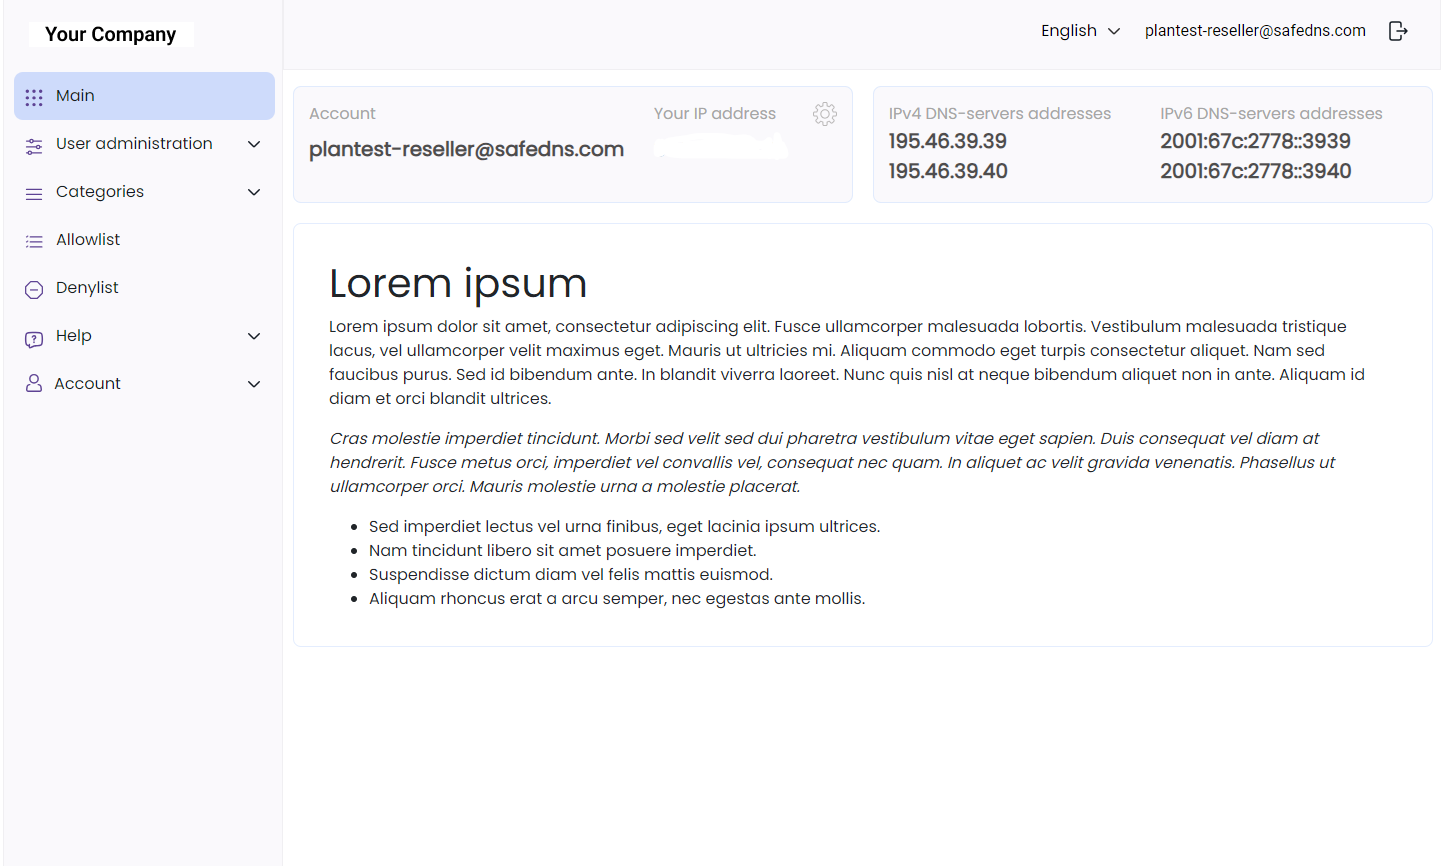](https://docs.safedns.com/uploads/images/gallery/2024-09/ZtlbvafL7xO7bIFY-image-1726718914116.png)
Customization page:
[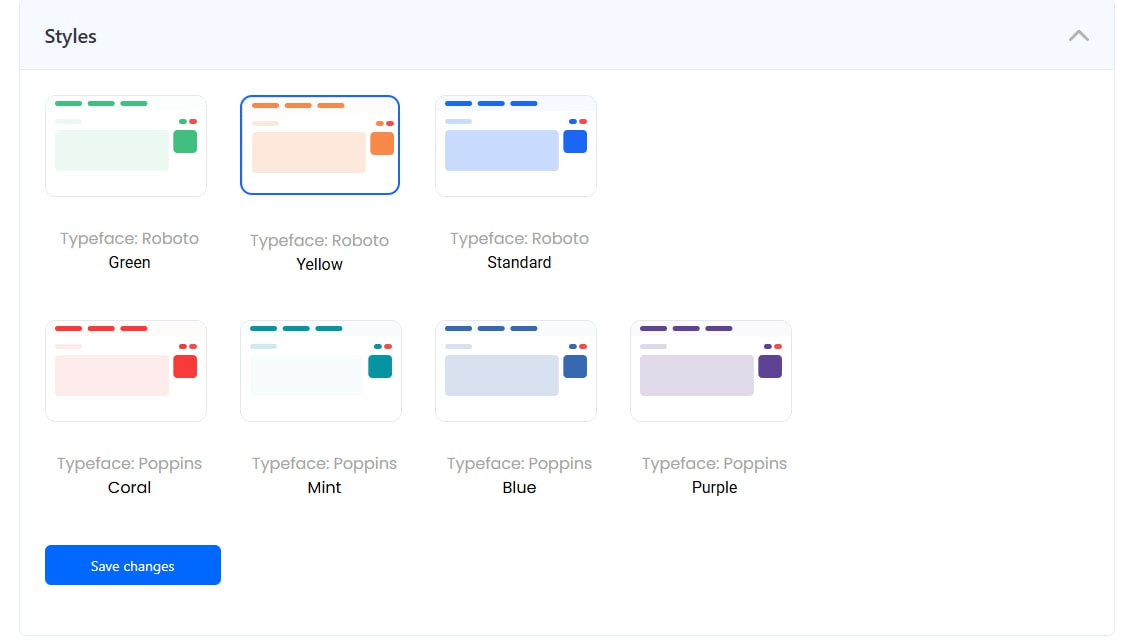](https://docs.safedns.com/uploads/images/gallery/2024-09/1dTZBdO7u0GFoC1i-image-1726718940297.png)
---
#### Further customization
Additionally, we offer customization of the dashboard so you can change the dashboard appearance for your users.
You can change:
- Brand data - company name, contact emails
- Styles – change color scheme and icons
- Favicon – change favicon logo
- Dashboard logo – change the dashboard logo
- Main page content – change the main page content, links to instruction, text, images, etc.
- Footer content – change the information section at the bottom of the dashboard
- Links to social networks – add your social media to stay in touch with your customers
- Logo on the login page – change the logo on the main login page of the White-Labeled portal
For sending emails from your domain, connect your email in the “Brand data” section of the “Settings” tab on the SafeDNS dashboard. Then, send your SMTP hostname to SafeDNS support team (). Set up email sending without authentication from mail.safedns.com IP address in your mail server.
Also branding of SafeDNS Agent is available for an additional fee.
Please contact your Account Manager to get further information and pricing.