Setting up Mail Relay
If SafeUTM has an external IP address, a domain is registered to it, and the necessary records are configured with the registrar and provider, but you want another server to handle the sending and delivery of mail (for example, a pre-configured Exchange server in LAN), then SafeUTM can relay all incoming mail to this machine.
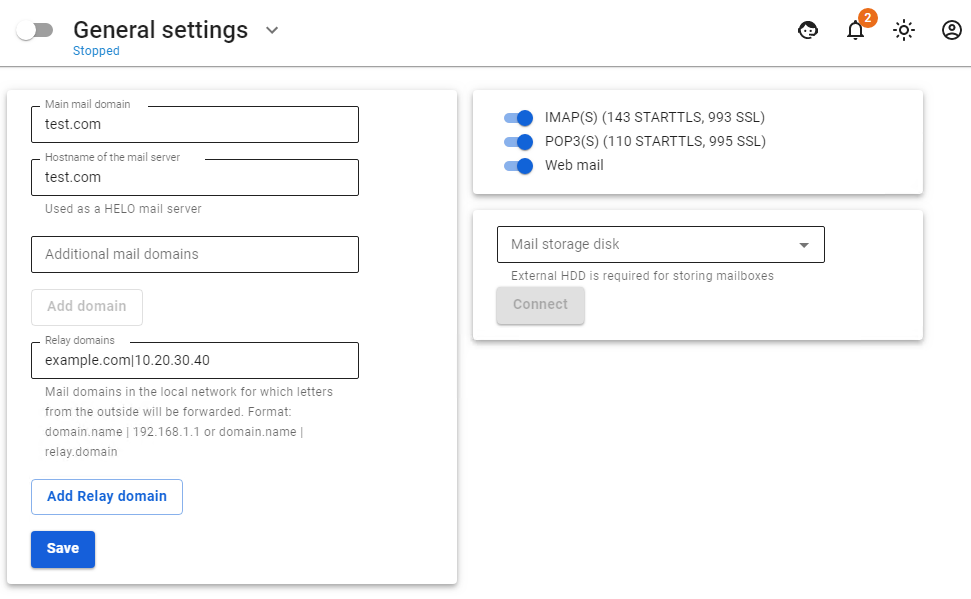
Before setting up the mail relay, make sure that the mail server is enabled on SafeUTM. To set up a mail relay, add an entry of this type to the Relay domains field: mydomain.com|10.20.30.40, where:
mydomain.comis your mail domain assigned to a public SafeUTM address on the Internet.10.20.30.40is the address of your mail server in LAN.
When setting up a mail relay on SafeUTM, it is essential that the main SafeUTM mail domain differs from the Relay domain. For this, in the Main mail domain field in the mail server settings, you need to register a fictional domain that does not match the registered one. This way you can specify multiple Relay domains for several different servers in LAN. All mail domains must be associated with the external address of the SafeUTM server (A and MX records in the DNS zone).
With this scheme, SafeUTM will allow the mail to pass through it directly to the mail server on the local network. Along the way, emails can be checked for spam. For this, enable the appropriate services in the SafeUTM web interface.
SafeUTM will accept mail addressed only to the specified Relay domain. Any other mail will be rejected by the server, so the possibility of receiving an open mail relay during setup is excluded.