Webmail
Configuring the mail web interface to work on the local and external interface of SafeUTM.
1. In order for webmail to work on the local interface, you need to activate the Webmail setting in Mail Relay -> General settings.
2. To work on the external interface, you need to create a rule in the section Services -> Reverse proxy:
Example of a rule for the domain name and IP address access:
After creating a rule from the local network in the browser, type this in the browser: https:// x.x.x.x:8443/webmail/, where x.x.x.x is the local interface address.
From the Internet, type in the browser: https://[domain name]:8443/webmail/. For example: https://test.com:8443/webmail/
A less prioritized alternative option: from the Internet, type in the browser: https://x.x.x.x/webmail/, where x.x.x.x is the external interface address.
For example: https://66.77.88.99/webmail/
You must use HTTPS to connect.
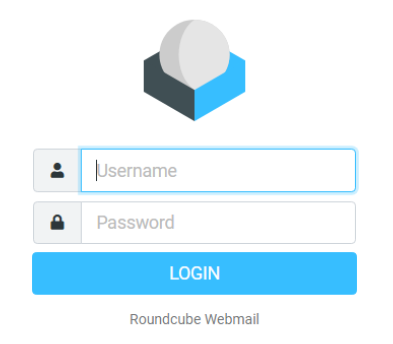
- In the mailbox login form that opens, specify the username from the user account as the login.
- The password for the user account is always specified as the password. It is impossible to set up a separate password for mail.

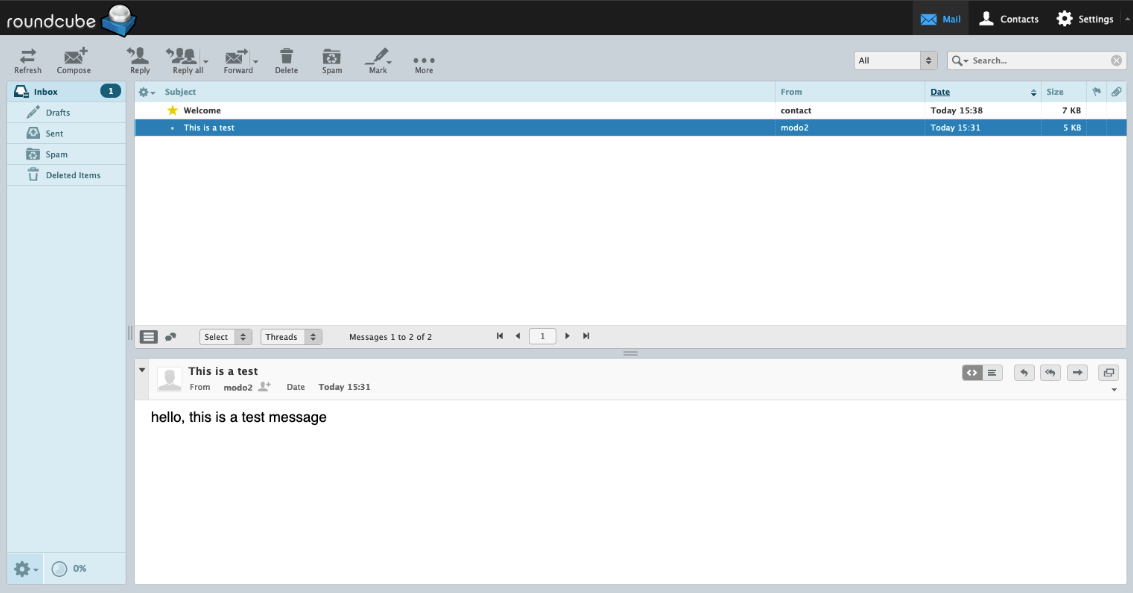
Upon successful login, the web interface of the user's mailbox will open in the browser.
The web interface of the embedded mail client works with the mail server via IMAP protocol and has the following capabilities:
- Create and send emails. Multiple attachments are supported.
- View, delete, and move emails. Manage IMAP folders of the mailbox.
- A personal (for a specific mailbox) address book that works only within the framework of the web application.
- The address book supports the VCARD contact format and can be exported or saved on your computer in this format.
- A calendar with the ability to create events and notify employees about them by mail.
- Colored message labels, as is customary in Thunderbird mail client. They are assigned keys from 1 to 5. Changes are saved on the server so that the labels are visible in another mail client.
- Flexible advanced search for all mailbox emails. Located in the More... section of the drawer toolbar.
