Initial Configuration
Connection to SafeUTM Web Interface
If you haven’t installed SafeUTM yet, please see the Installation Process article.
After you have successfully installed SafeUTM you can start its initial configuration.
Start an internet browser on any local network computer, for example, Mozilla Firefox or Google Chrome (Internet Explorer is not supported). In the address bar type in the local IP address indicated in the settings during the local network interface installation and port 8443 used by the web interface in the format:
IP-address:port
Example: 192.168.100.2:8443
As encryption is used during connection to the web interface, the internet browser may display an error saying the security certificate was not issued by a trusted certificate authority. In such a case you need to continue to the website by clicking on the corresponding button at the bottom of the window.
Error example in Google Chrome: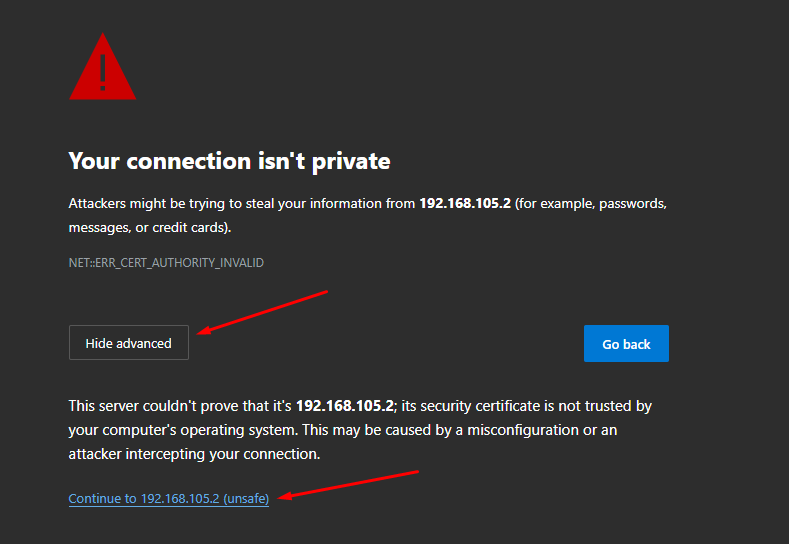
When you continued to the website using the IP address, a SafeUTM web interface authorization window will open. Type in the admin account login and password information you used during SafeUTM installation.
In order to avoid the error in the future, import the UTM root certificate into the browser.
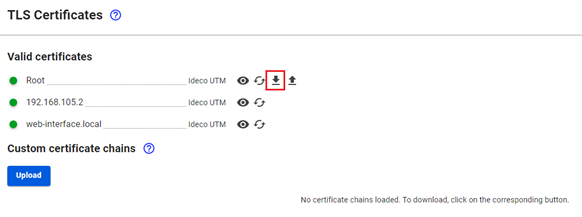
There are two ways to download the certificate:
- Go to Services -> TLS Certificates, and click on the Download root certificate icon:
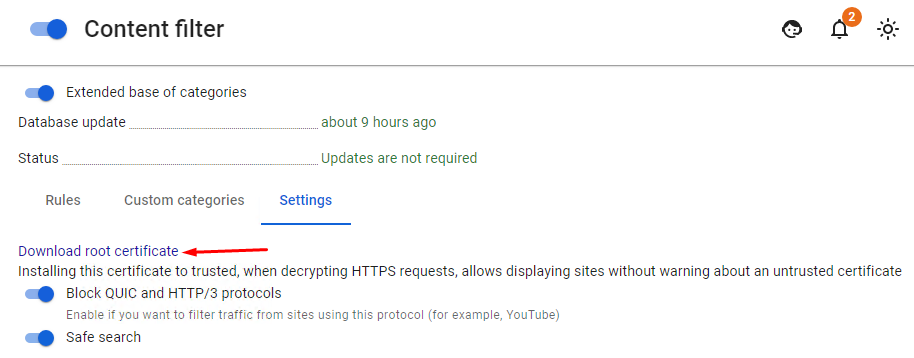
- Go to Traffic rules -> Content filter -> Settings:


After you first log in, you will see a few notifications that will advise you that in order to work correctly SafeUTM needs to set up a connection to the provider and register a server.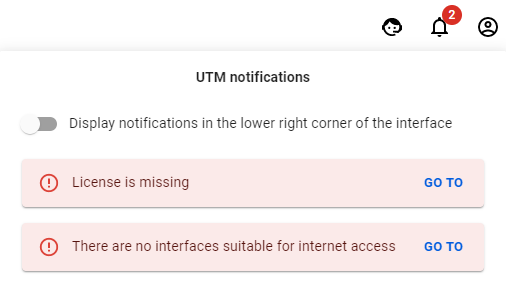
Setting up a Connection to the Internet Provider
In order to set up a connection to the provider go to Services -> Network Interfaces.
Ethernet connection setup
This type of connection requires setting up the parameters described in the table below.
|
Parameter |
Note |
|
Network card |
It is necessary to identify the network adaptor that will be used to connect to the internet provider. To identify the adaptor, you can use either the manufacturer’s name or MAC address. |
|
IP-address and mask |
The network credentials are assigned by the provider. Specify the IP address and netmask as CIDR or a four-octet number. |
|
Default gateway |
Specify the internet provider’s IP address that will be used to connect to the internet. |
If your provider supports auto-configuration of an external network interface using DHCP protocol, tick Automatic Configuration via DHCP.
In order to set up an Ethernet connection follow these steps:
1. Click on "+ Add" in the upper left corner and select External Ethernet.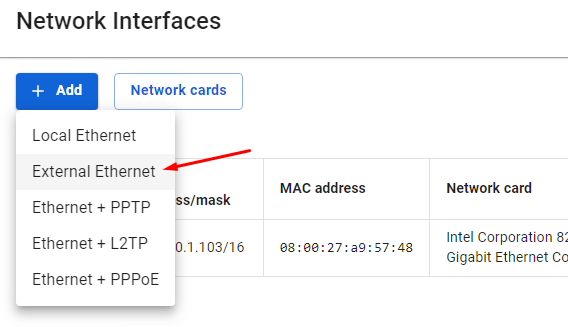
Attention!
If you select Local Ethernet and set it up as External Ethernet, internet access will not be possible.
2. Choose the applicable Network card.
3. Fill out the following mandatory fields:
- Title
- IP-address/mask
- Gateway (or tick the Automatic configuration via DHCP);

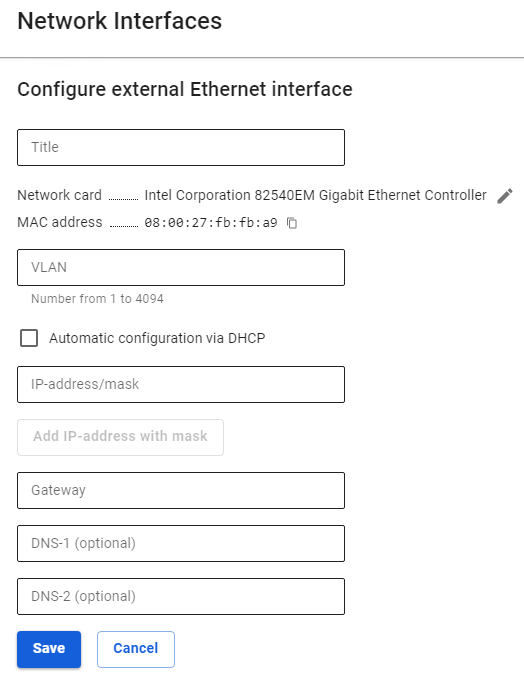
4. Check that all the data are correct and click Save.
Setting up other types of connection
If your provider uses another type of connection, you can see other setup manuals following the links below:
- PPPoE connection
- PPTP connection
- L2TP connection
- Local Ethernet connection
- 3G and 4G connection
- Simultaneous connection to several providers
After connecting to the internet, it is necessary to register a server.