Huawei iMaster NCE Campus Setup
Prerequisites
- Sign up for a Reseller account by contacting the SafeDNS Sales team (sales@safedns.com).
- Create a sub-account for each tenant or group of tenants, implementing the multi-tenant capability of SafeDNS.
- Configure the filtering rules for each tenant.
- Receive the public Subscription API key from the SafeDNS manager.
To read more about API methods, please check the Subscription API documentation.
Setup
Connect a SafeDNS account to iMaster NCE controller
Activate URL-Filtering
- Select a site in iMaster NCE controller, on which you want to use URL Filtering
- Navigate to Provision > Physical Network > Site Configuration.
- Select a site from the site drop-down list in the upper left corner.
- Navigate to the Site Configuration tab.
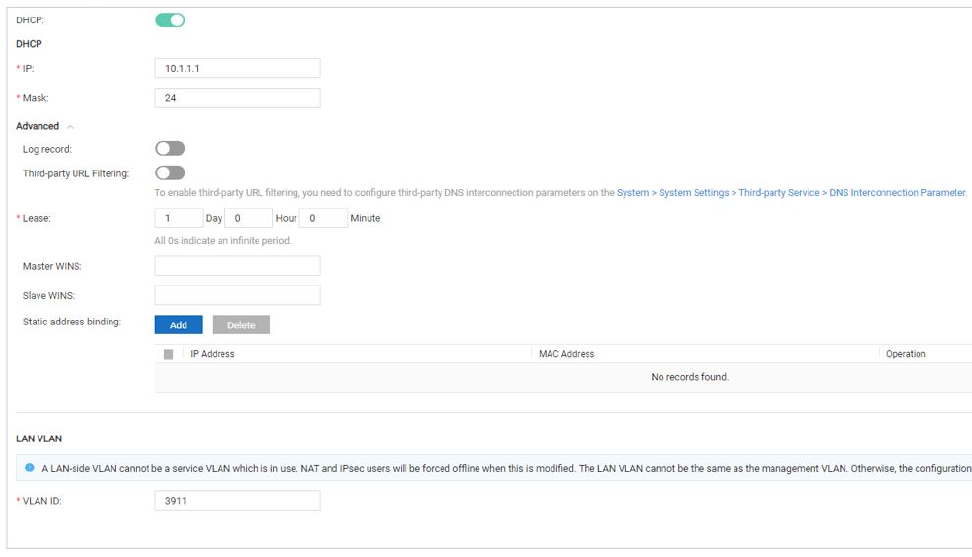
- Navigate to AP > Advanced.
- Enable DHCP.
- Set DHCP server parameters.
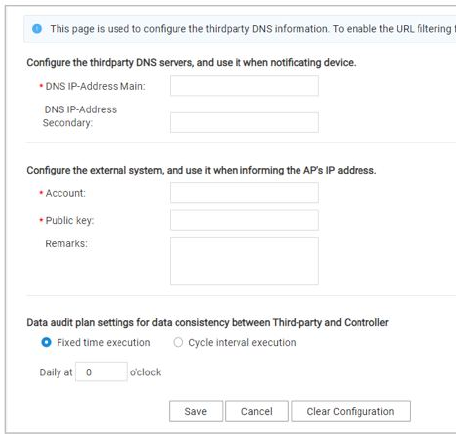
- Enable Third-party URL Filtering.
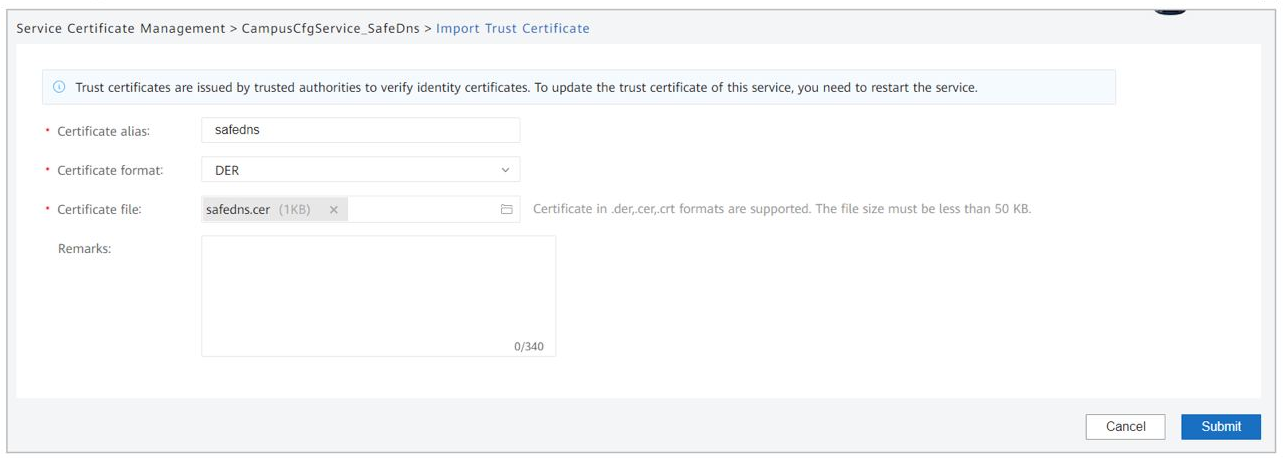
(Optional) Update TLS certificate
A SafeDNS certificate is used for unidirectional authentication between iMaster NCE-Campus and a third-party SafeDNS server.
This operation is involved in URL filtering by SafeDNS.
By default, the SafeDNS certificate is preinstalled on iMaster NCE-Campus.
Contact SafeDNS if you need an updated certificate.
- Log in to iMaster NCE Campus as the system administrator.
- Navigate to System > System Management > Certificate Management.
- Select Service Certificate Management
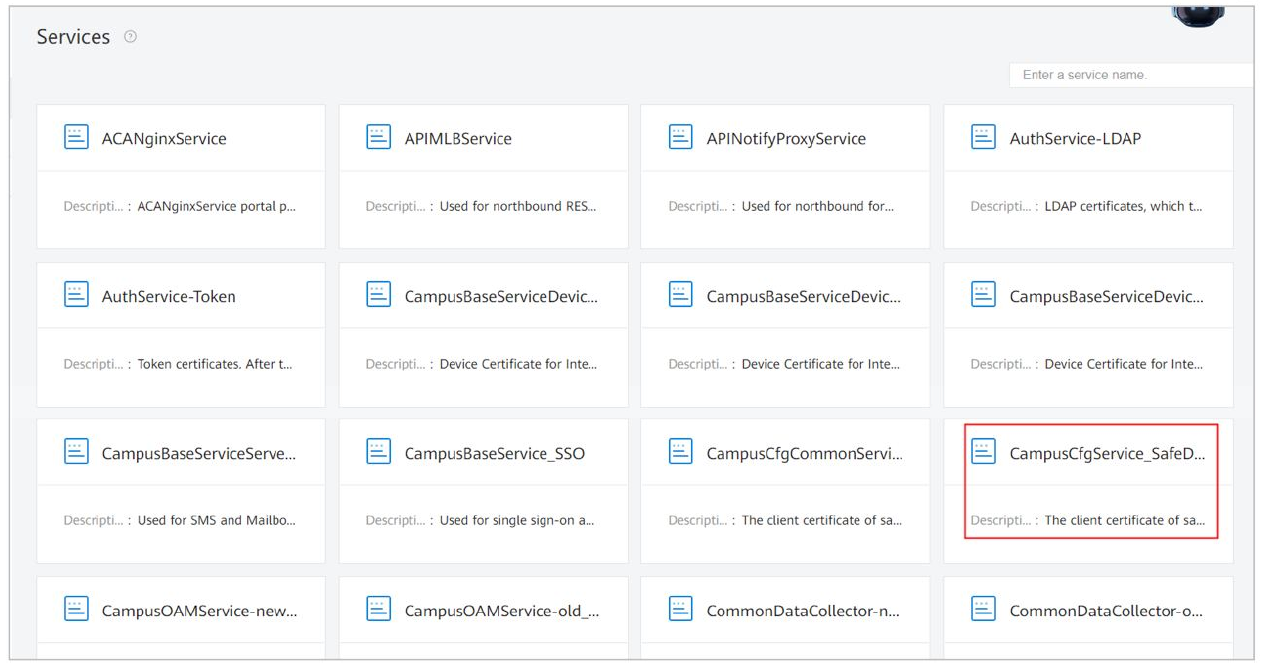
- Select CampusCfgService_SafeDNS.
- Click on the Trust Certificate tab.
- Click Import.

- Set Certificate Format to DER.
- Select the certificate file and click Submit.
- Wait for 2 minutes.
- Restart the CampusCfgService service for the certificate to apply:
- Log in to the management panel.
- Navigate to Product > System Monitoring > Service tab.
- Search for CampusCfgService.
- Select the service.
- Click Stop.
- Click Start.
- Log in to the management panel.
- Log in to the iMaster NCE Campus and check whether the certificate file is successfully uploaded to the following path:
/opt/oss/NCECAMPUS/apps/CampusCfgService/controller/configuration/safedns