DD Client Setup
This guide explains how to install ddclient software in the case when you have a Dynamic IP address and your router does not have a Dynamic DNS feature.
Install and configure DDclient software

- Install DDclient (download link).
- Click "Next" until your reach the "Select Dynamic DNS server" window (see screenshot above).
- Enter any preferred name in the "Client hostname" field. (please do not use the space in this field)
- Enter www.safedns.com in the "Dynamic DNS server".
- Select HTTPS in the "Connection".
- Select dyndns2 in the "Dynamic DNS protocol".
- Enter your SafeDNS account login in the "Dynamic DNS username".
- Enter your SafeDNS password in the "Dynamic DNS password".
- Continue clicking "Next" until the setup process is finished.
After the installation
Check if the IP address is successfully bound to service in the ddclient.log file. There should be a line like this:
SUCCESS: updating my computer name: good: IP address set to 18.26.28.10
On Windows 10, 11 you can find the log file here:
- C:\Windows\ServiceProfiles\NetworkService\AppData\Local\ddclient.log
On Windows 7:
- C:\windows\ServiceProfiles\NetworkService\AppData\Local\ddclient.log
- C:\windows\ServiceProfiles\LocalService\AppData\Local\ddclient.log
- C:\Users\username\AppData\Local\ddclient.log
On Windows XP:
- C:\Documents and Settings\LocalService\Local Settings\Application Data\ddclient.log
- C:\Documents and Settings\NetworkService\Local Settings\Application Data\ddclient.log
- C:\Documents and Settings\username\Local Settings\Application Data\ddclient.log
If the log file is correct, the DD Client table in Dashboard > Settings > Devices (link) will be updated automatically.
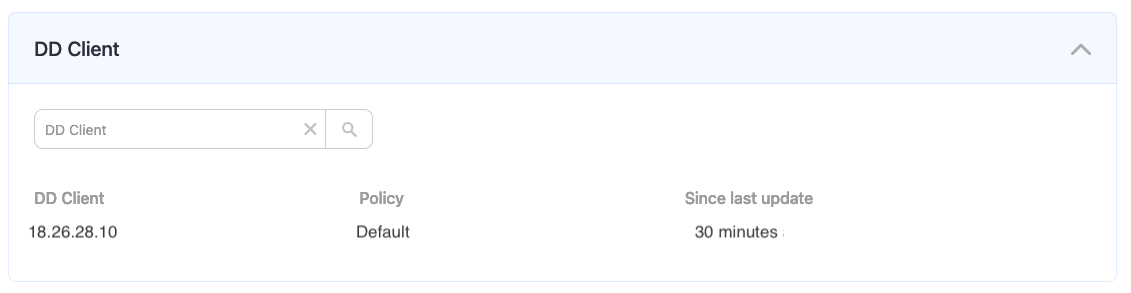
By default, DD Client checks the IP every 15 minutes. If the IP is changed, it will be updated in the SafeDNS Dashboard.
Please note that settings take 5-7 minutes to apply.
Stats and filtering status update every 10 minutes.