Router Setup (IPv6)
Router with static IP address configuration
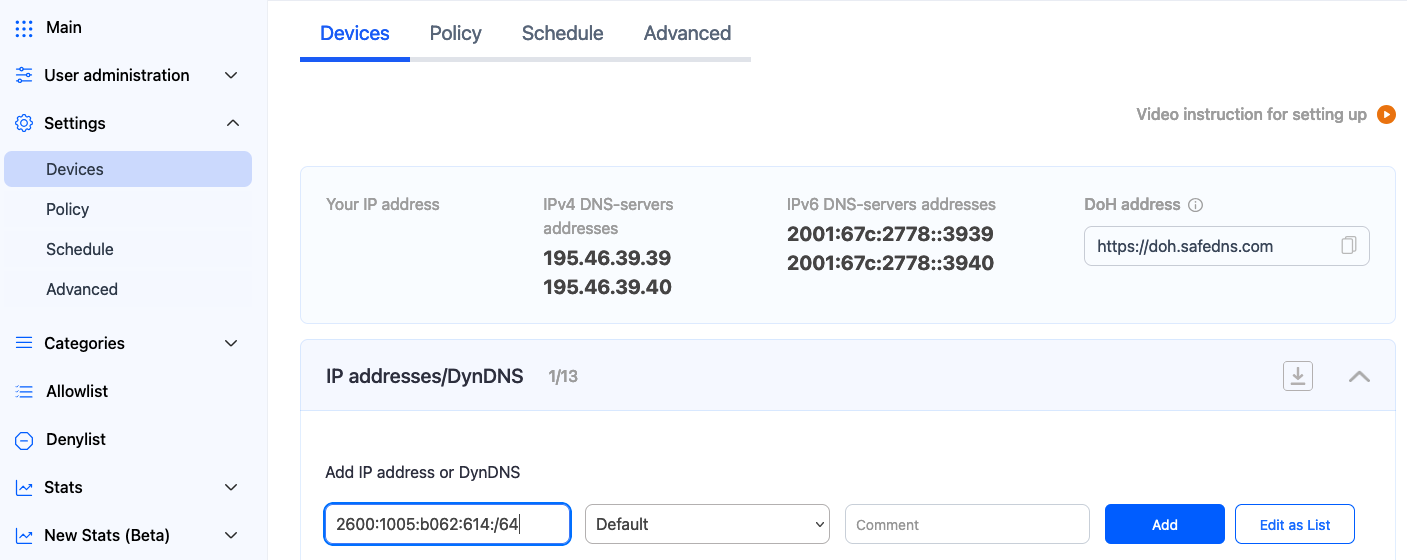
Go to SafeDNS Dashboard > Settings > Devices and copy your IP address to the "IP addresses / DynDNS" box, choose a policy, and click "Add".
We recommend adding the whole IPv6 router subnet - first 4 segments with /64 at the end. Example: 2600:1005:b062:61e4::/64 instead of 2600:1005:b062:61e4:1111:2222:3333:4444.
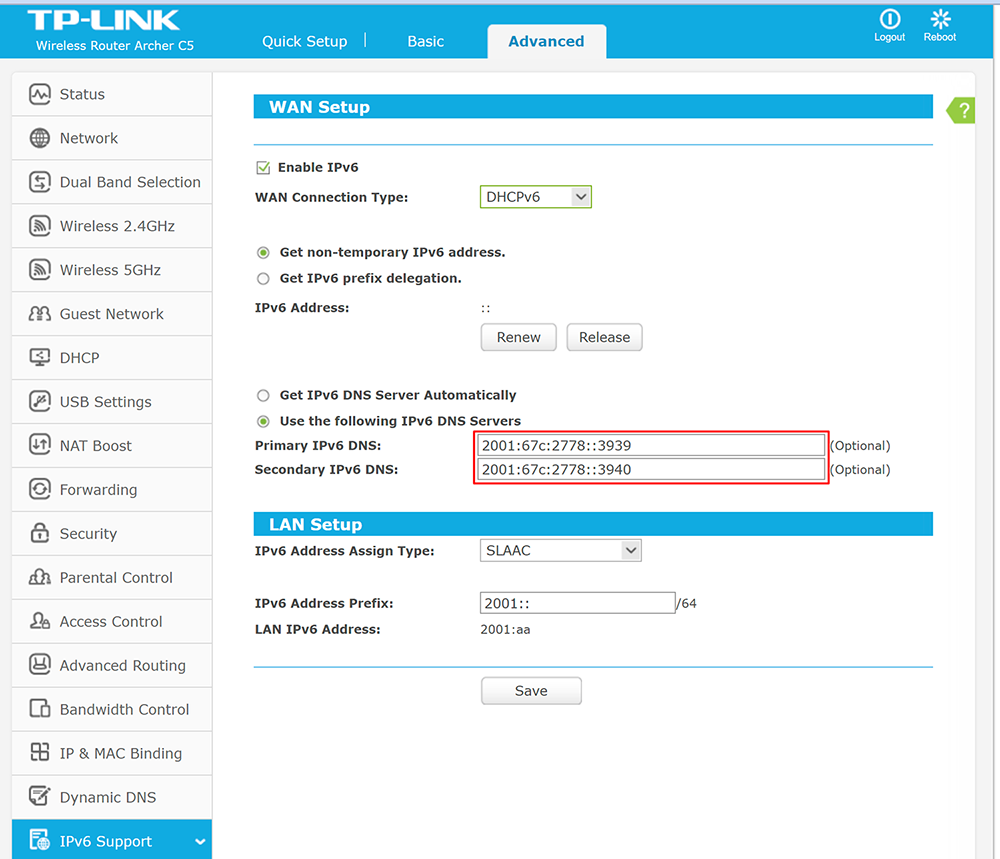
2. Change your router’s DNS servers to SafeDNS addresses - 2001:67c:2778::3939 and 2001:67c:2778::3940
Open the router’s settings page, click the "Advanced" tab, and choose IPv6 in the left menu. Choose "IPv6 setup" and type in SafeDNS IPv6 addresses.

You have successfully configured your router.
Please note that settings take 5-7 minutes to apply.
Stats and filtering status update every 10 minutes.
Router with Dynamic IP address configuration
In case you have a Dynamic IP address, you need to configure the DynDNS/DDNS on the router using a Dynamic DNS service.
Most modern routers provide their own DynDNS services. We recommend using them.
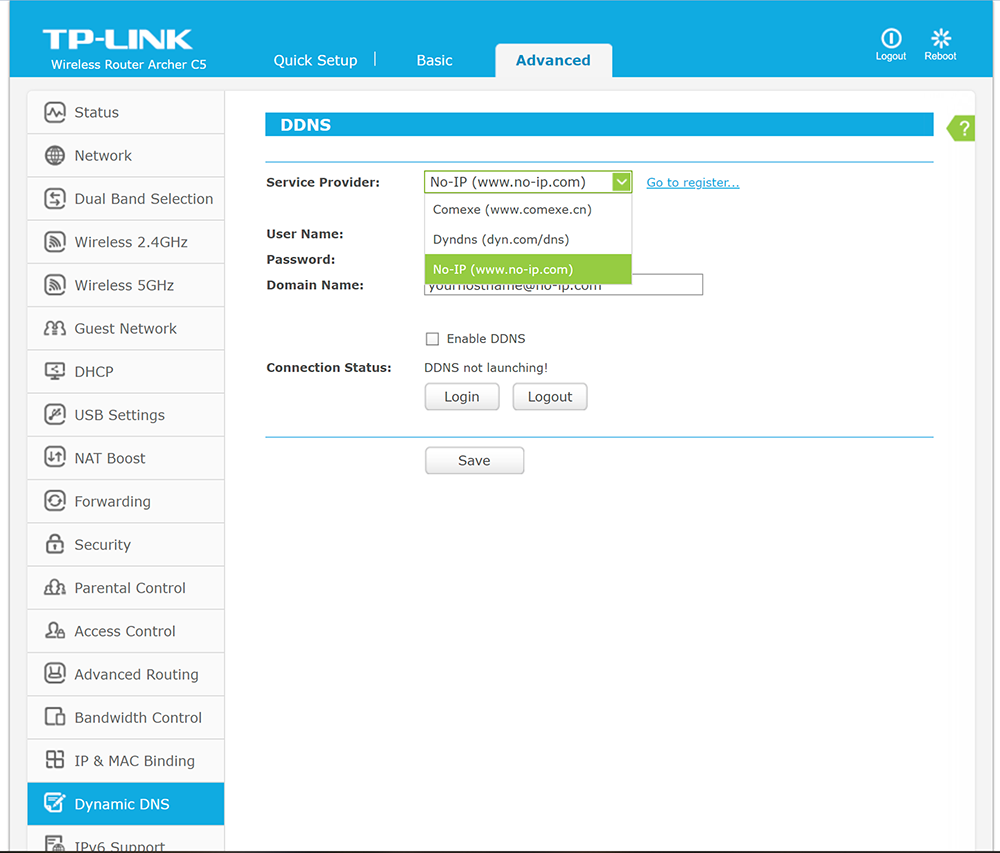
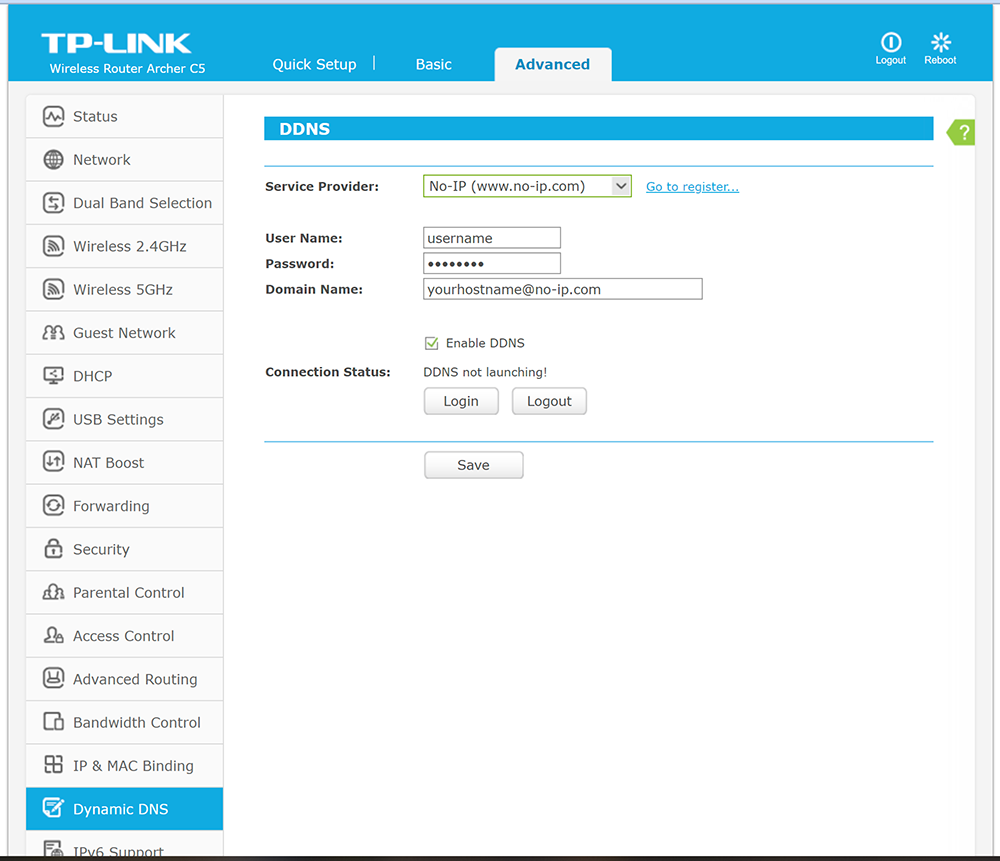
Here's an example of the DynDNS menu on the TP-Link router with the TP-Link service provider:
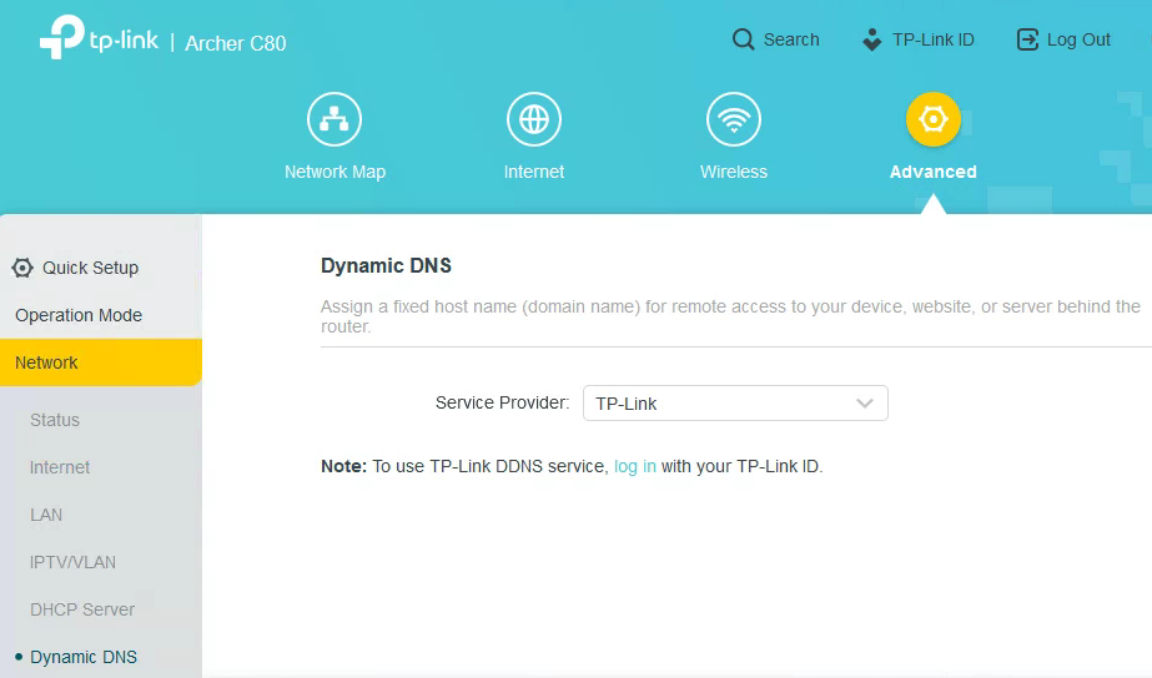
You only need to create a DynDNS record in the router interface. Then skip to Step 6 below.
If your router does not have its own DynDNS service provider, we recommend using third-party NO-IP DynDNS.
1. In the router setting, go to DynDNS/DDNS settings.
2. Check the DynDNS service available for your router. If available, we recommend using the No-IP DynDNS service provider.
3. Go to the website noip.com and sign up.

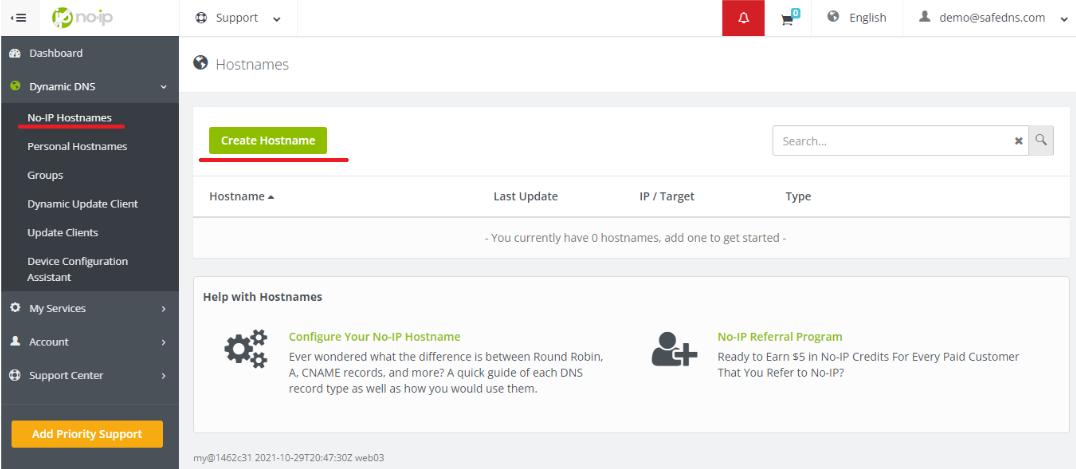
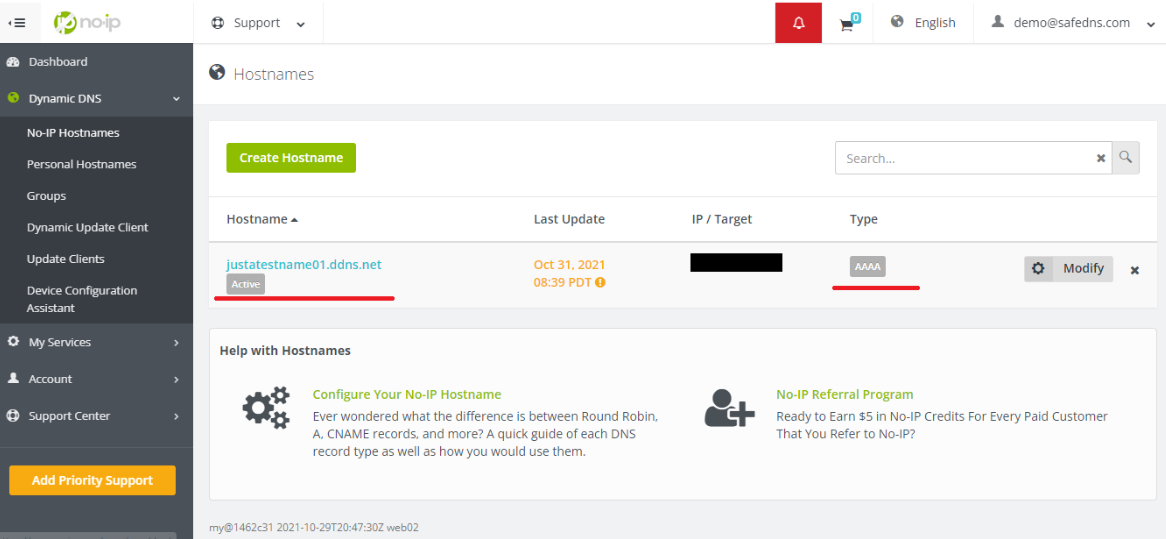
4. In your No-IP account, create a hostname (any name you can think of).
5. Choose the IPv6 type and create the hostname. Make sure that the "IPv6 Address" field is containing your IPv6 address: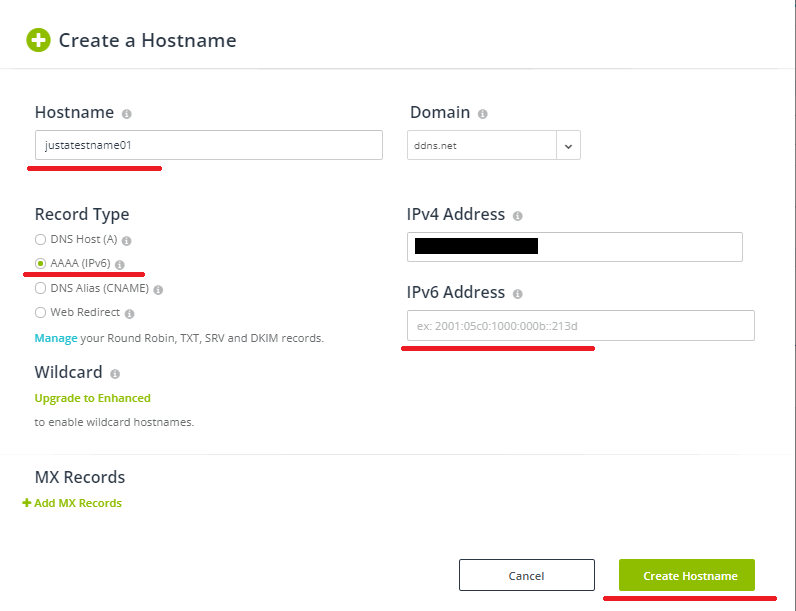
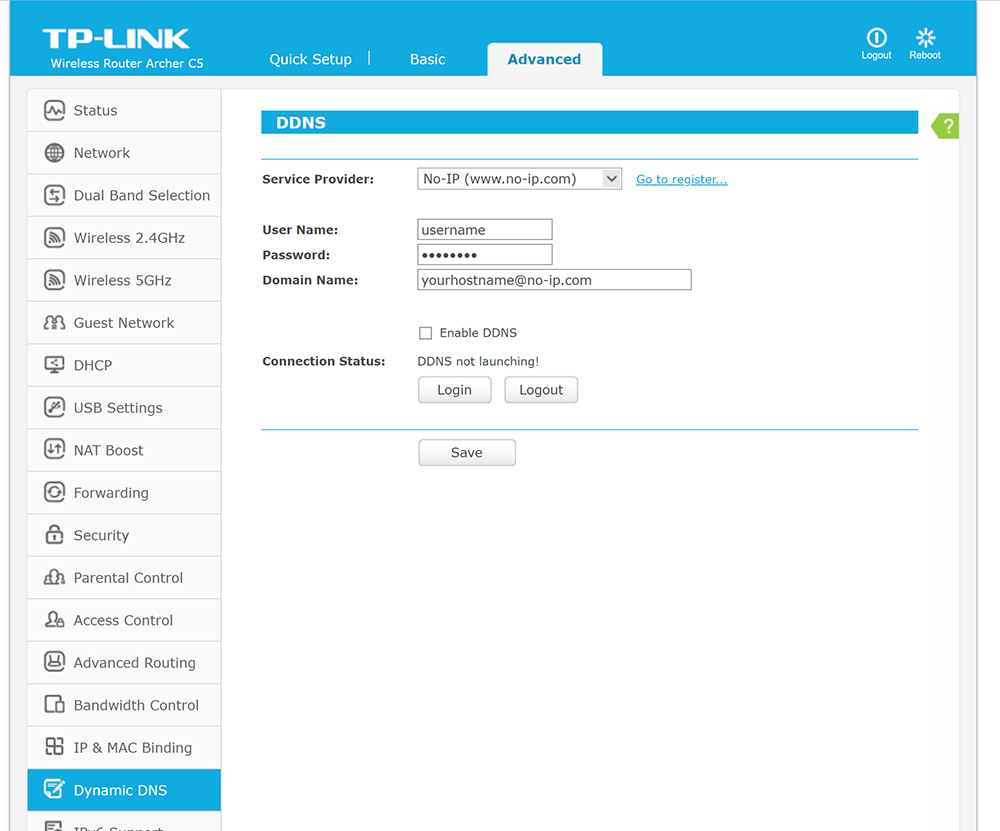
6. Go back to your router and configure DDNS/DynDNS
- Select No-IP as "Service provider".
- Type in the created hostname in the "Hostname" field.
- Type in your No-IP account credentials as "Username" and "Password", and click "Save".

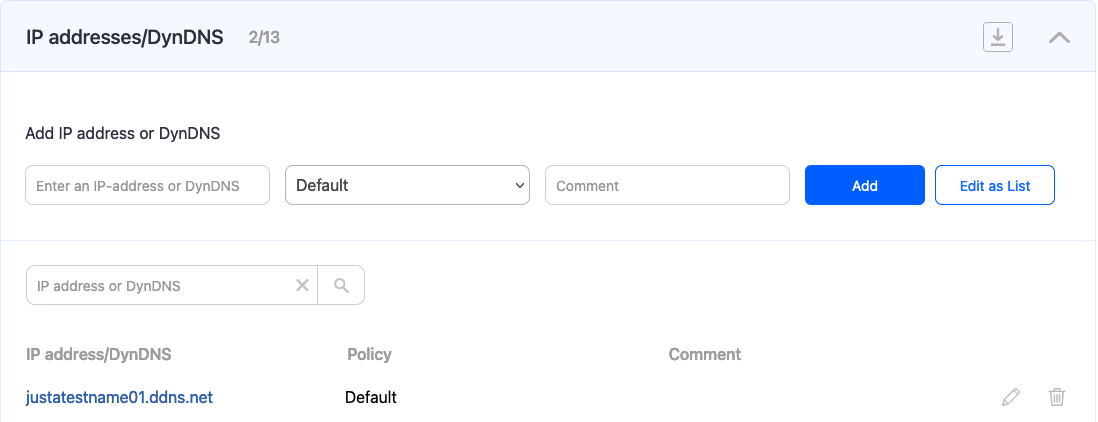
7. Go to SafeDNS Dashboard -> Settings -> Devices and copy your DynDNS hostname to the "IP addresses / DynDNS" box, choose a policy, and click "Add".
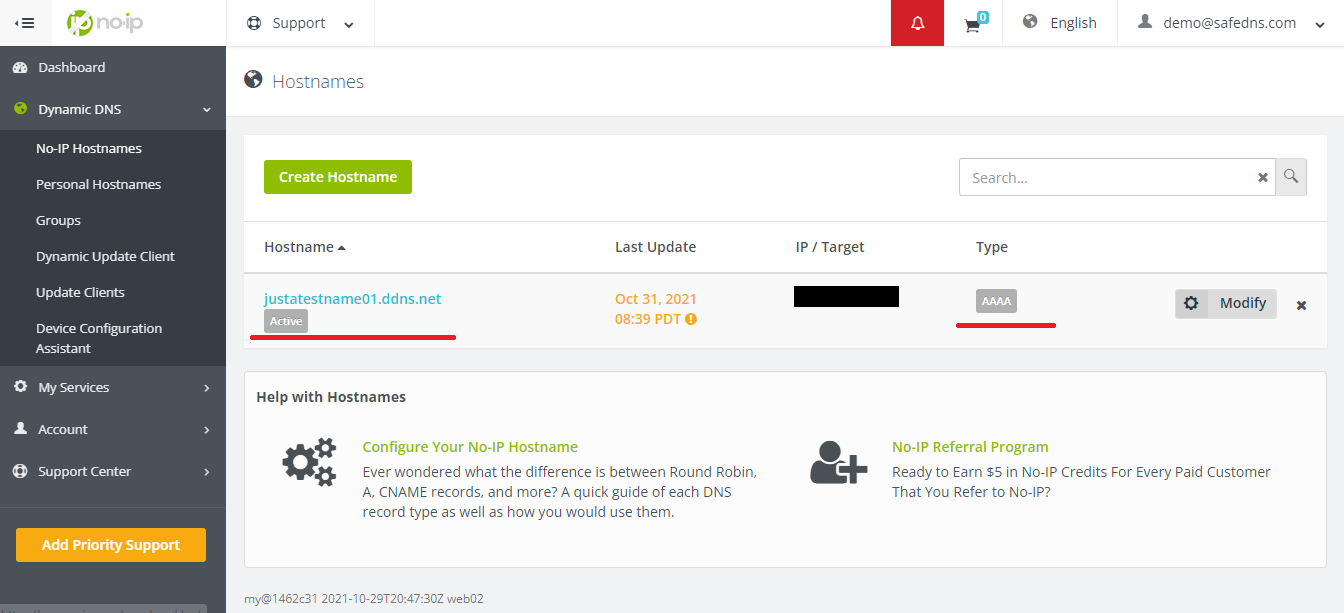
Once added, you will see it in the DynDNS section of the Dashboard.
8. Change your router’s DNS servers to SafeDNS addresses - 2001:67c:2778::3939 and 2001:67c:2778::3940
Open the router’s settings page, click the "Advanced" tab, and choose IPv6 in the left menu. Choose "IPv6 setup" and type in SafeDNS IPv6 addresses.
You have successfully configured your router.
Please note that settings take 5-7 minutes to apply.
Stats and filtering status update every 10 minutes.
Configuring the filter using the DDclient
In rare cases when your router does not have a DynDNS/DDNS setting and your IP is Dynamic, you need to use third-party software - DDclient - on the PC connected to the network:
1. Install DDclient on a PC connected to the network. Once DDclient is installed, all devices connected to the same network will be filtered by the same rules.
2. Set up DNS servers in your router: