SafeDNS Agent Intune installation
1. Setting up the Intune environment
Firstly, need to set up the user, and domain in the Intune panel, add the software, configure it, and then log in to the Microsoft/Intune account from the client's computer.
To install the SafeDNS agent, download the .exe installation file from the SafeDNS Dashboard. Then the installation file should be converted into a .intunewin file.
Before starting the installation ensure that the necessary licenses are active.
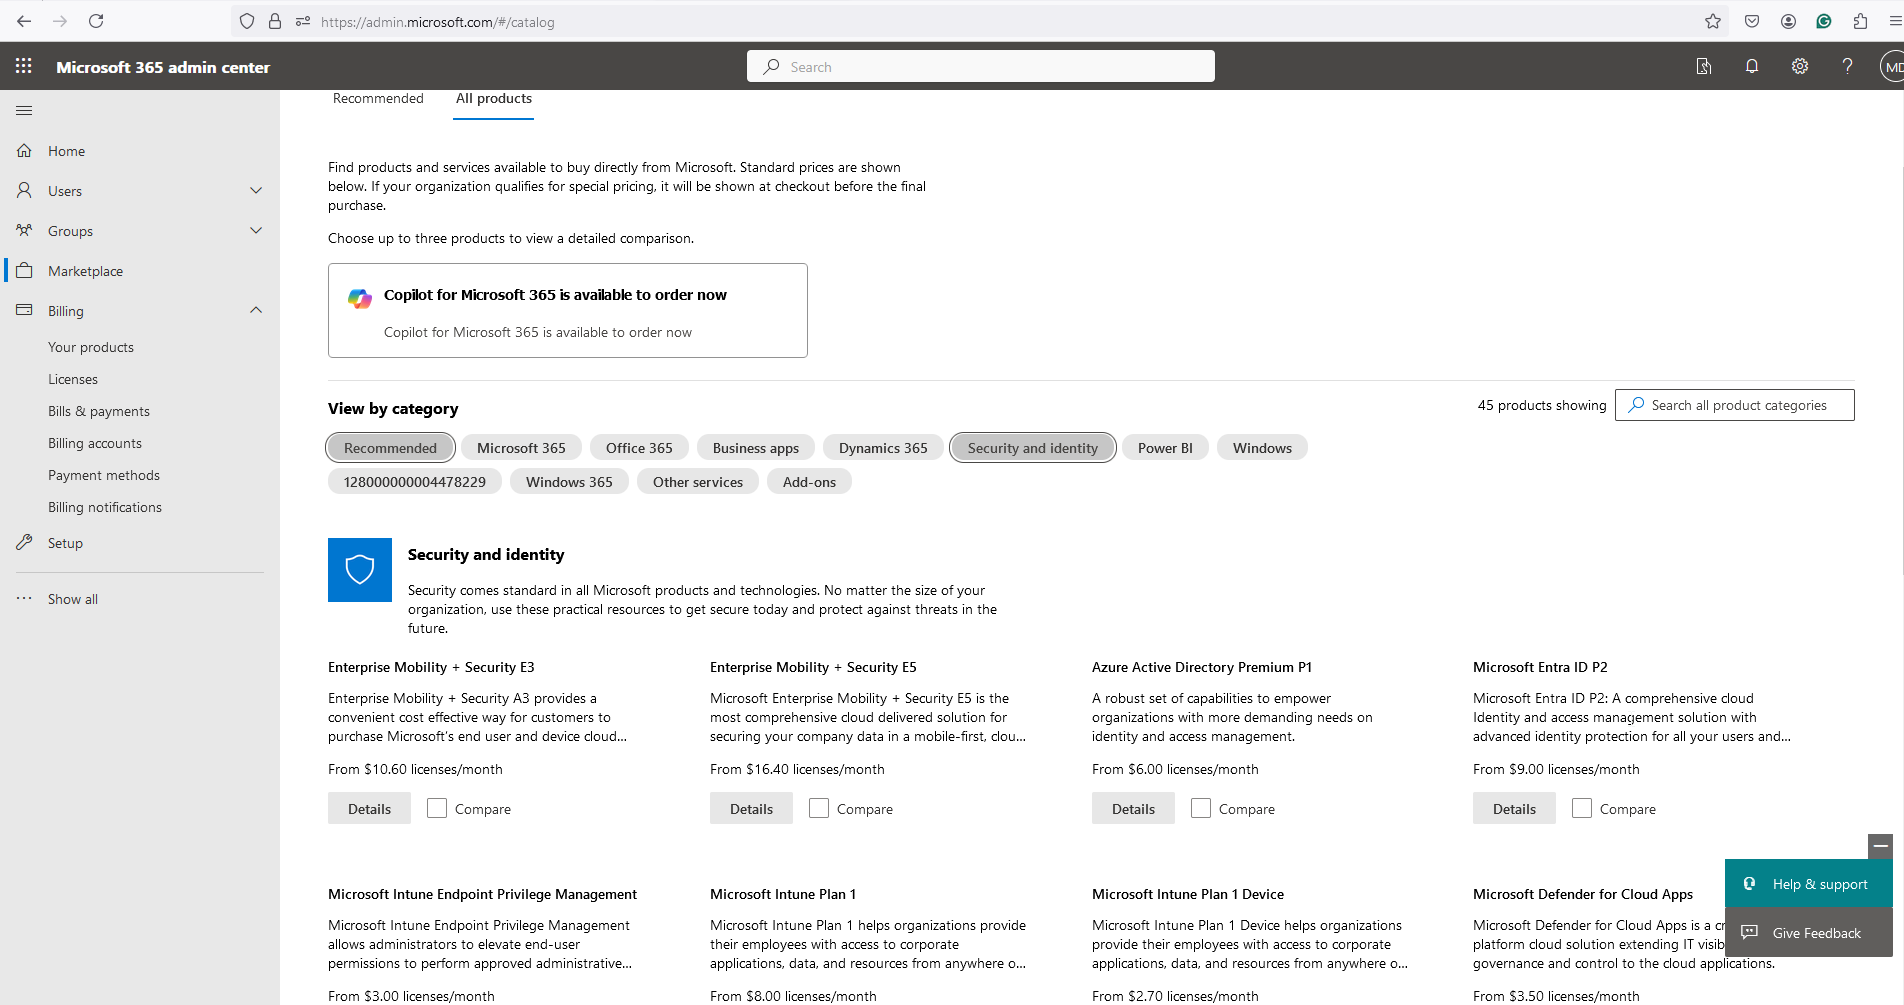
If there are no licenses, go to Marketplace > All Products > Security and Identity and select needed licences.
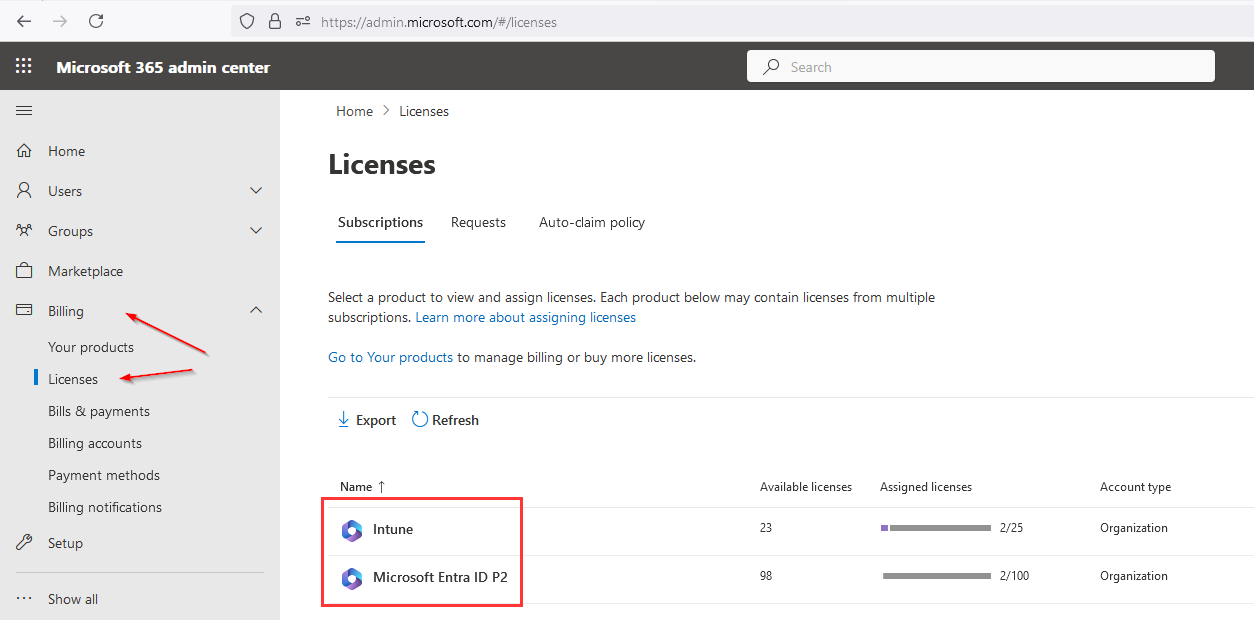
1. Open Microsoft 365 Admin Center: https://admin.microsoft.com. Select Billing > Licenses
Make sure that the following licenses are active:
1. Intune
2. Microsoft Entra licenses ID P2
2. If there are no licenses, go to Marketplace > All Products > Security and Identity, select the licenses listed above, and order them.
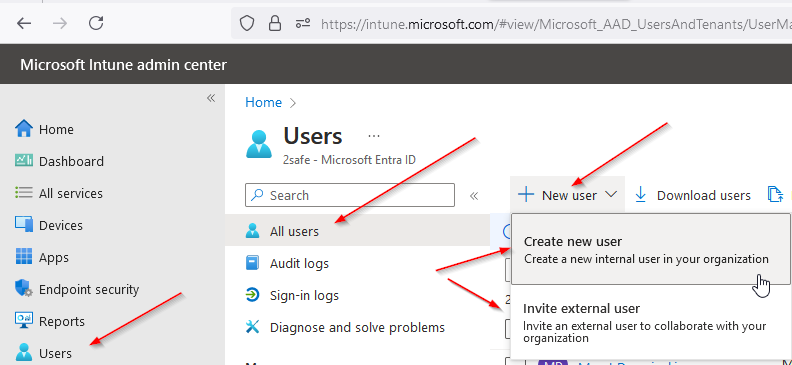
3. The next step is creating/adding users to log in from client computers. New users can be created or invited to existing external users.
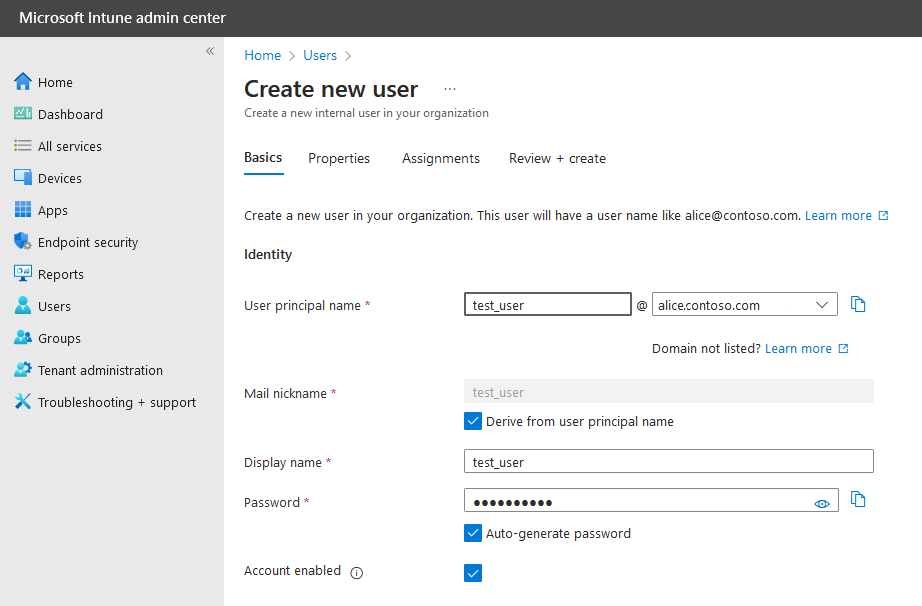
4. Creating the username, nickname, display name, and password:
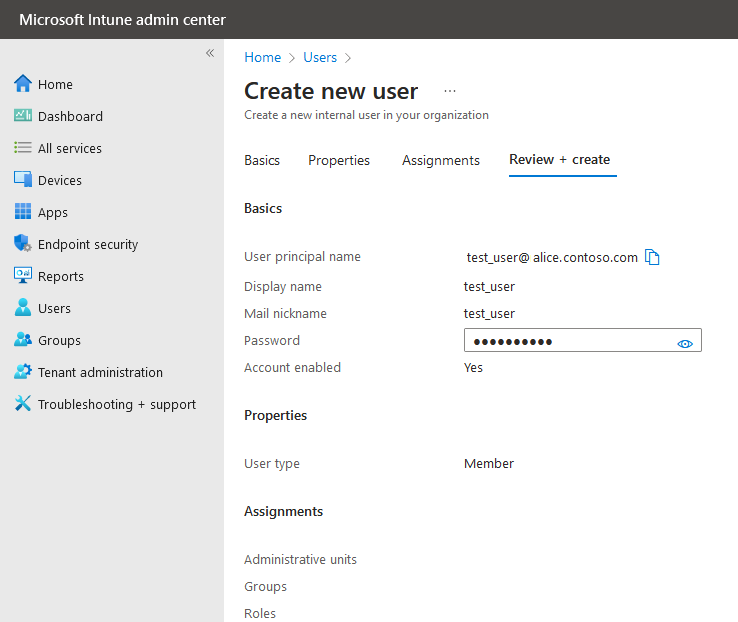
5. Review and check the parameters, then finish the process of user creation:
6. Go to the Intune admin panel: https://intune.microsoft.com
There might be a need to enter a password or use the Microsoft authenticator from the phone
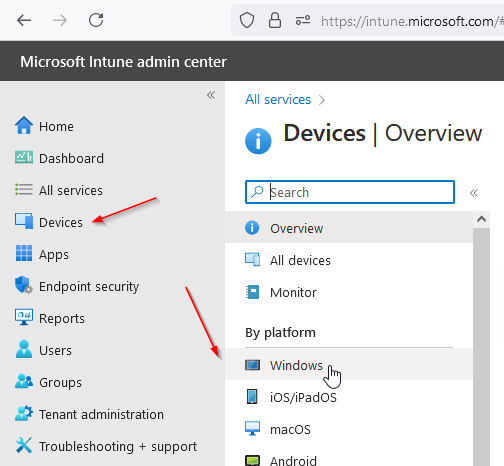
Go to Devices > Windows:
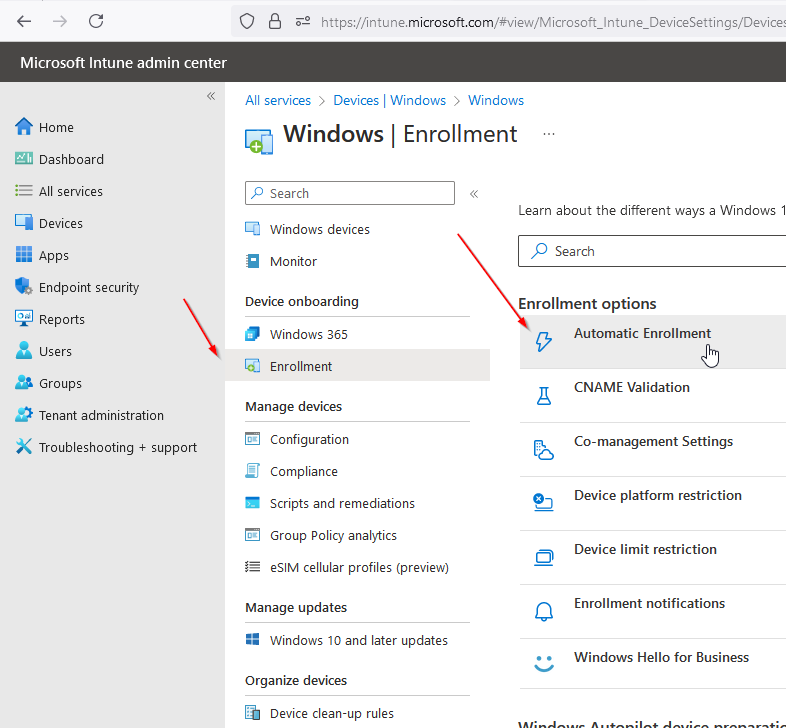
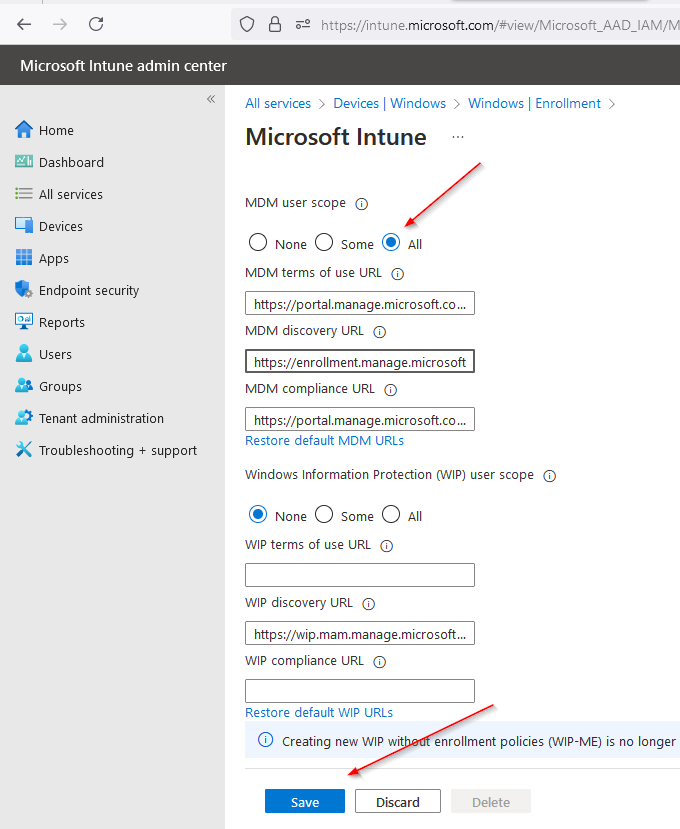
7. Select Enrollment > Automatic Enrollment:
8. Activate MDM user Scope > All and Save the settings:
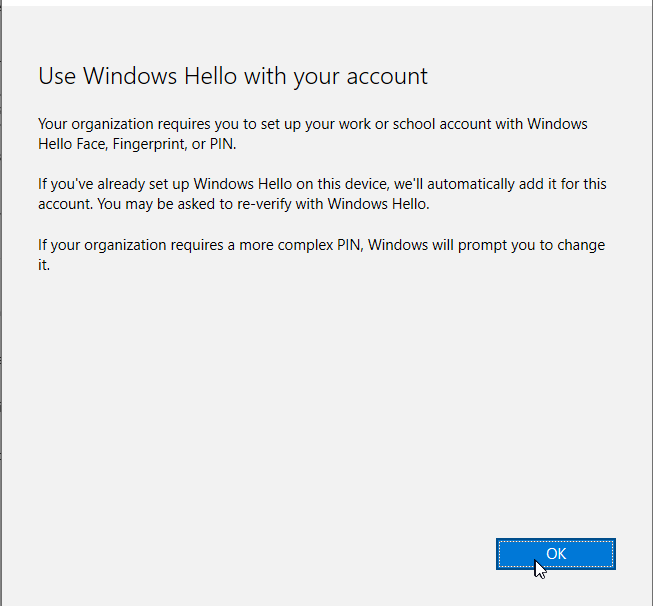
9. Set the PIN code to unlock the device using the Windows Hello for Business feature:
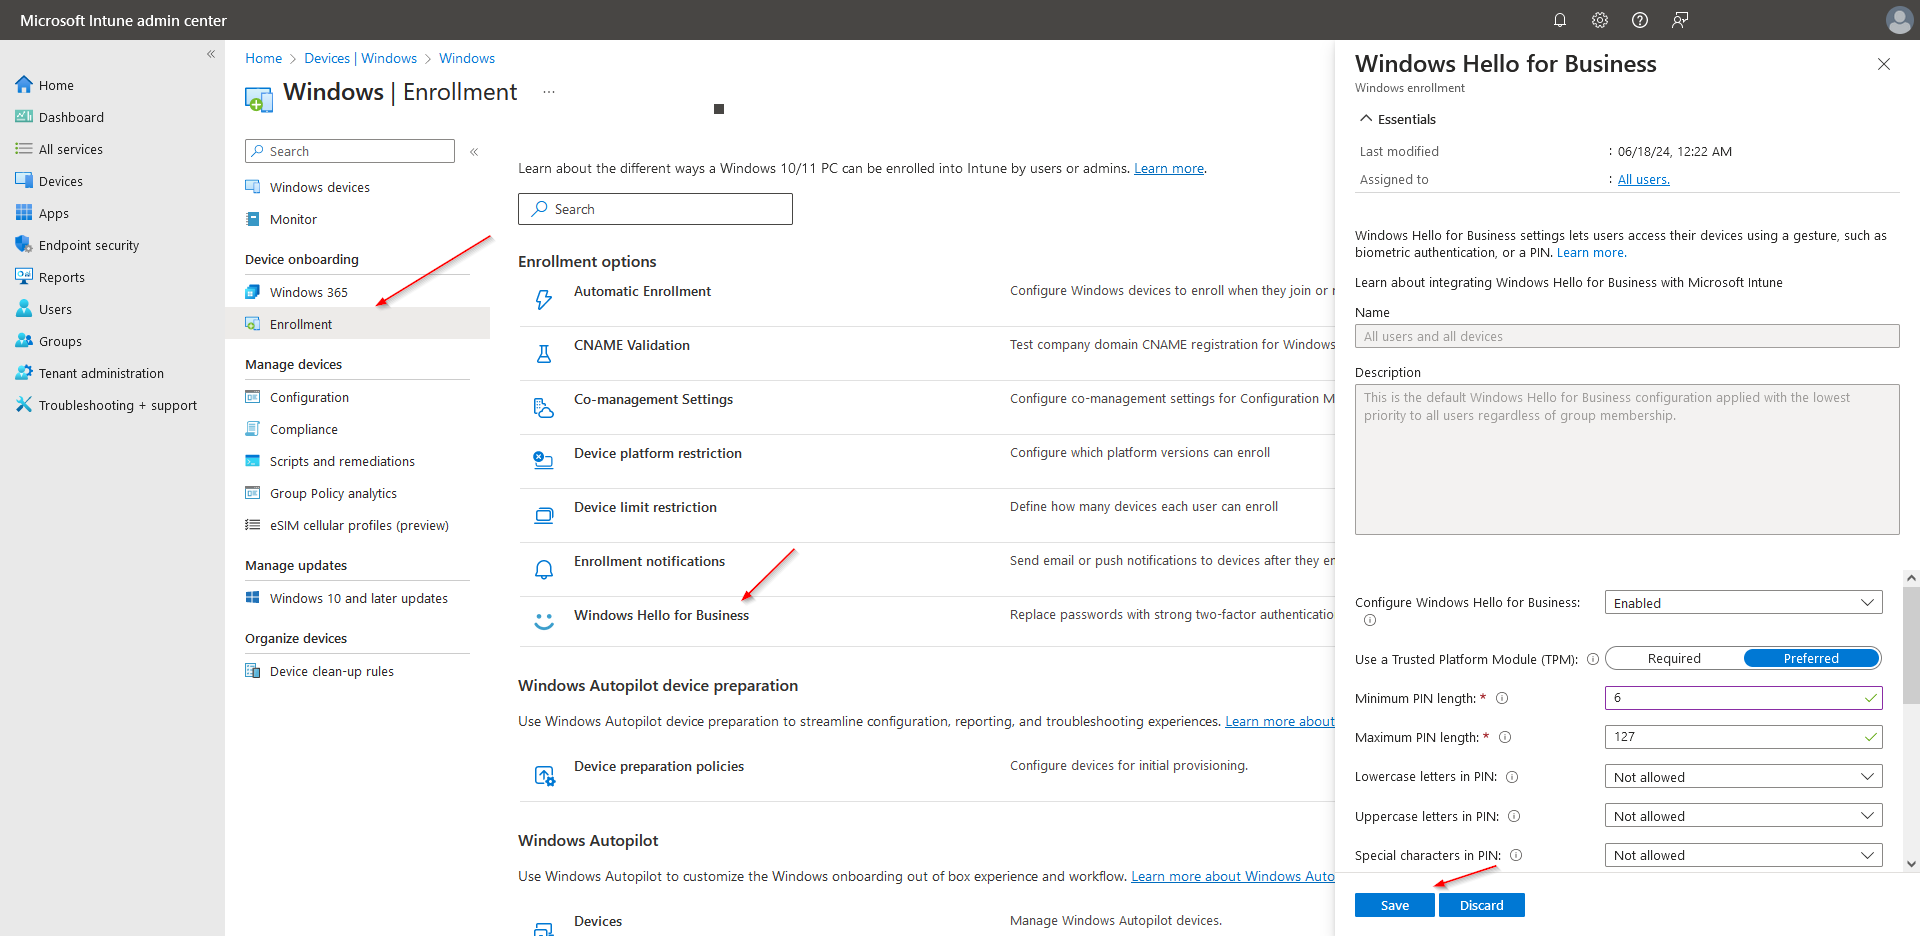
10. The settings are on the right-side panel. Once the settings are configured, save the changes.
Now using the credentials created above user can log in to the Azure Active Directory
2. Preparing application for Intune Portal
Prepare the application to be loaded into the Intune Portal. The supported format of the application is the *.intunewin To create the application, use the tool IntuneWinAppUtil.exe
For more information on how to prepare the *.intunewin application, follow the guide below:
1. Microsoft Win32 Content Prep Tool link: https://go.microsoft.com/fwlink/?linkid=2065730
The tool creates the *.intunewin application that is ready to upload into Intune. Here is the link on how to do it.
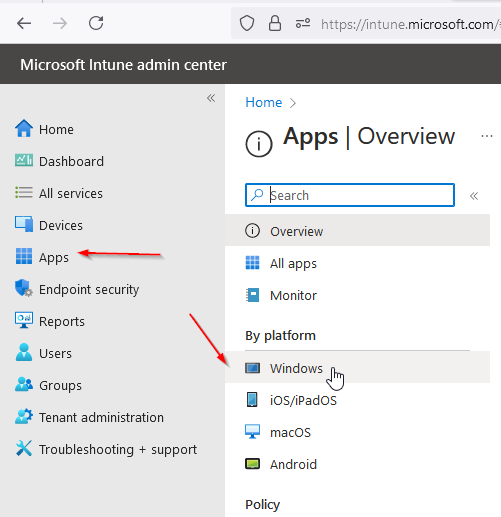
2. The next step is to configure the application:
Go to Apps > Windows
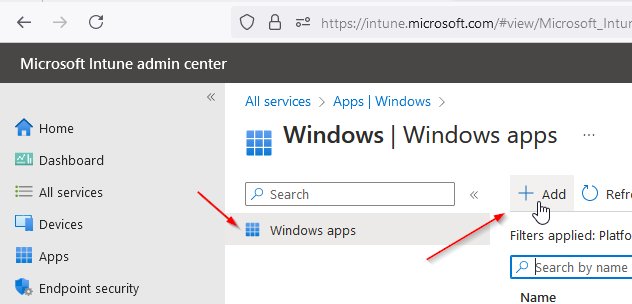
3. Add the newly created *.intunewin application:
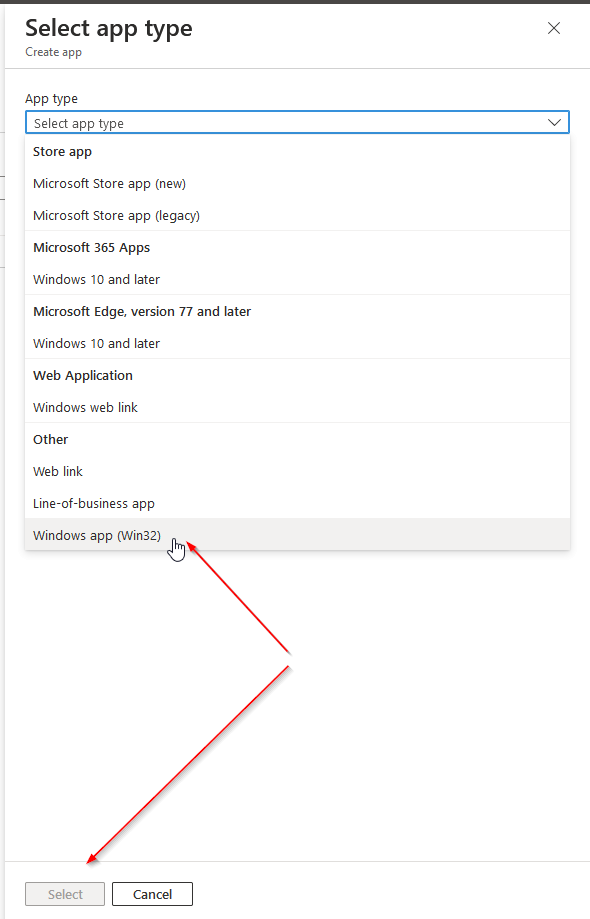
4. Select from the list of Windows app Win32, and tap Select:
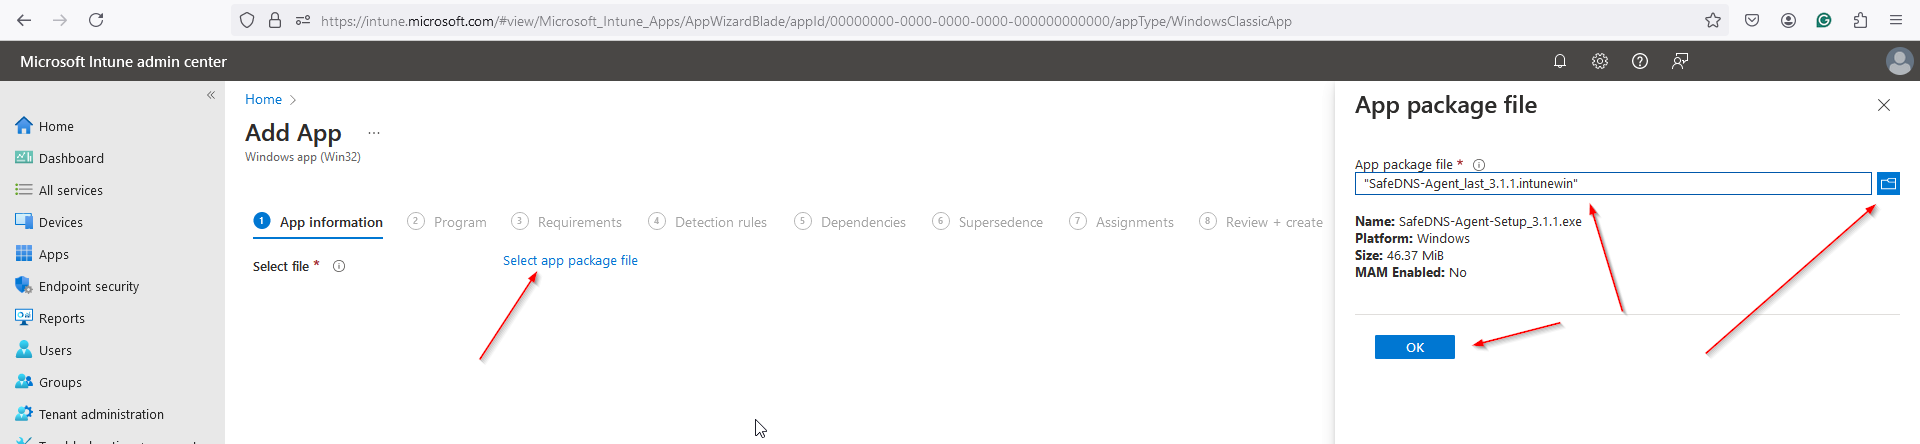
5. Press the Select app package file button, select the recently created .intunewin file, and tap OK:
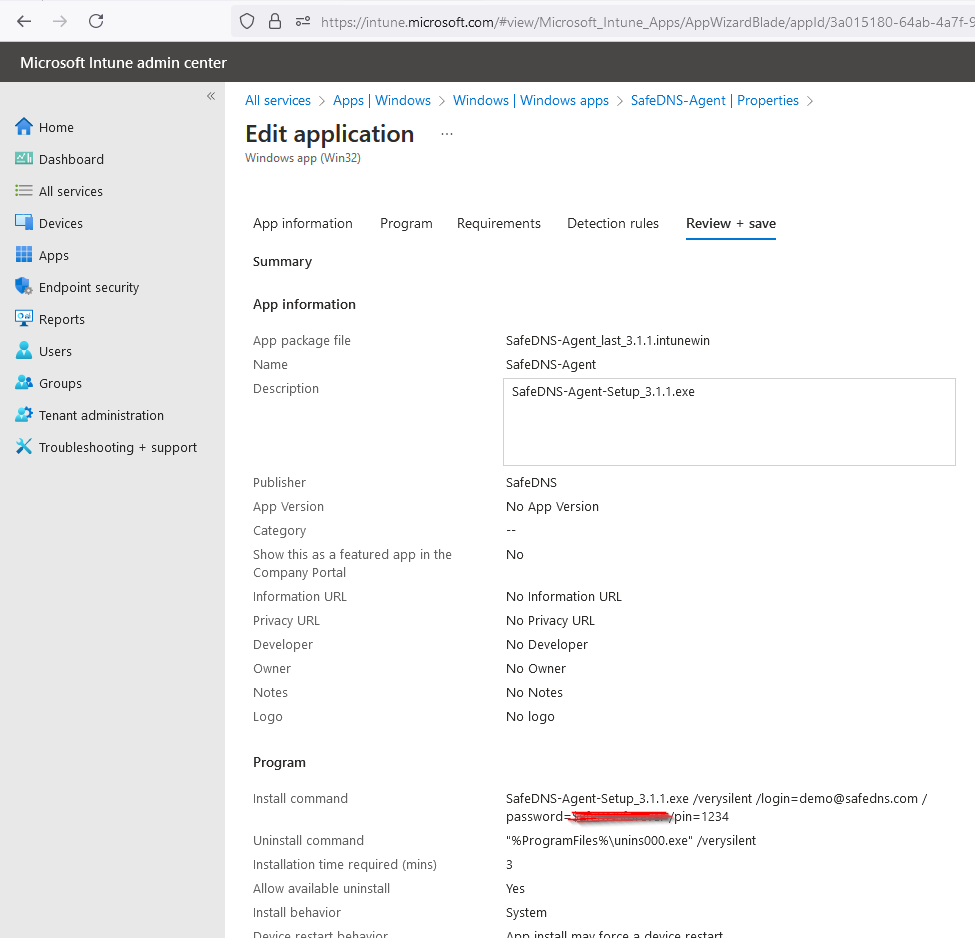
Install command: SafeDNS-Agent-Setup_3.1.1.exe /verysilent /login=demo@safedns.com /password=safedns6789
Uninstall command: "%ProgramFiles%\unins000.exe" /verysilent
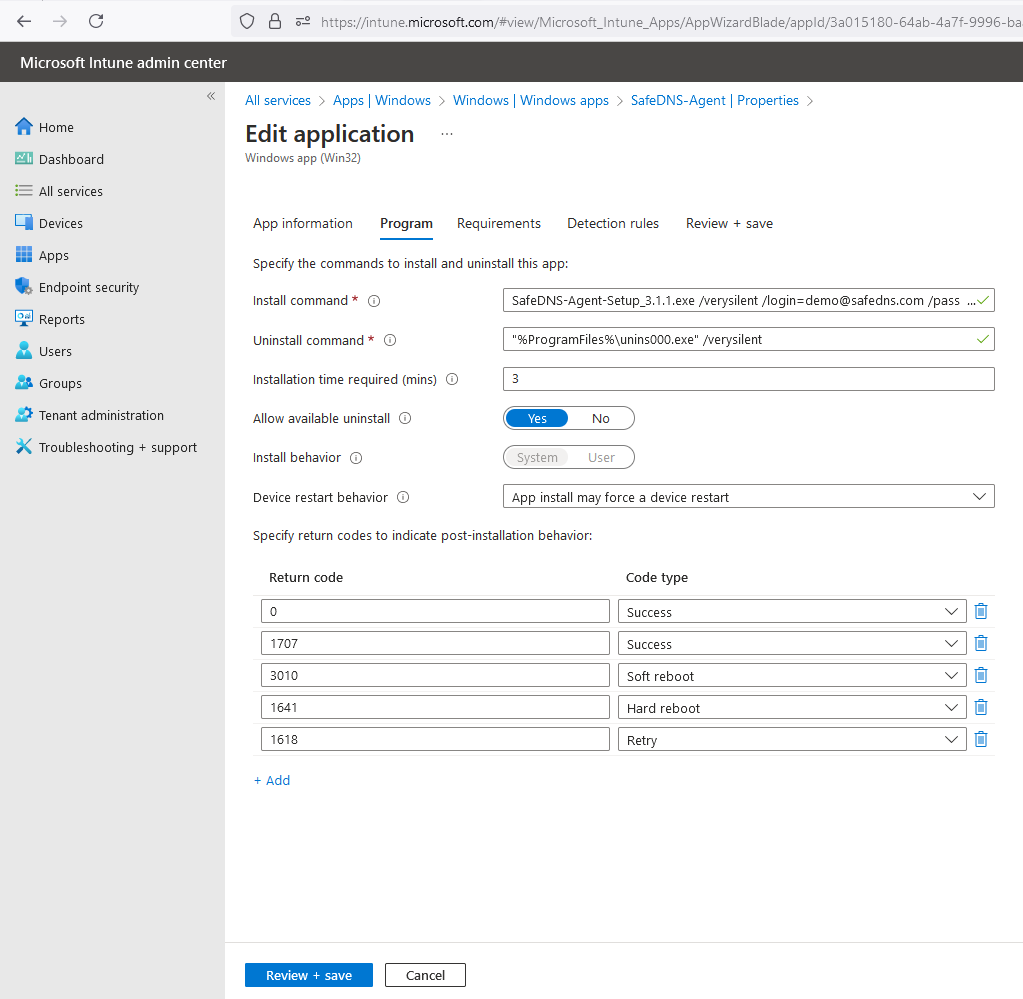
7. Install commands that are available in the following guide:
https://docs.safedns.com/books/installation-guides/page/agent-unattended-installation
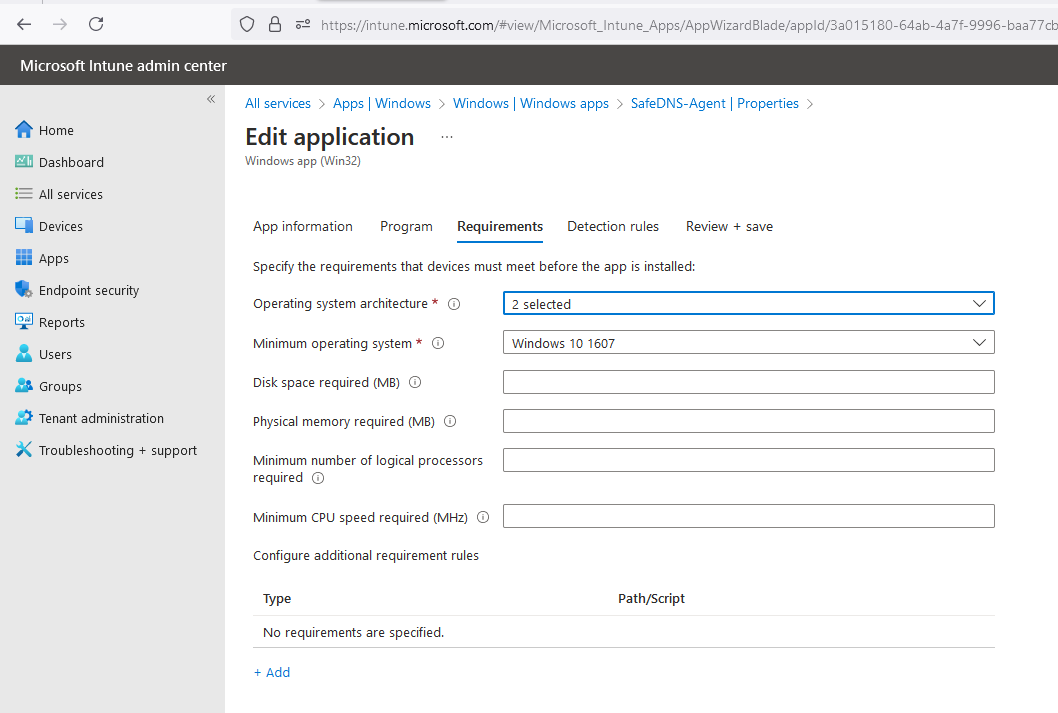
8. In the next tab select both ОS Operating system architecture 32-bit and 64-bit and Minimum operating system - Windows 10 1607
9. It is important to configure the Detection rule options:
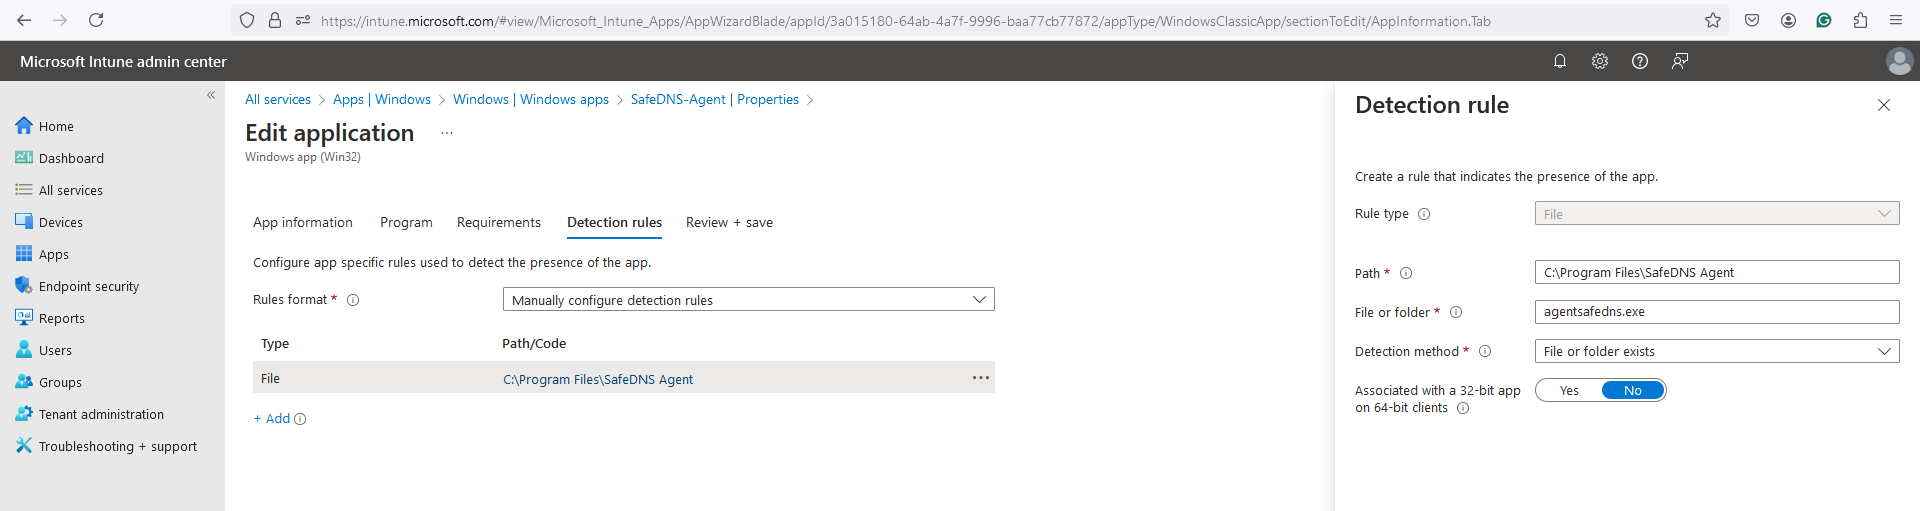
10. Review and Save:
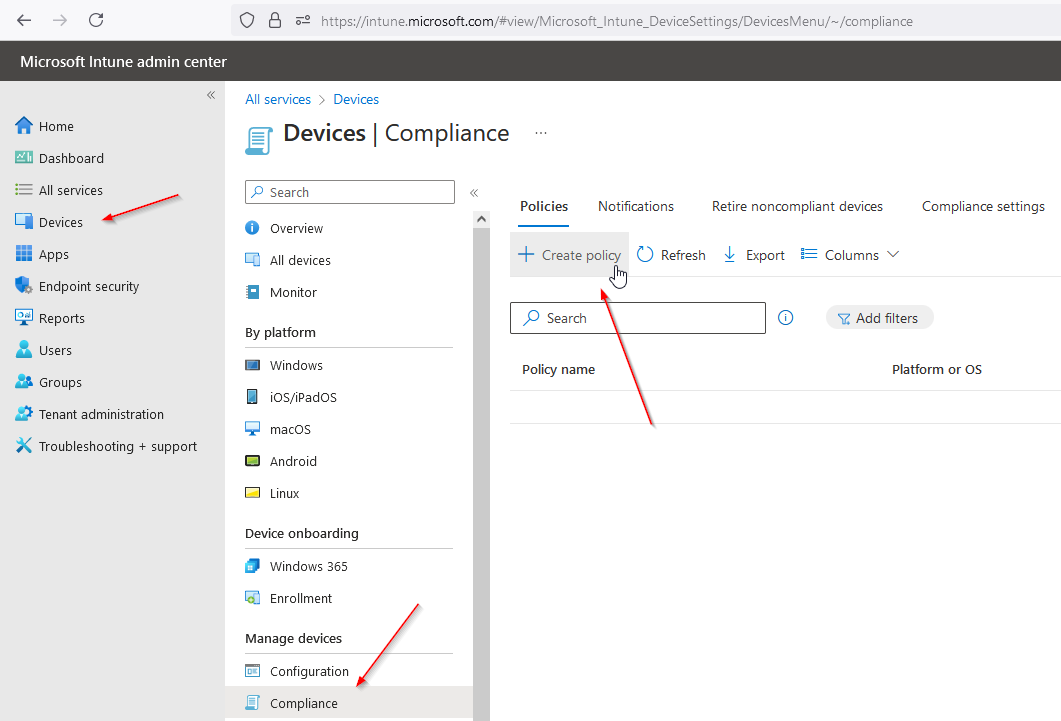
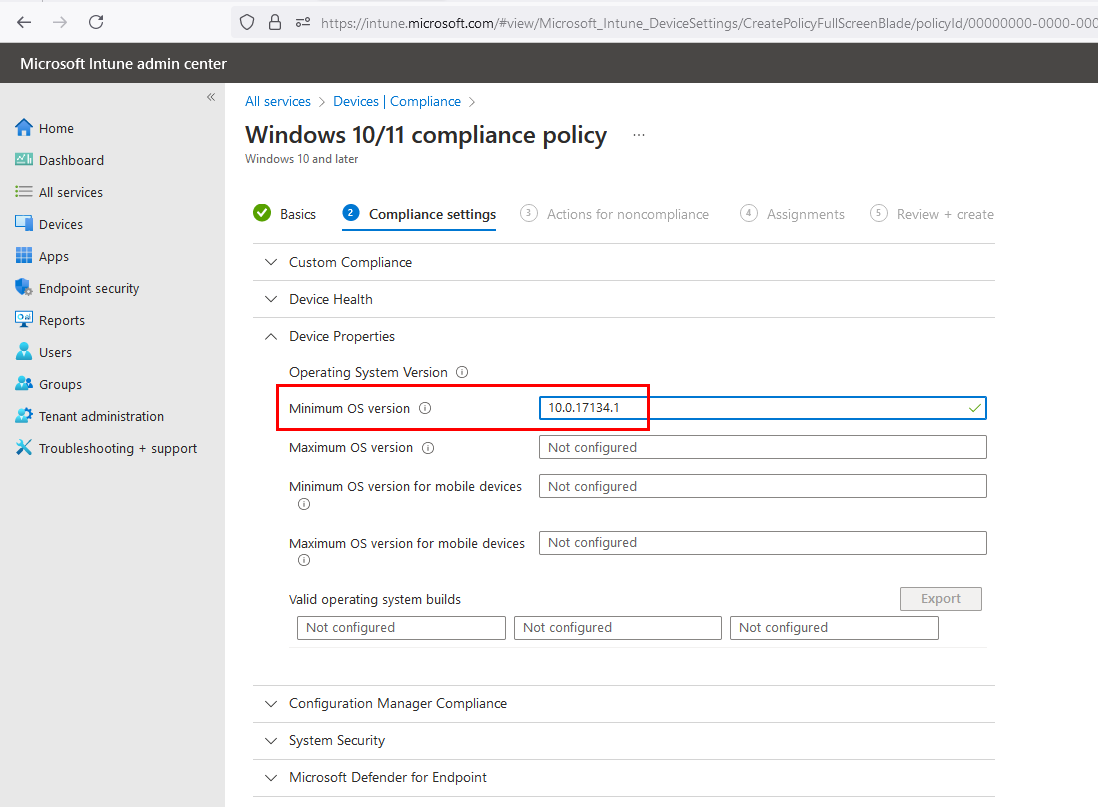
3. Configuring Compliance Policy
1. The policy is used to configure the hardware, and software setup of the computer joining Intune.
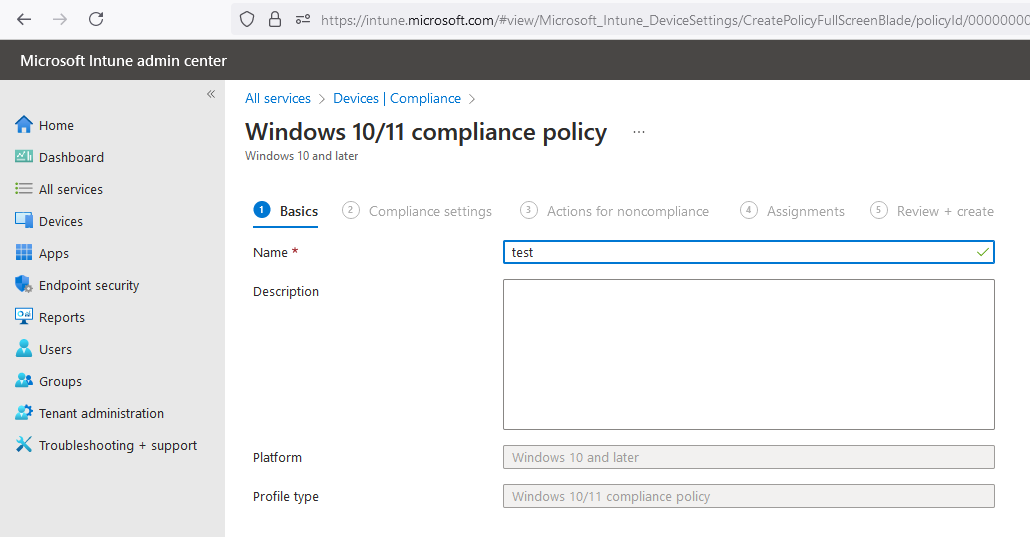
2. Create a new policy and name it:

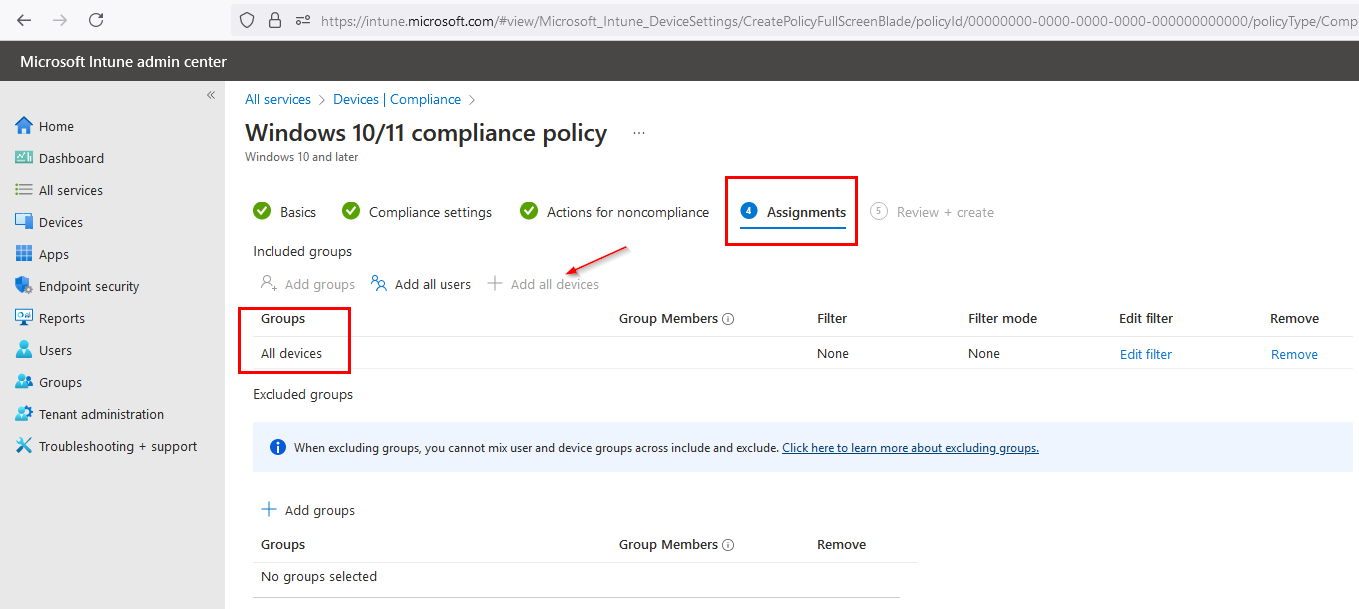
3. Once finished, apply the Policy to All Devices:
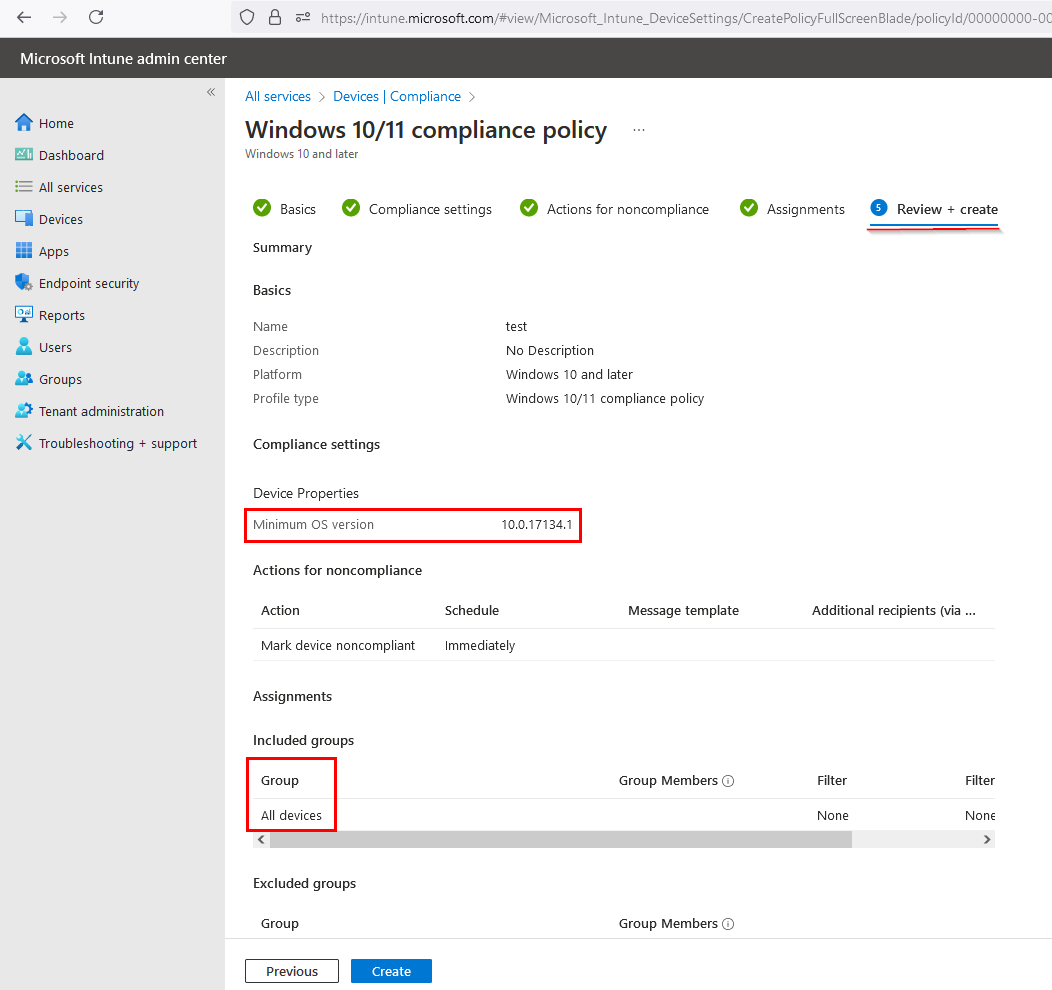
4. The example of the Policy created above has the following summary:
4. Login on the clients' computers
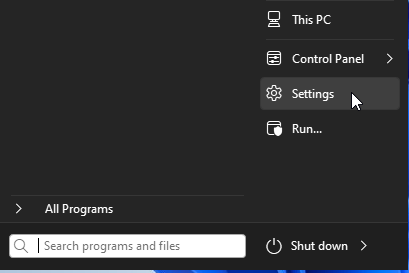
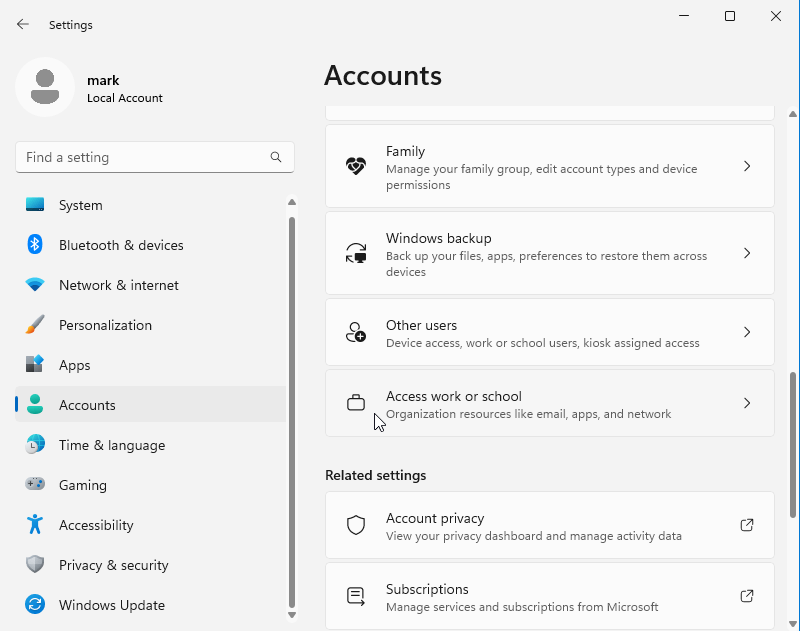
1. Switch on the computer and go to the Settings (the computer should be connected to the internet):
2. Then Accounts > Access Work or School
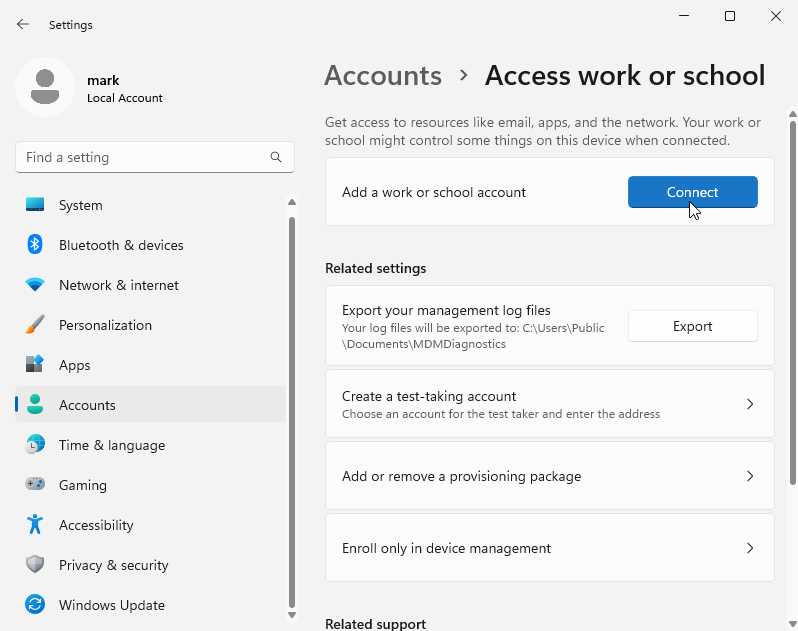
3. The next step is to Add a work or school account > Connect
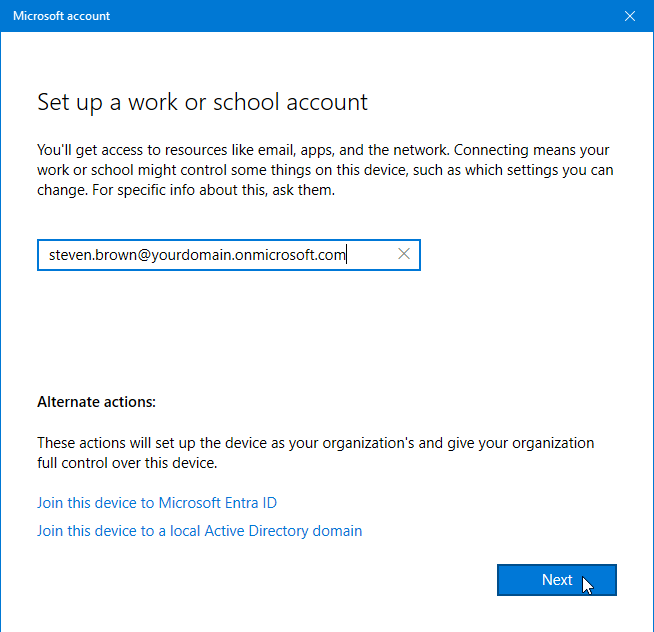
4. Add the user credentials of the user created in Intune:
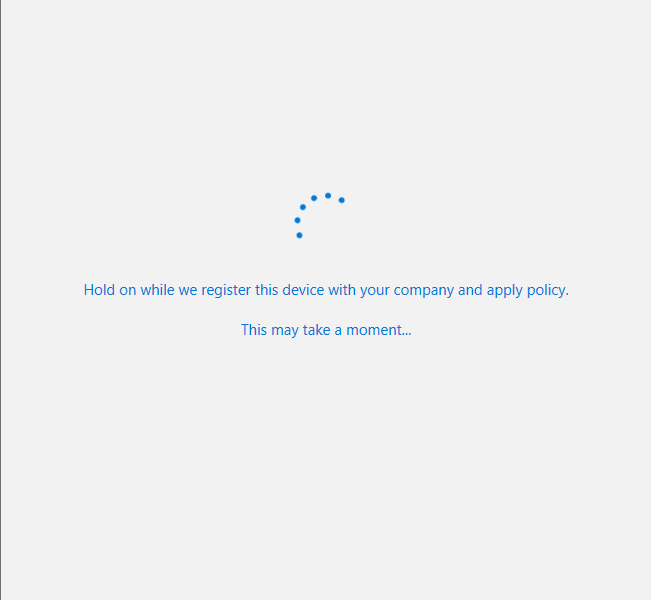
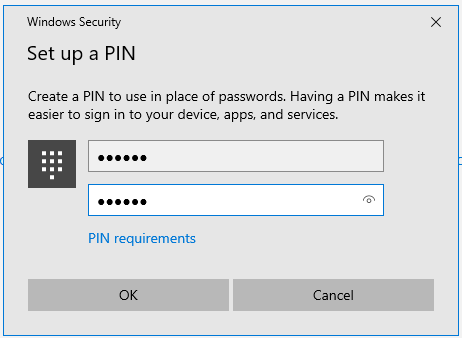
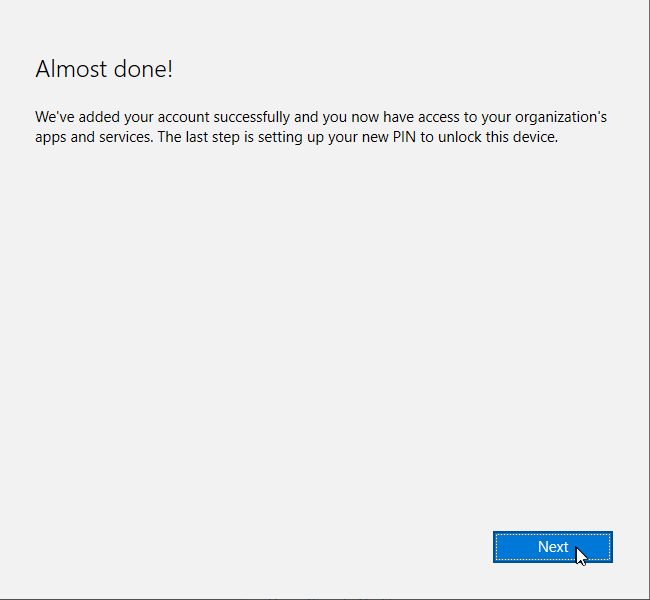
5. Add the password of the account and configure the PIN code of the Windows Hello feature. The system may ask to configure/use Microsoft Authenticator.
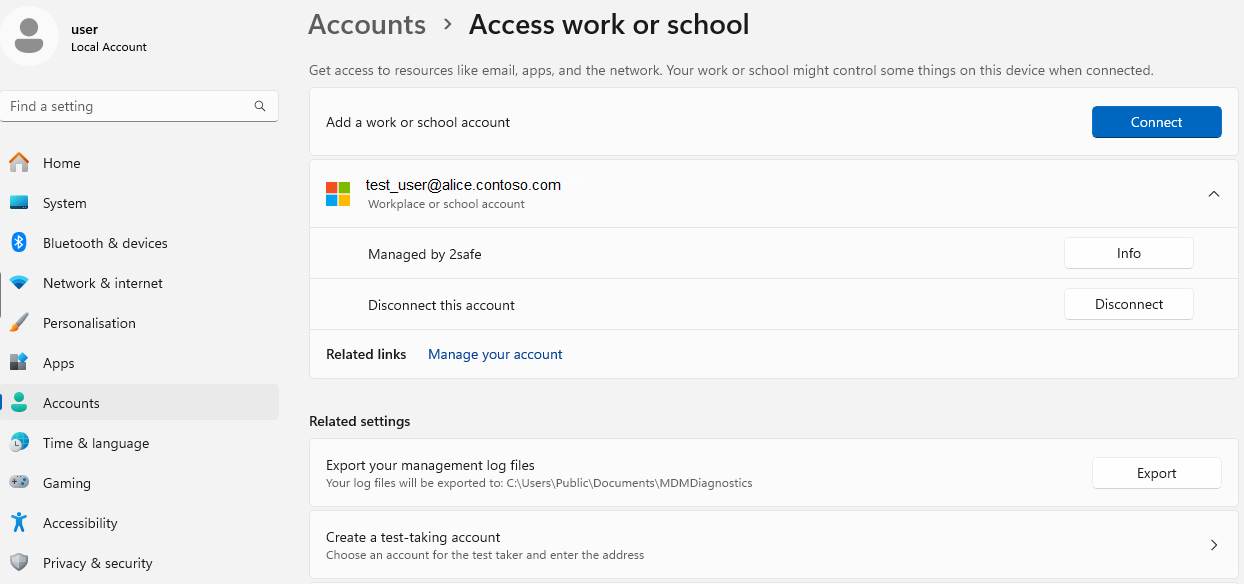
6. Once the login process is finished, the menu Accounts > Access work or school is looking the following way:
5. Agent Installation
The installation of the Agent starts immediately after the successful login to the local computer.
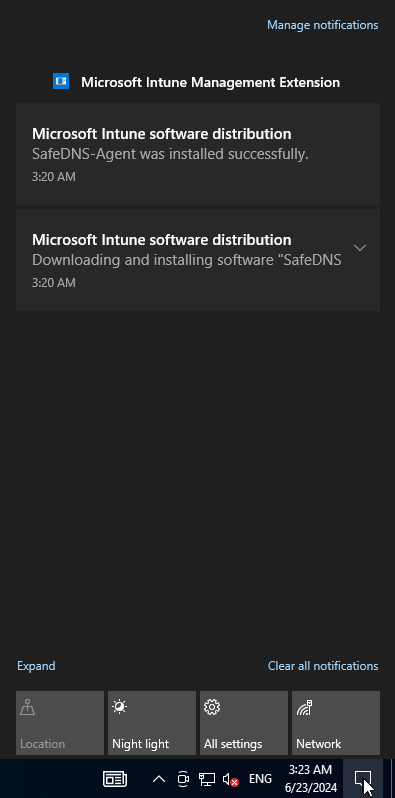
1. The Agent is installed using the silent mode, and filtering is automatically enabled and started working:
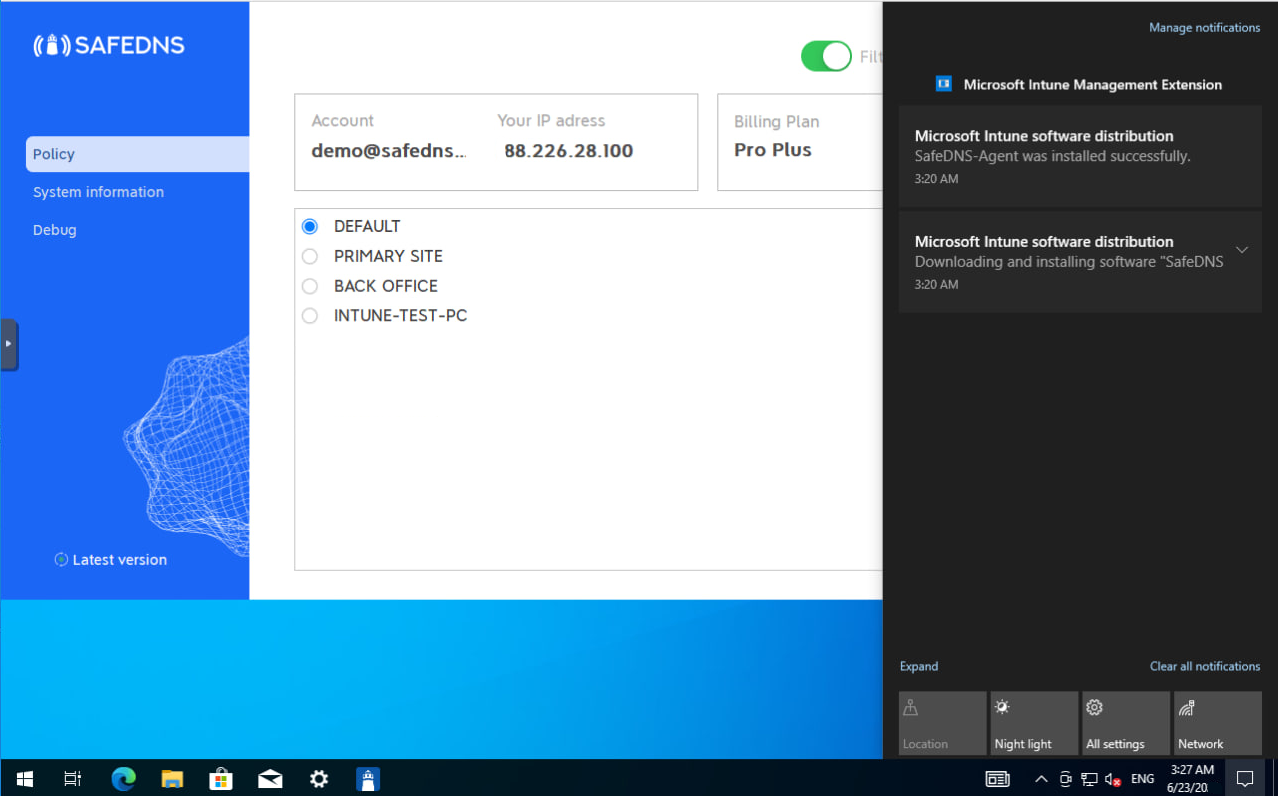
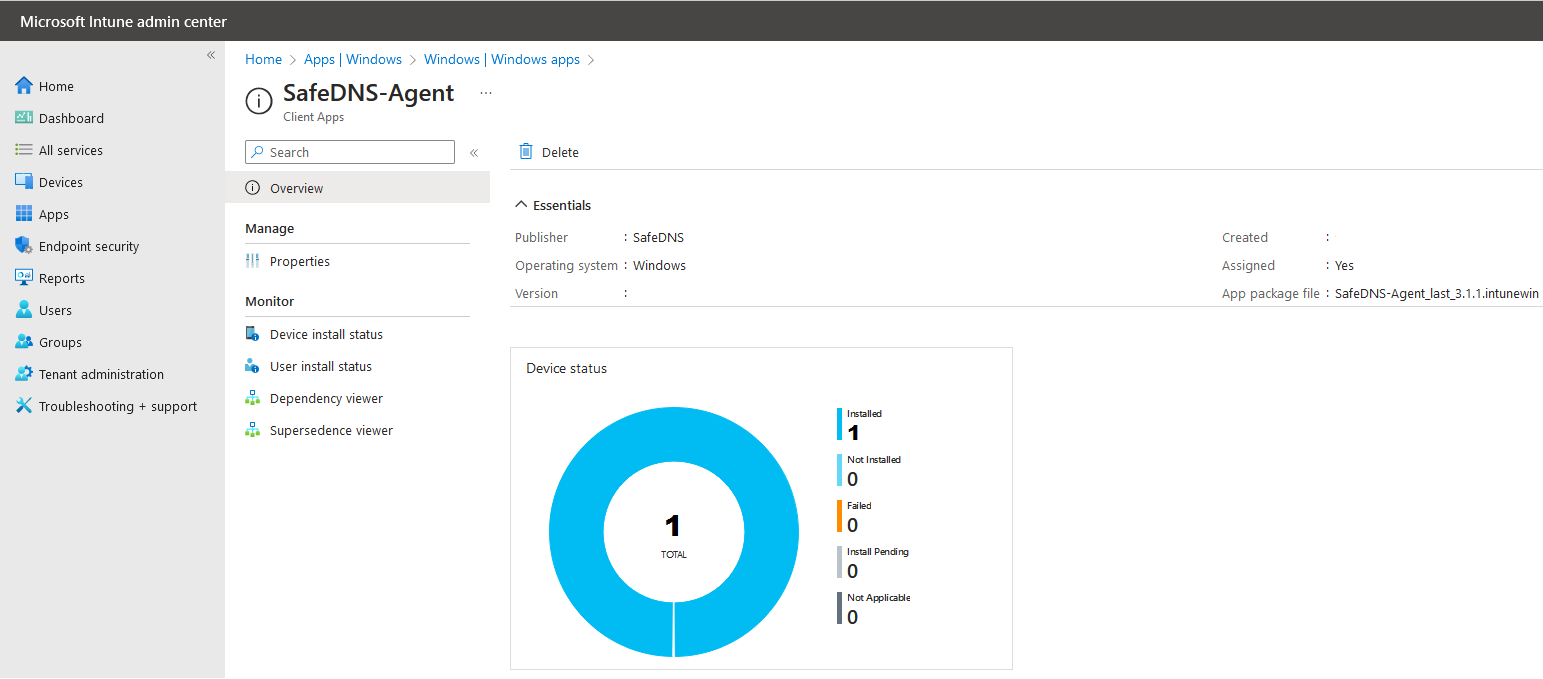
2. The installation finished successfully, to see the installation results, open the Intune admin panel > Apps > Windows and select the initially created app record: