Meraki Router Setup
Router with Static IP address configuration
1. Go to SafeDNS Dashboard > Settings > Devices and copy your IP address to the "IP addresses / DynDNS" box, choose a policy, and click "Add".

2. Change your router’s DNS servers to SafeDNS addresses:
To do that, on the Meraki Dashboard, navigate to Security & SD-WAN > Configure > DHCP > Main subnet/VLAN ID > DNS nameservers and choose Specify nameservers... from the drop-down.
In the "Custom nameservers" field indicate SafeDNS addresses − 195.46.39.39 and 195.46.39.40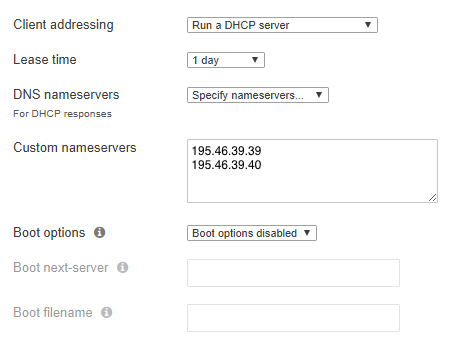
You have successfully configured your router.
Please note that settings take 5-7 minutes to apply.
Stats and filtering status update every 10 minutes.
Router with Dynamic IP address configuration
Using Meraki Built-in Dynamic DNS.
1. Once on the Security & SD-WAN > Monitor > Appliance status page, select the pencil icon next to Hostname, located between the WAN IP and Serial Number on the left of the page.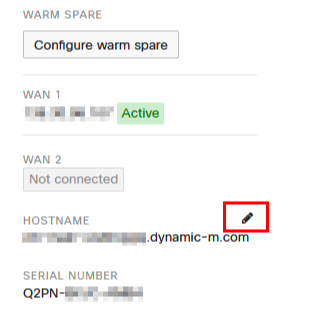
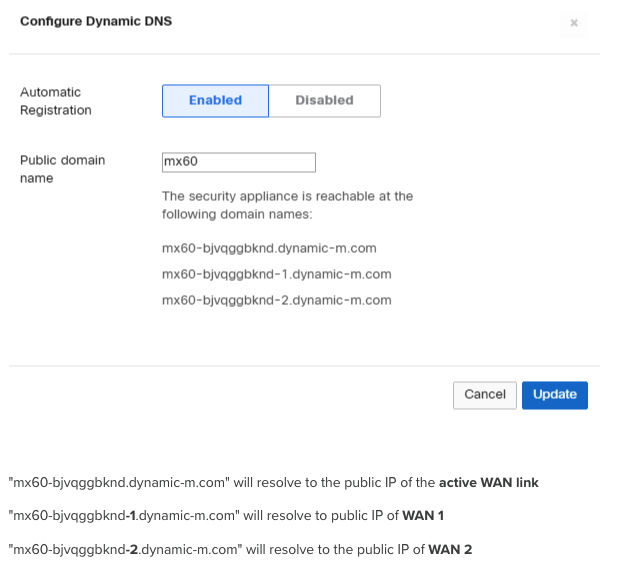
A dialog box will appear for configuring Dynamic DNS. Select Enabled in the dialog box and enter a public domain name if necessary, then select Update.
2. Go to SafeDNS Dashboard > Settings > Devices and copy the DynDNS hostname of the needed WAN to the "IP addresses / DynDNS" box, choose a policy, and click "Add".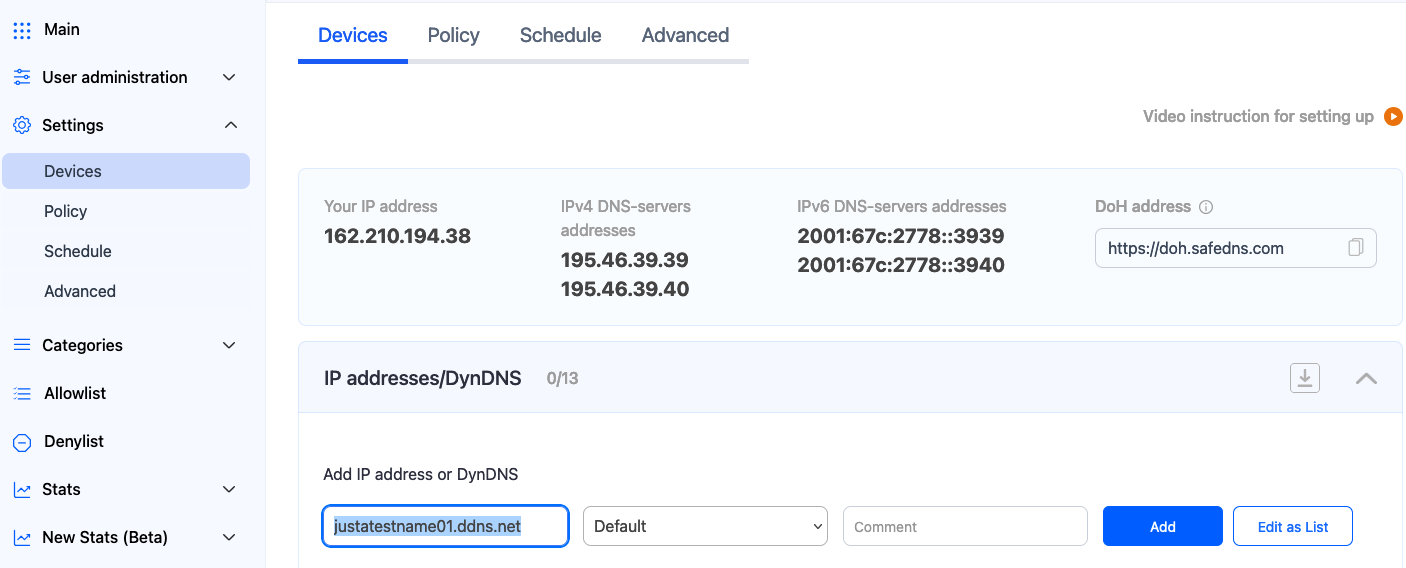
Once added, you will see it in the DynDNS section of the Dashboard.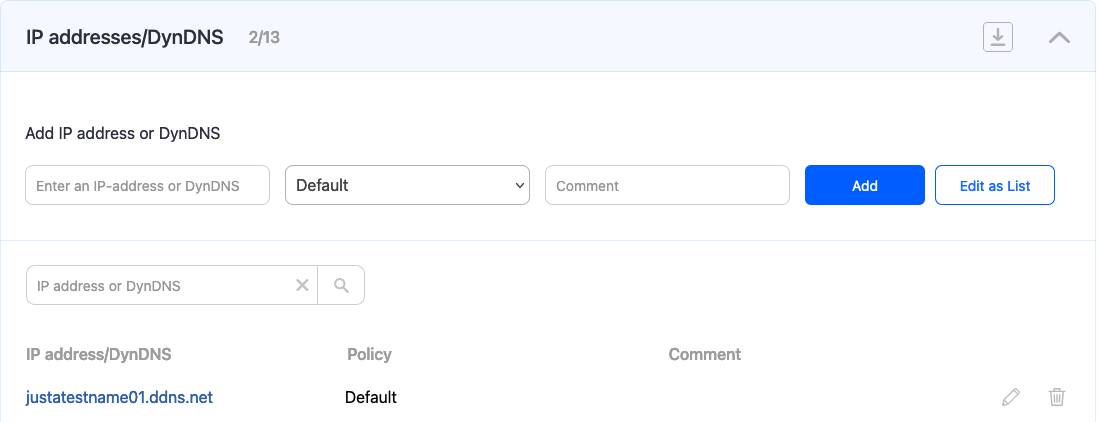
After DynDNS is enabled, you can confirm it is working by performing a DNS query for the MX DDNS hostname. Open a command prompt (cmd) on any workstation and type "nslookup <your dynamic DNS name>." The DNS response should return the current active public IP address.