SafeDNS and local resources
This guide explains how to set up the SafeDNS service in the Active Directory environment with the SafeDNS Dashboard.
Manual Setup in the Dashboard
One of the main ways to gain access to AD resources without using the safeDNS agent is to use special options available on Office/Enterprise plans.
You must add SafeDNS DNS-servers addresses - 195.46.39.39 and 195.46.39.40 - to the DNS forwarder on your Primary Domain Controller (and secondary, if applicable), so all devices in a filtered network receive SafeDNS IP addresses as the DNS. After this you need to add your external IP address to the dashboard.
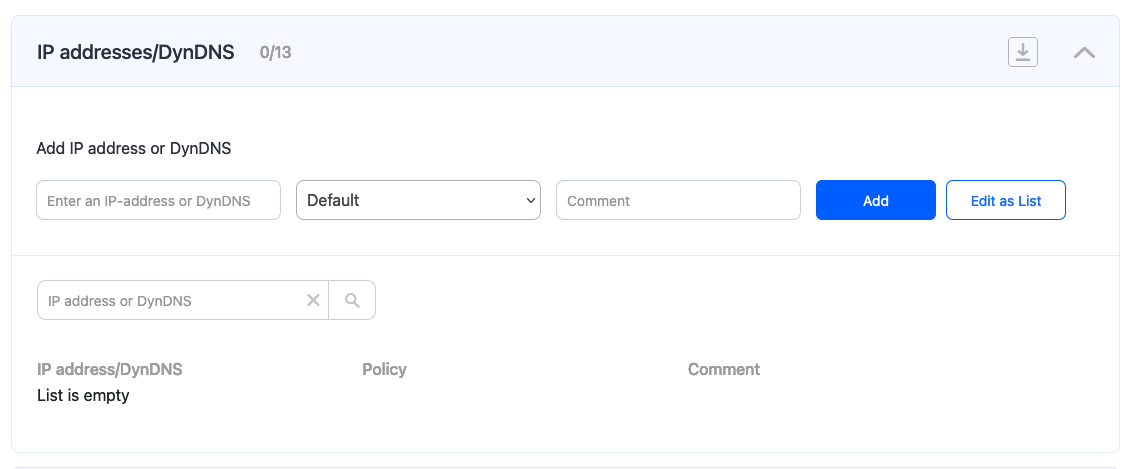
Grant access to local resources.
2. Enter and add your AD domain in the form.
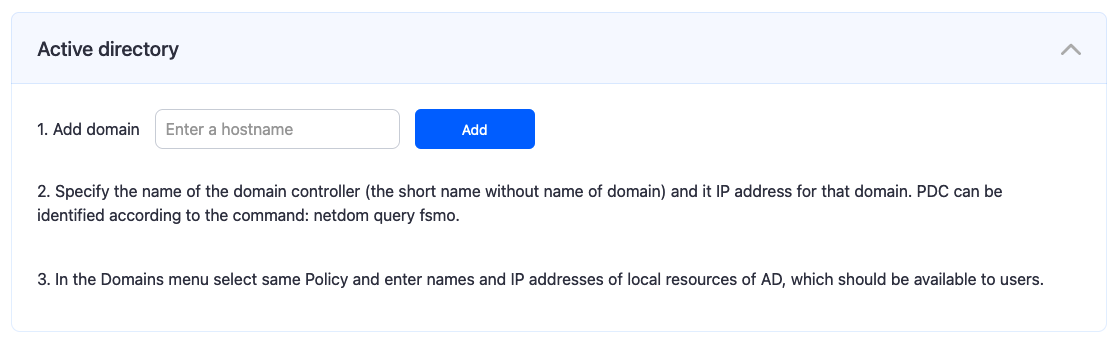
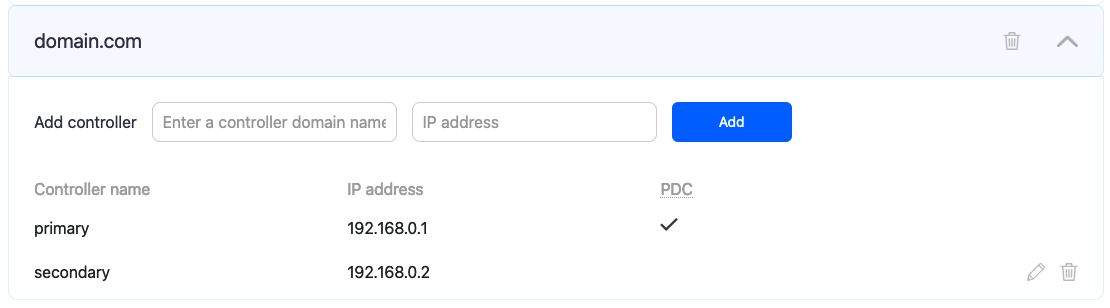
3. Enter and add the name of the PDC (Primary Domain Controller) and its IP address in the local network.
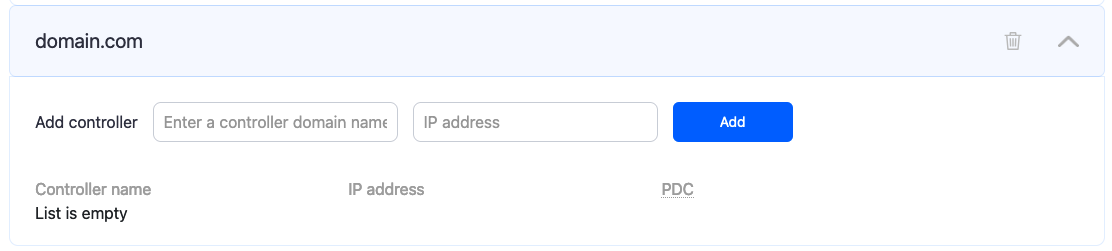
4. Add secondary domain controllers, if applicable. You can change the PDC by clicking on the pencil icon on the right.
5. Set aliases for all required local resources in the Aliases table below. Enter the name of a local resource and its local IP address.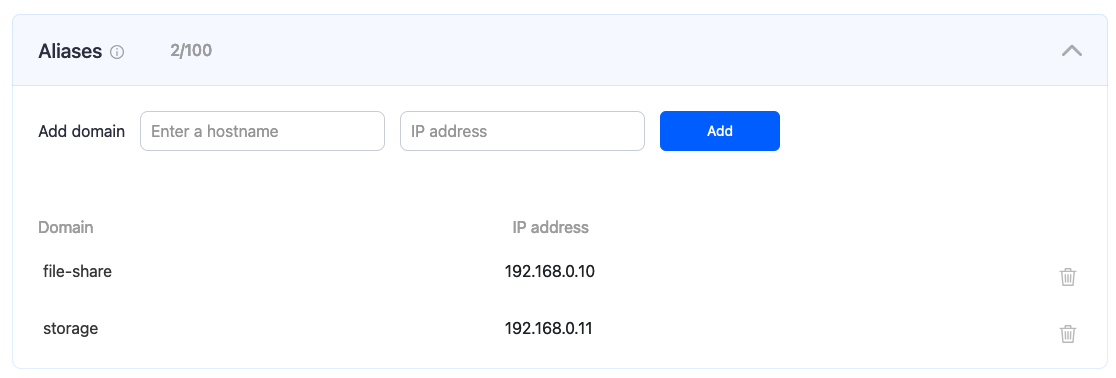
6. Wait about 5-7 minutes until all local resources become accessible.
Please note that settings take 5-7 minutes to apply.
Stats and filtering status update every 10 minutes.