Active Directory setup: SafeDNS Dashboard configuration.
1. Create the domain on the SafeDNS Dashboard.
After receiving the SafeDNS AD Agent from SafeDNS support, you need to add the name of your local domain controller to the dashboard. This is necessary to authorize your AD environment on the SafeDNS dashboard. Before adding, please make sure your subscription plan is one of the business plans and not the Reseller one.
Filtering rules of AD users can be managed under the “Active Directory" tab:
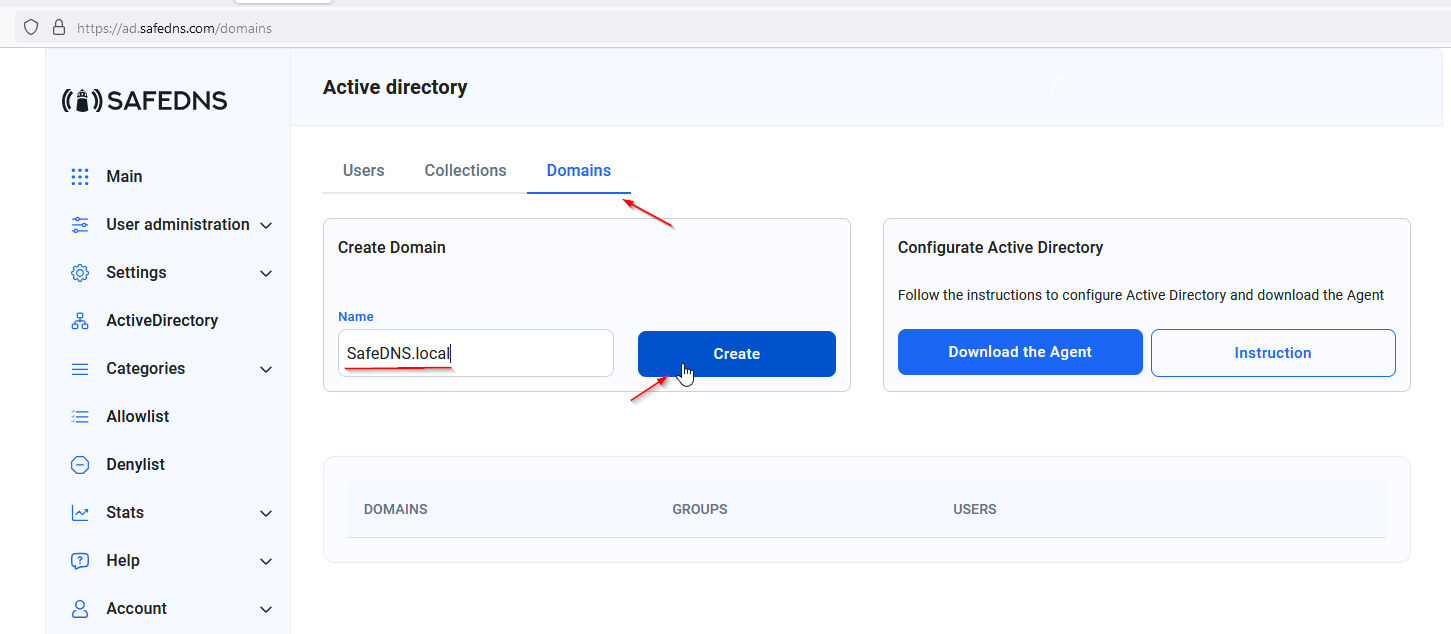
Please go to the Domains Tab and create a domain. Please note that the domain name should be the real one used on the AD server. We are using the domain name SafeDNS.local as an example.
Enter the domain name and press the "Create" button:
After adding the DC to the list, please install the Agent application file.
The agent is a signed MSI file with added user authorization credentials.
The credentials can either be an identification token for installation with AD functionality, or a login and password if you are installing the agent without AD functionality. If you install the agent without the credentials, you will need to log into each agent manually.
The client installs the package via GPO for the required number of users.
The guide below shows the process of the Agent application installation on the Active Directory environment:
https://docs.safedns.com/books/installation-guides/page/safedns-ad-agent-environment-configuration
2. SafeDNS Dashboard configuration (continue)
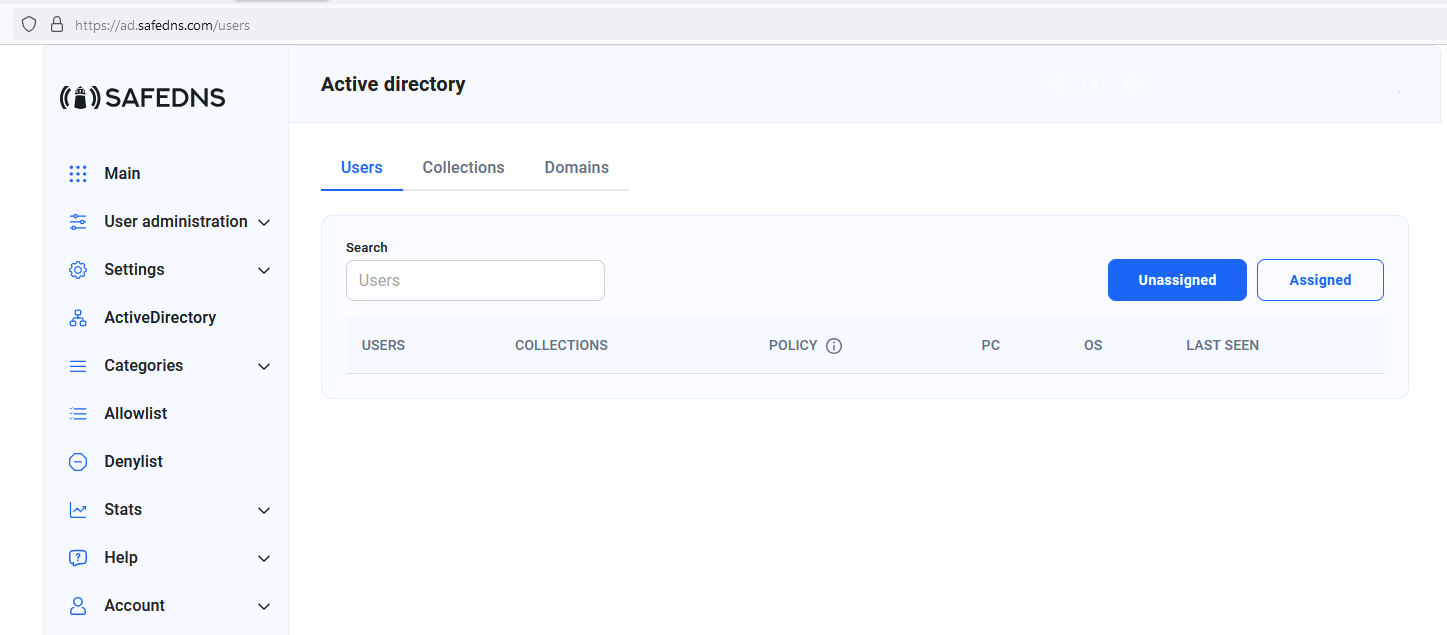
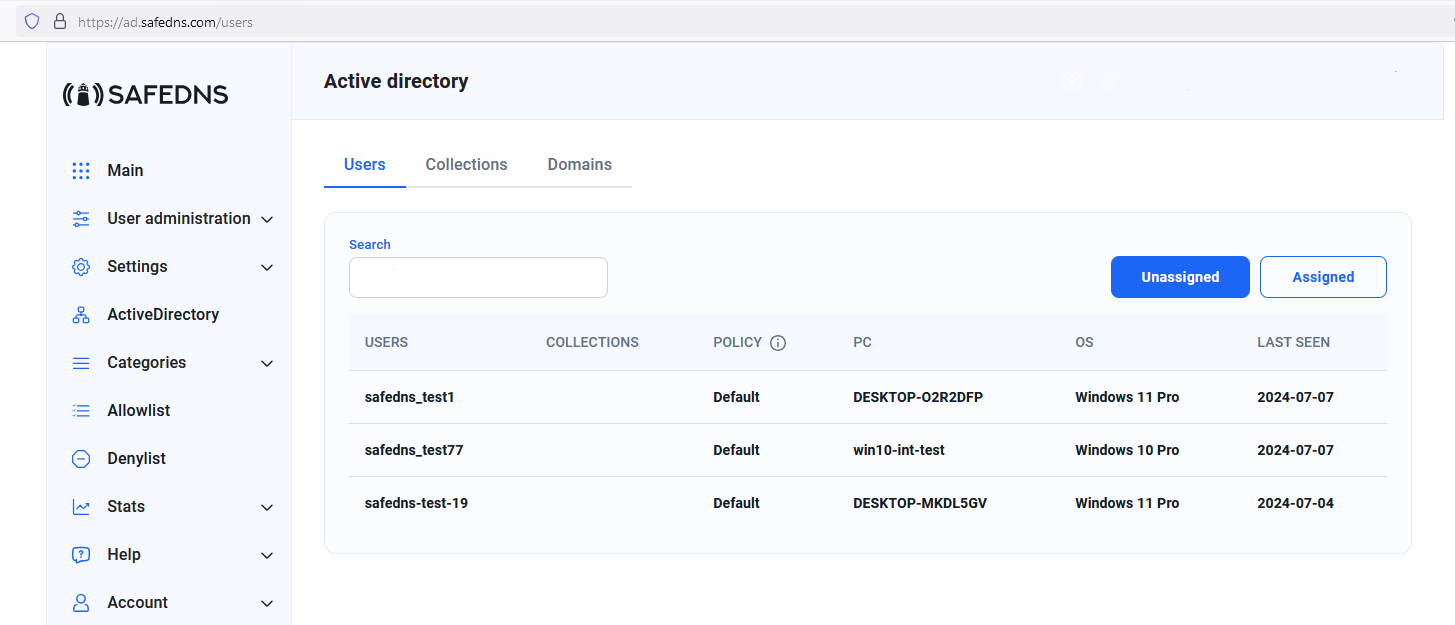
After the Agent`s installation is complete, the agent starts automatically when the user logs in and transmits information about the user to the Dashboard on the "ActiveDirectory" page, "Users" submenu. Once the User appears on the list, he is not associated with any filtering profile. To allocate the user with the filtering profile please go to the Collections tab.
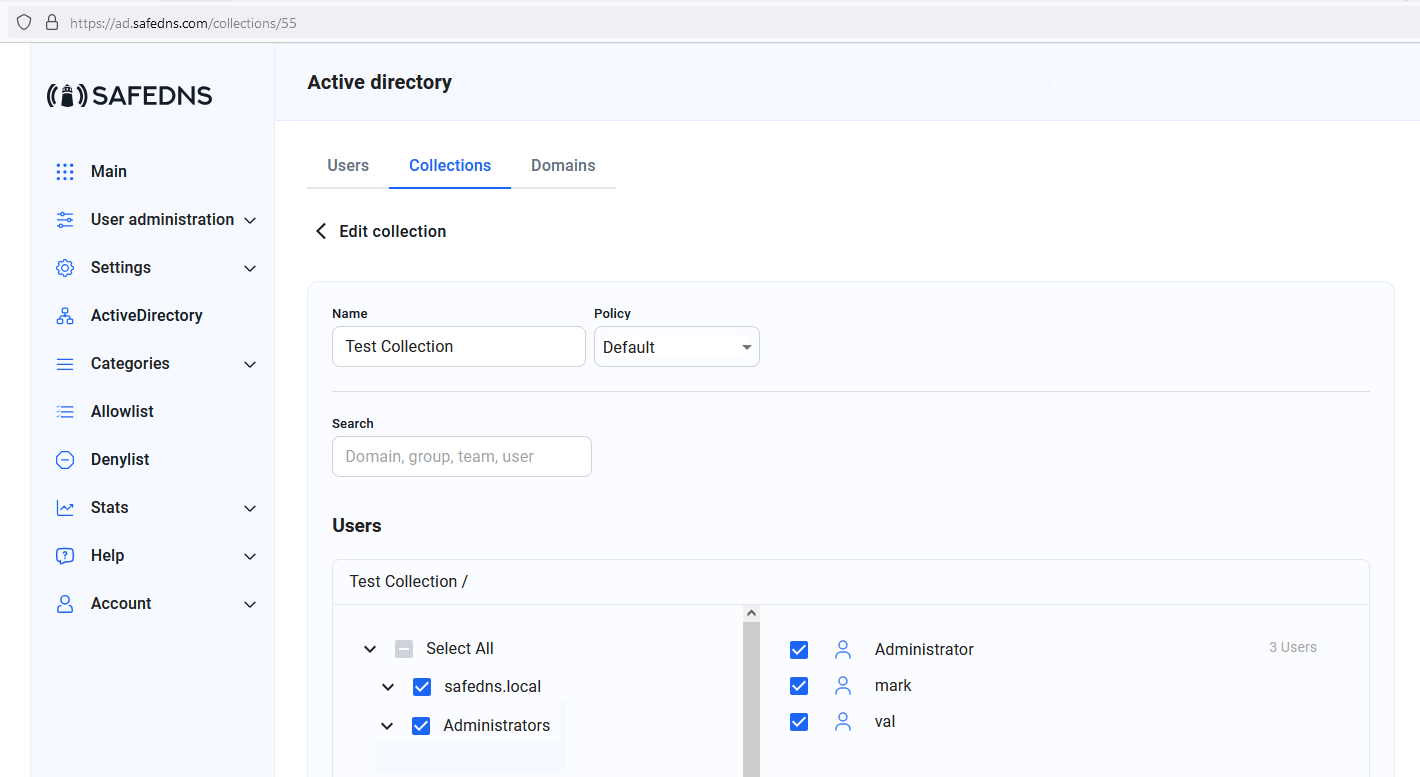
3. Allocating users with the filtering Policy.
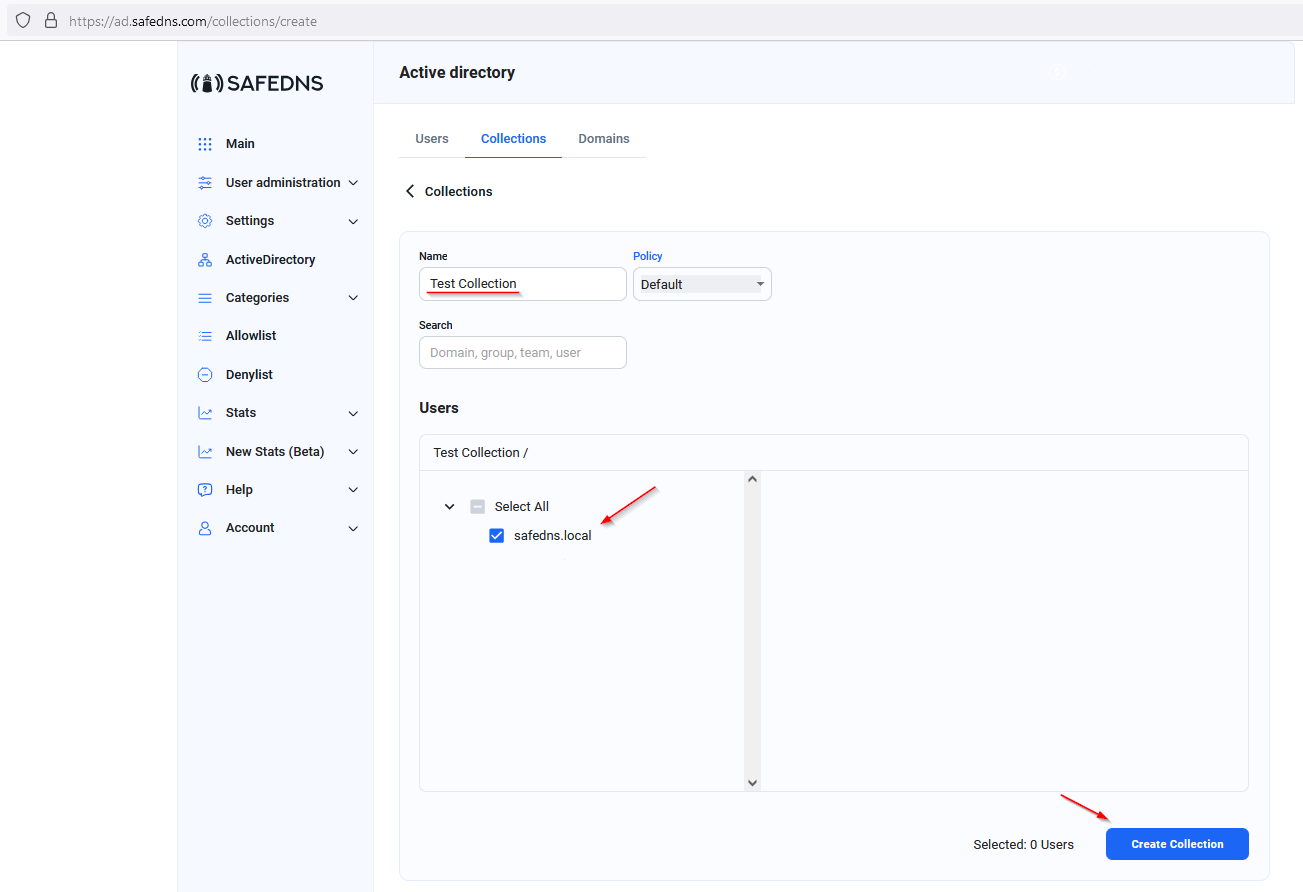
To start filtering create a Collection in the "Collections" tab:
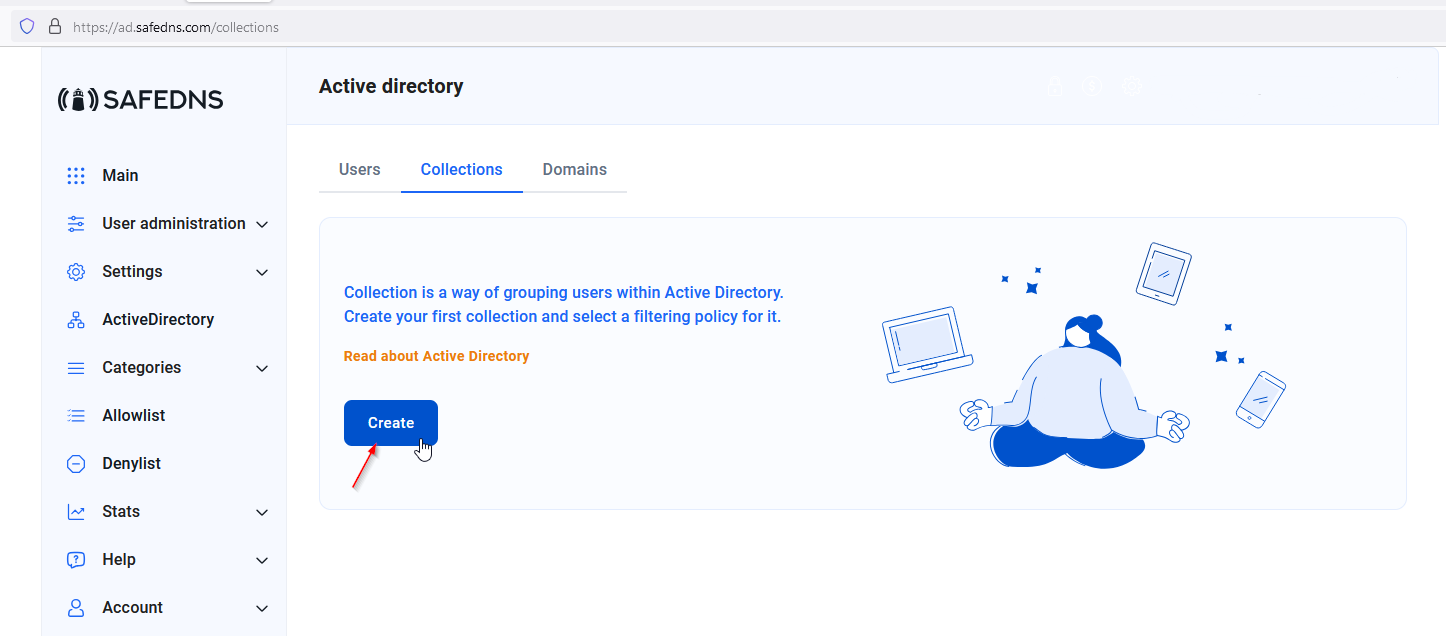
1. Enter the name of the Collection;
2. Choose the domain name;
3. Press the "Save Collection" button;
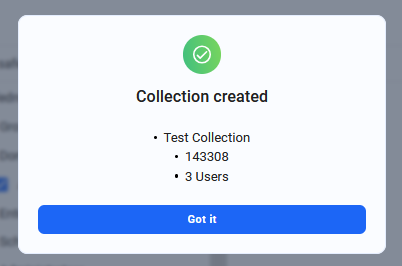
Once the collection is created, the following window will appear:
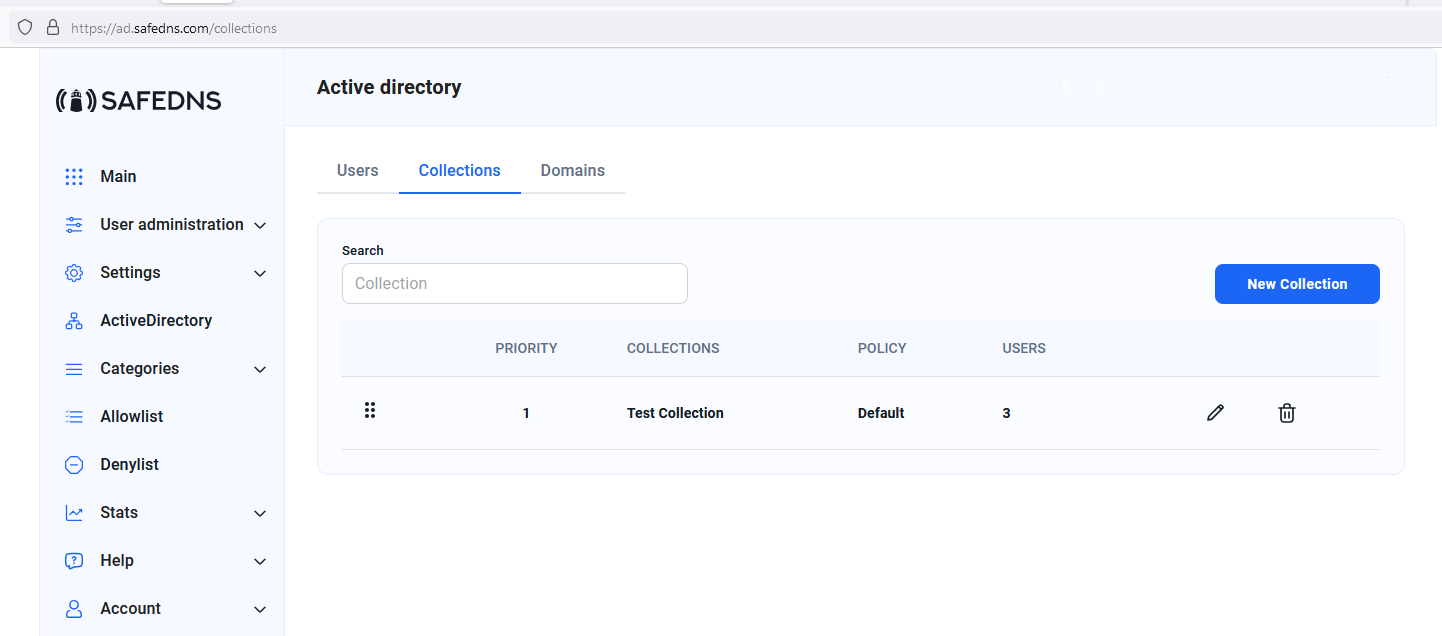
4. Collection Overview
Once the Users are allocated with the Filtering policy, the Collection tab looks the following way:
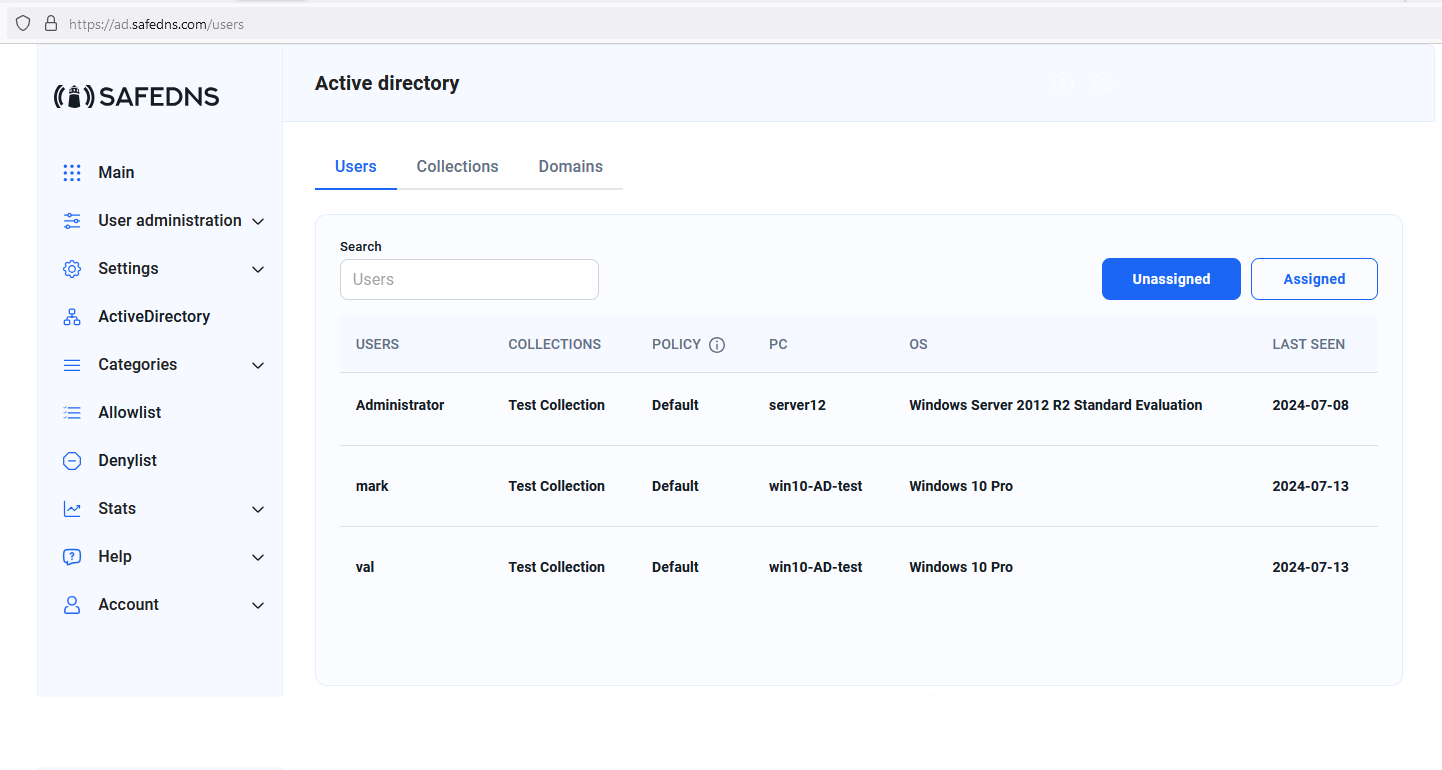
5. Users tab overview
Once the Users are allocated with the Policies, the User tab shows the detailed information: