DNS configuration on the AD Controller
There are 2 scenarios for how to configure DNS in the AD environment:
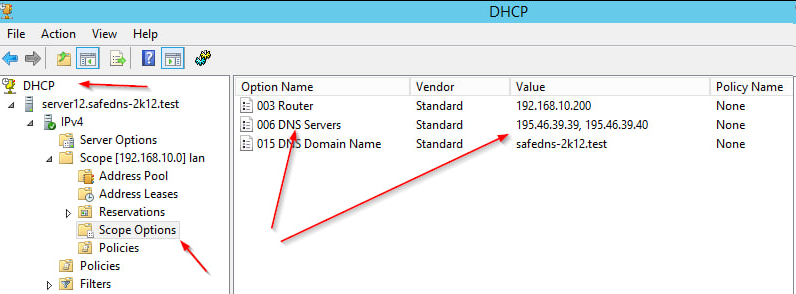
1. Configuration of the SafeDNS servers for each user via DHCP.
The user can not benefit from the faster DNS resolve – DNS cache using this configuration. We are not recommending using that option within the AD environment.
Open Control Panel => Administrative Tools=> DHCP
Configure the scope using the example below:
2. Configuration of the local DNS server.
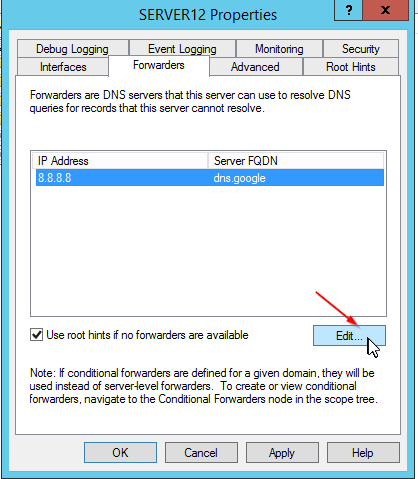
The role of the DNS server should be installed on the server and the DNS server should be configured using the following example:
Open Control Panel => Administrative Tools => DNS
On the DNS manager tap on the local server (our case is SERVER12) context menu => Properties

Click on the area <Click here to add an IP address or DNS Name>
And enter SafeDNS DNS servers: 195.46.39.39 and 195.46.39.40
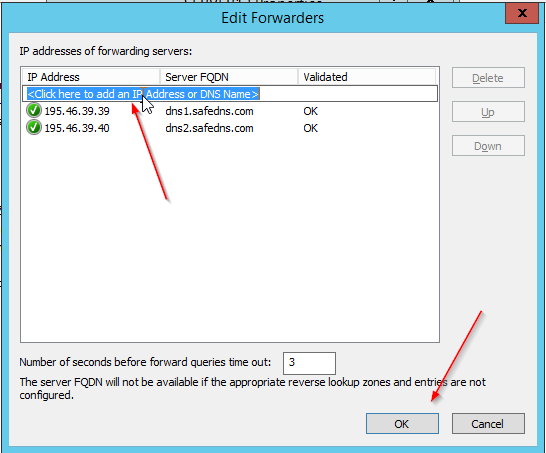
Once finished, tap the OK button. The server’s icon should be green – meaning that the DNS connection to the server can be established.