Allow/Denylists And Named Lists
This feature comes in handy when you need to add the same list of domains to the different policies (filtering profiles). You can create or edit a list and then apply it to any of your filtering policies. You can manage lists of allowed or blocked hosts and domains for all of your profiles or group of profiles.
Blocking/allowing a domain automatically blocks/allows all its subdomains, overriding Categories settings.
It is possible to simultaneously block a domain and allow its subdomain(s), and vice versa.
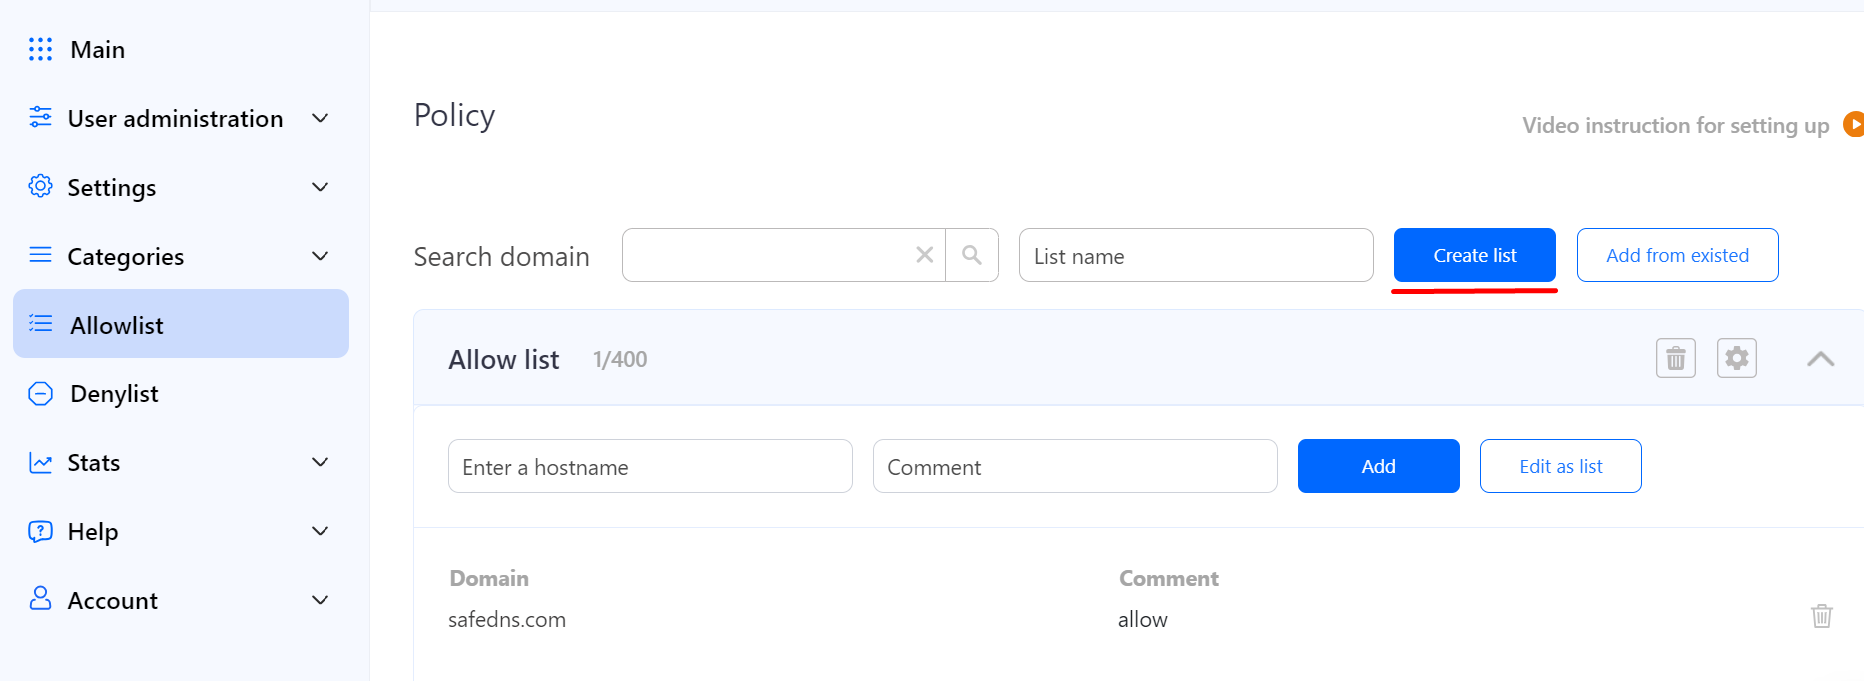
- Navigate to the "Allowlist" or "Denylist" tab to create a new named list.
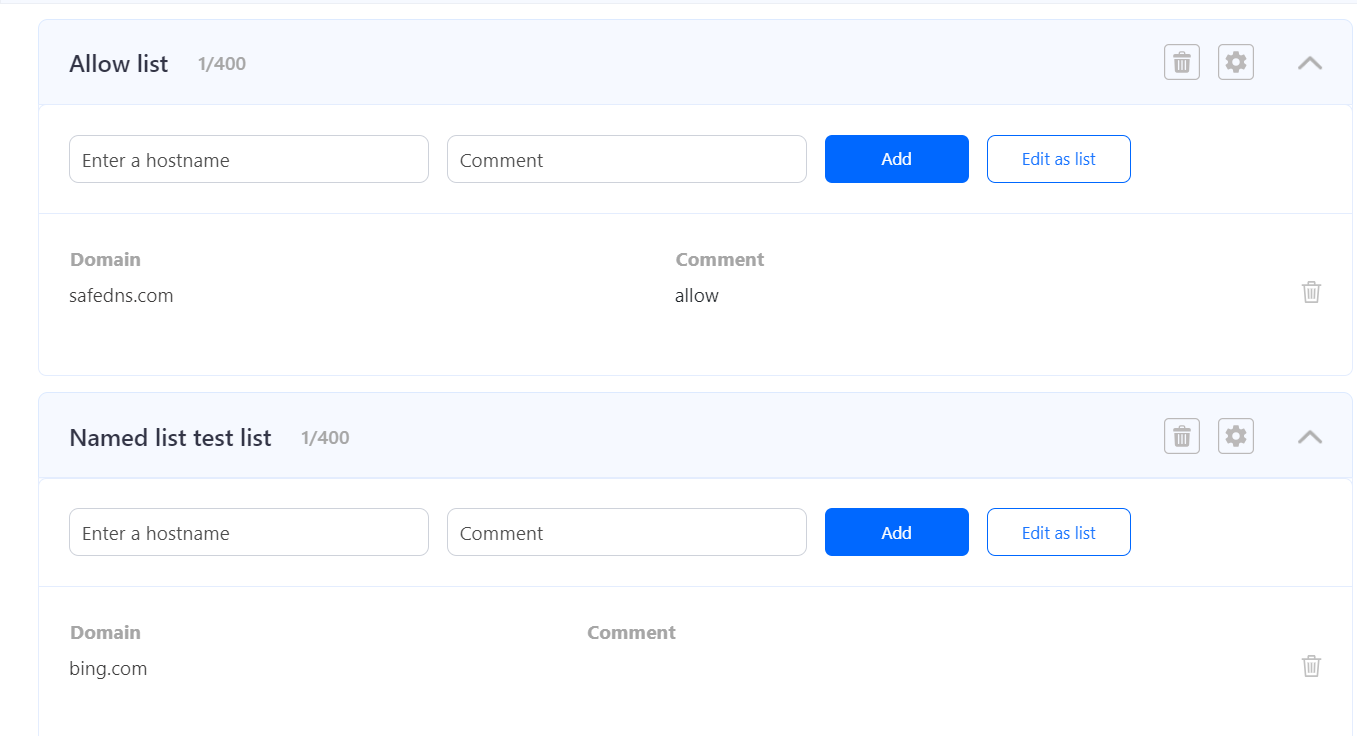
- Find the "Create list" button and enter the name of the new list into the "List name" box on the right and click "Create list". It will appear at the bottom of the page.

- Click the Cogwheel button on the right, then click "Save" to add the newly created named list to the multiple policies (profiles).
The same steps work for the Denylist section.
Wildcards are not supported at the moment.
Please note that settings take 5-7 minutes to apply.
Stats and filtering status update every 10 minutes.