SafeDNS Agent for Windows Setup
The Agent is available on the following billing plans: Safe Family, Pro, Pro Plus, and archived Safe@Home, Safe@Office.
What is Agent created for
The Agent software is designed to automatically launch and manage the SafeDNS web filtering service on Windows-based computers. The Agent should be installed on the PC when you have a private (local) or a dynamic public address, or you want to have a separate web filtering policy for each Windows-based computer within your network.
Attention! If you want to configure the SafeDNS web filtering service for the entire network, you can find information about the available settings in the Instructions section of our website.
Agent Installation
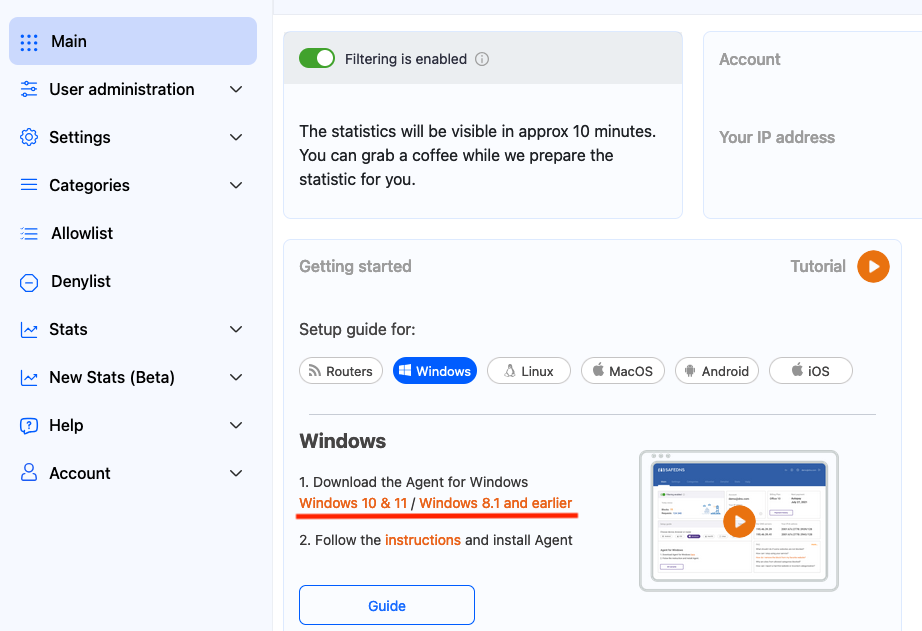
- Log into your SafeDNS account using your email/login and password.
If you have already downloaded the Agent, make sure you are using the latest version and go to "Getting Started with Agent". - Navigate to Main, scroll down, and click the "beta release" button under "Windows".

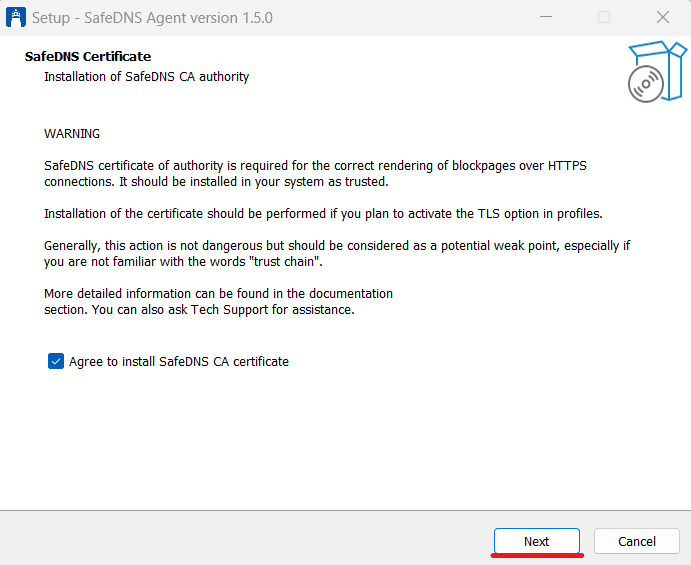
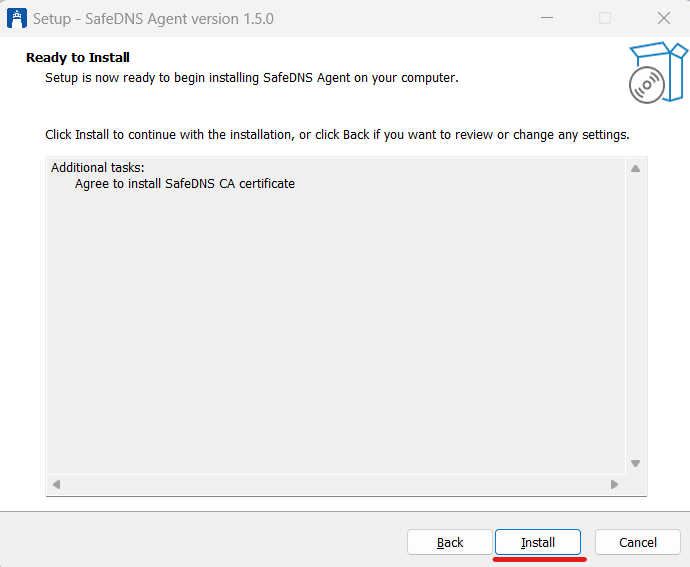
Make sure your current Windows user account has Administrator rights. Run the SafeDNS-Agent-Setup.exe file and install the Agent on your computer.
You will see the warning about SafeDNS Certificate installation, please click Next.
Agent Unattended Installation
You can install the Agent in an unattended automatic way. This allows you to automatically install and launch the service, manage the filtering policies, and collect web traffic statistics on several individual computers within your network. Learn how to install the Agent in unattended mode.
Getting Started with Agent
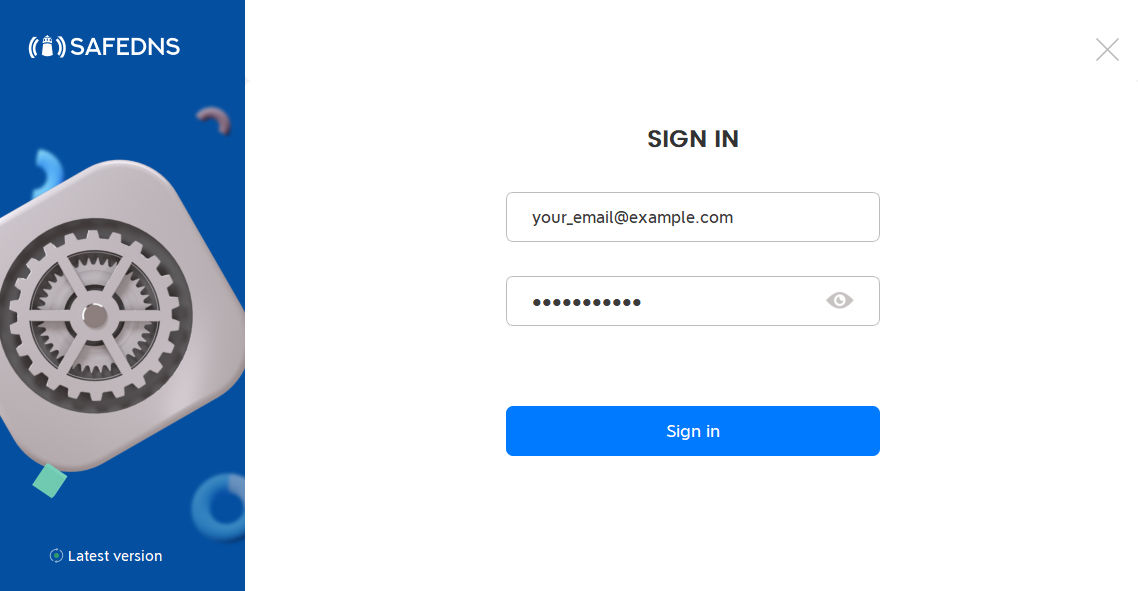
1. Log in to the Agent using your SafeDNS email/login and password.
If you forgot your password, click this link to reset your password: https://www.safedns.com/auth/forgot
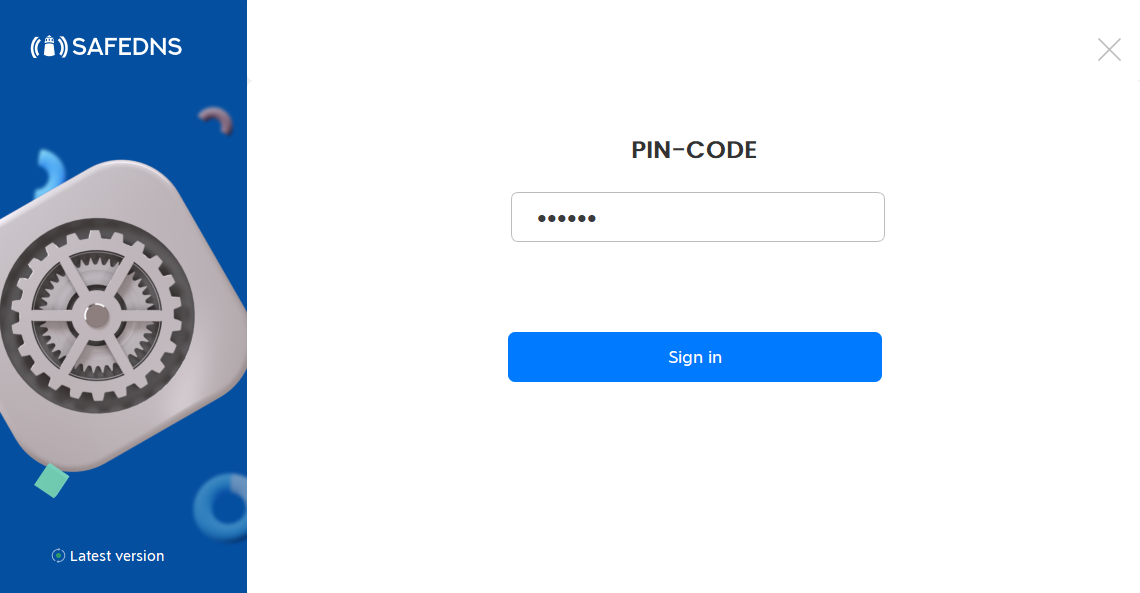
2. Set up the security PIN that will be used later to restrict access to the Agent.
The PIN code must be between 4 and 20 characters in length and may consist of digits, letters, or special symbols.

3. Enter the PIN once again to sign in to the Agent.
Agent overview
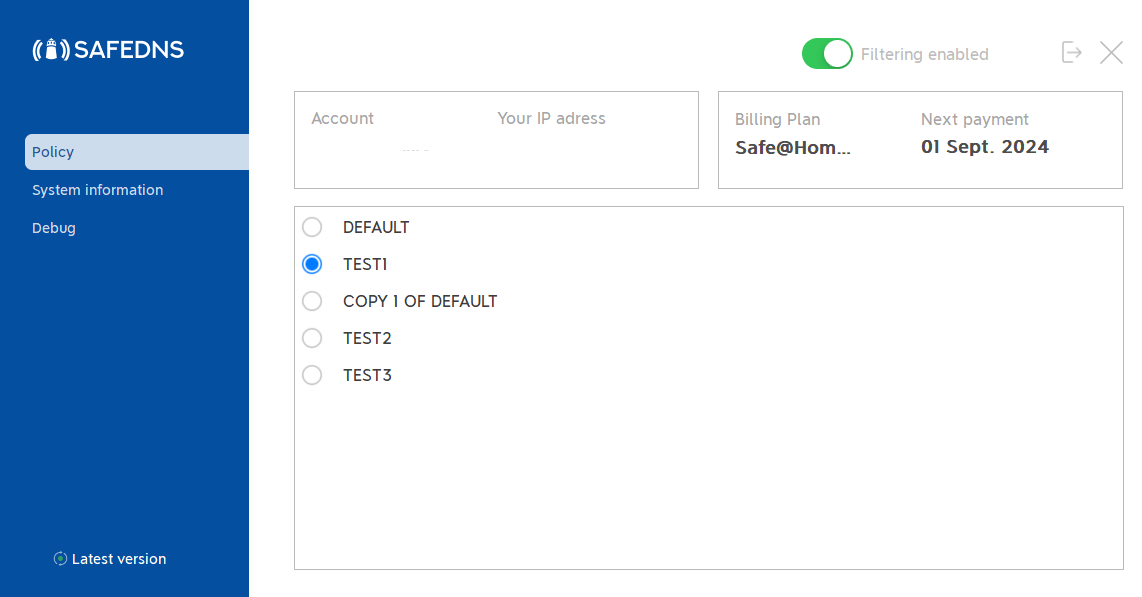
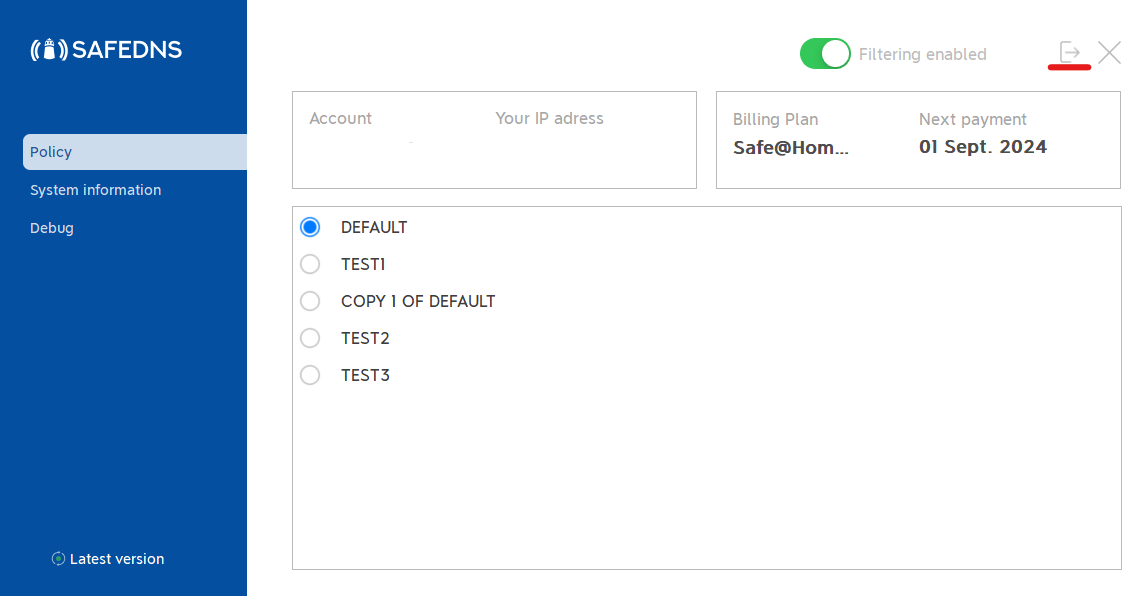
1. In the main window of the Agent you can view your account information, current IP address, your Billing Plan, and the Subscription expiration date.
All filtering rules changes can be made in the SafeDNS Dashboard.
Filtering can be stopped in Agent using the "Filtering enabled" button at the right top corner of the app.
Please note that settings take 5-7 minutes to apply.
In some cases, you will need to clear the cache of your browser.
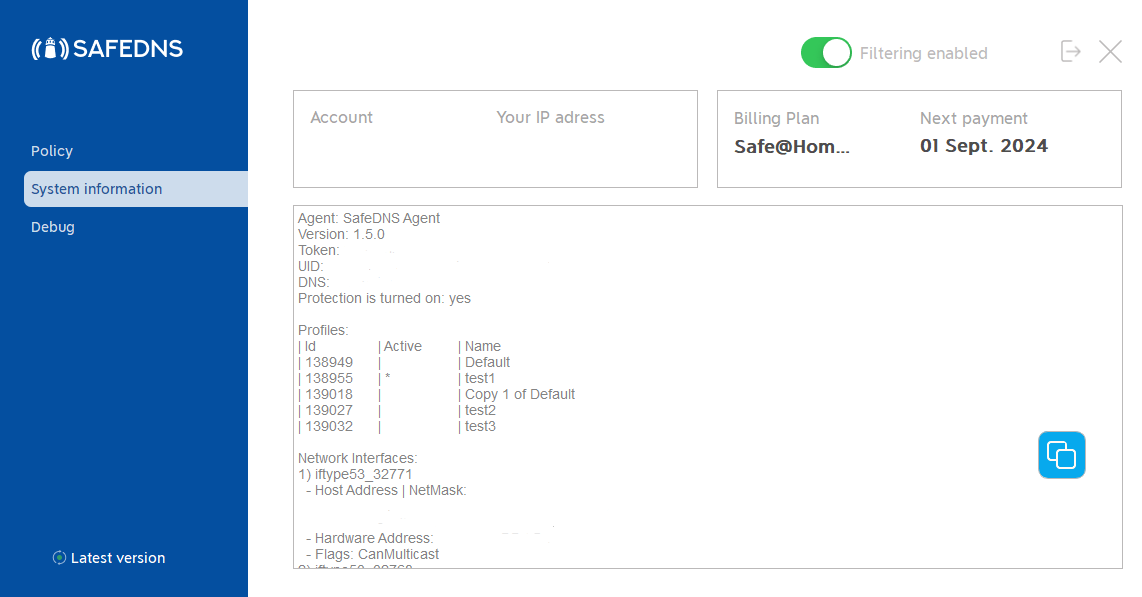
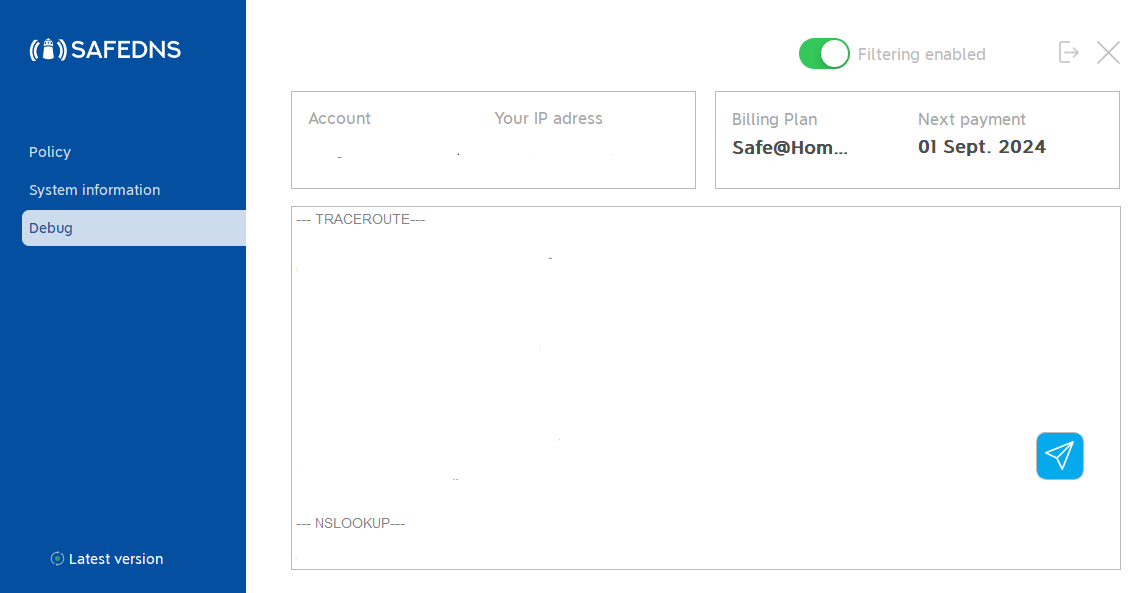
2. The system information menu shows brief information about the Agent, current filtering policies, and network interfaces. The information in this menu can be copied to the clipboard by clicking the "Copy to clipboard" button.
Additional settings
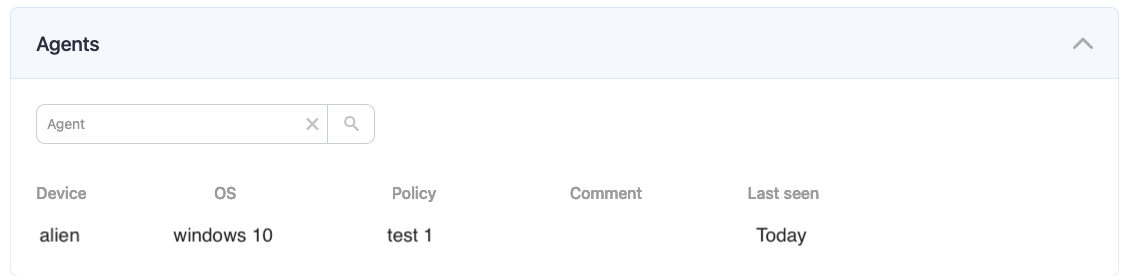
To ensure the Agent was installed correctly, please navigate to the "Settings" tab in the SafeDNS Dashboard and scroll to the bottom.
If you see the record with the Device name and your IP address, it means that the filtering is working.
After that, you can adjust the filtering Policy according to your needs. You can select categories to block in the SafeDNS Dashboard under the Categories tab.
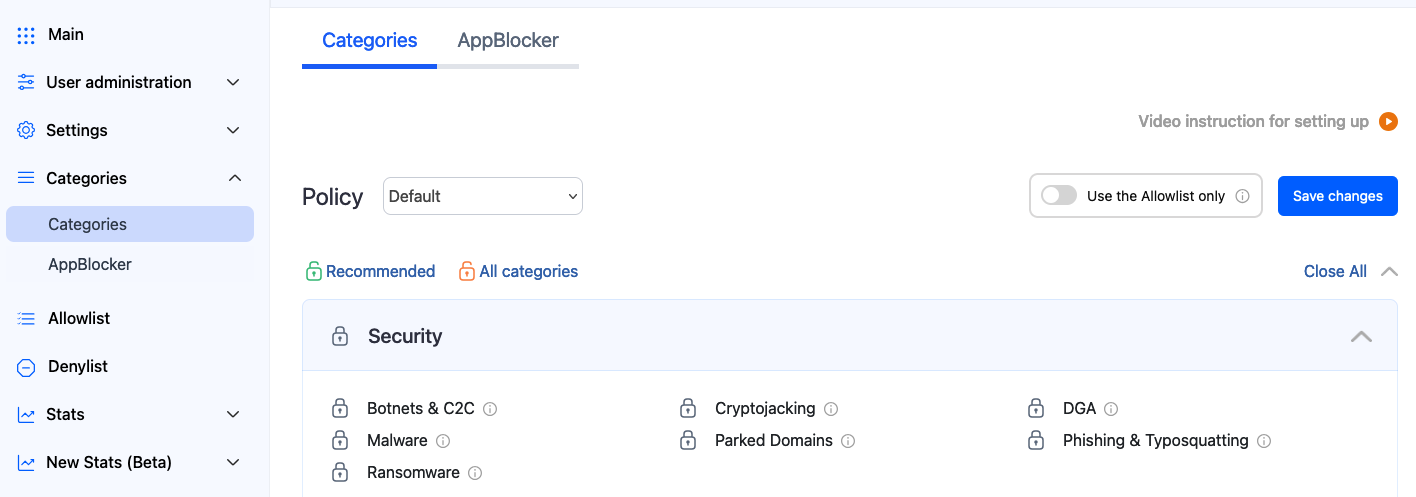
Don't forget to click the "Save changes" button.
The setup is finished!
A blocked website will display an error message that the Access is closed.

If the filtering doesn't work according to your policy settings, clear the cache of your browser using this guide.
Please note, that settings take 5-7 minutes to apply
Stats and filtering status update hourly
Uninstallation
To uninstall the Agent please quit it first.
Then click Start, type Control Panel, and open it.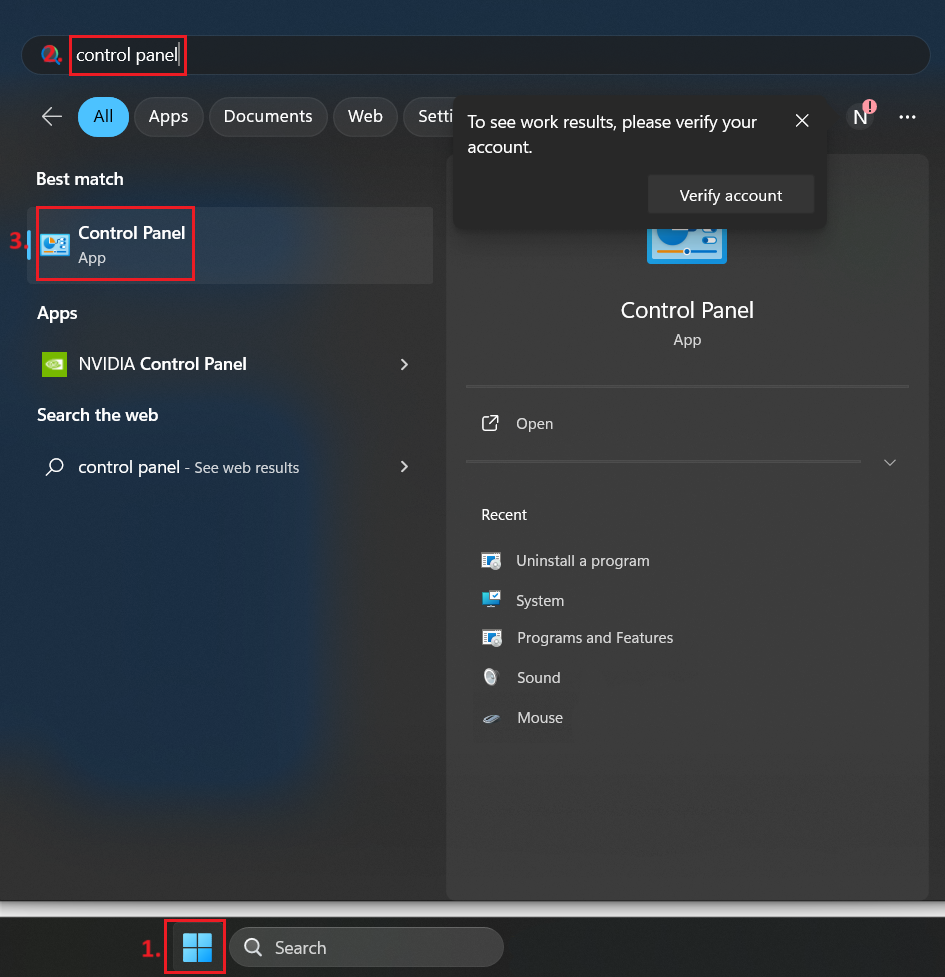
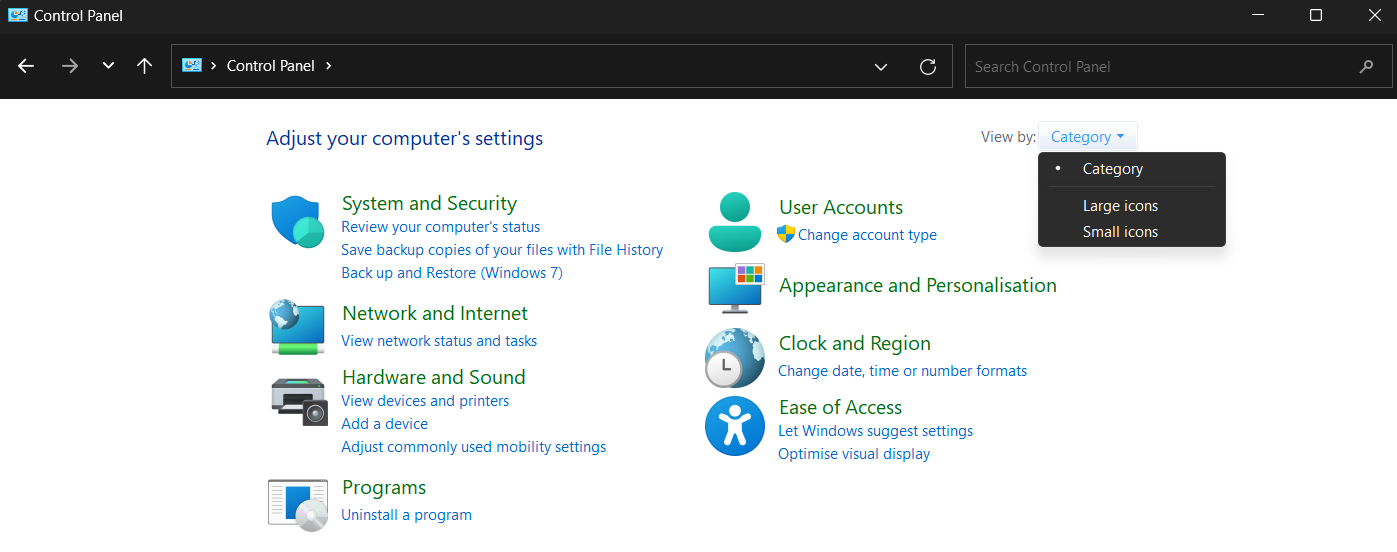
Select Category in View by dropdown menu.
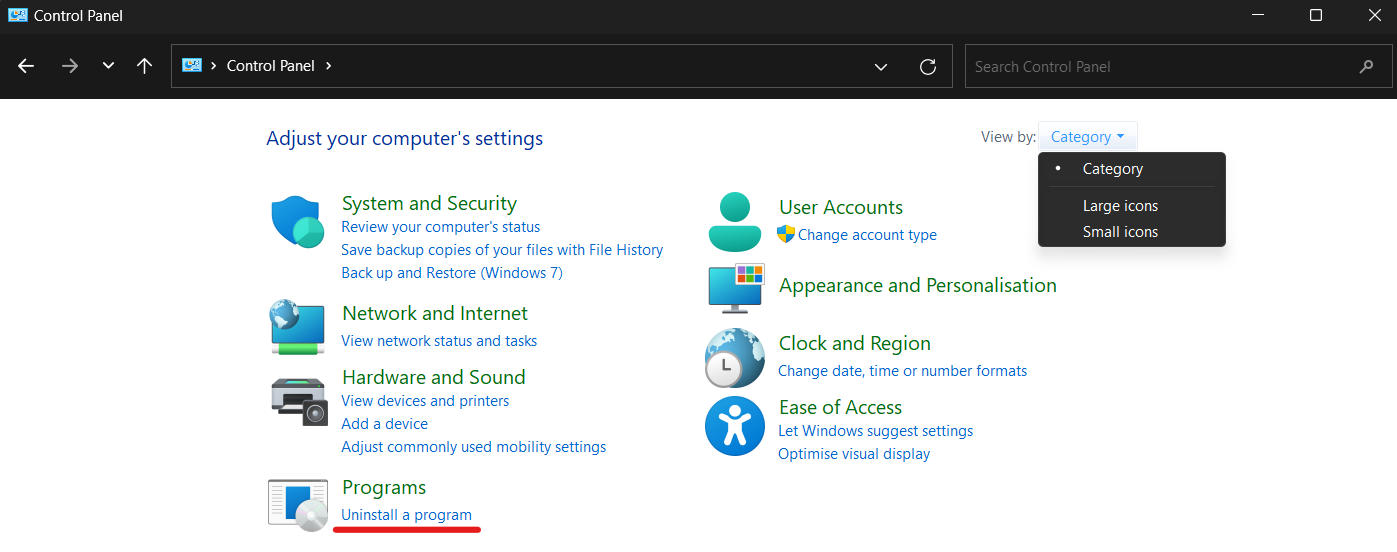
All settings in the Control Panel will be divided into categories. Click Uninstall a program.
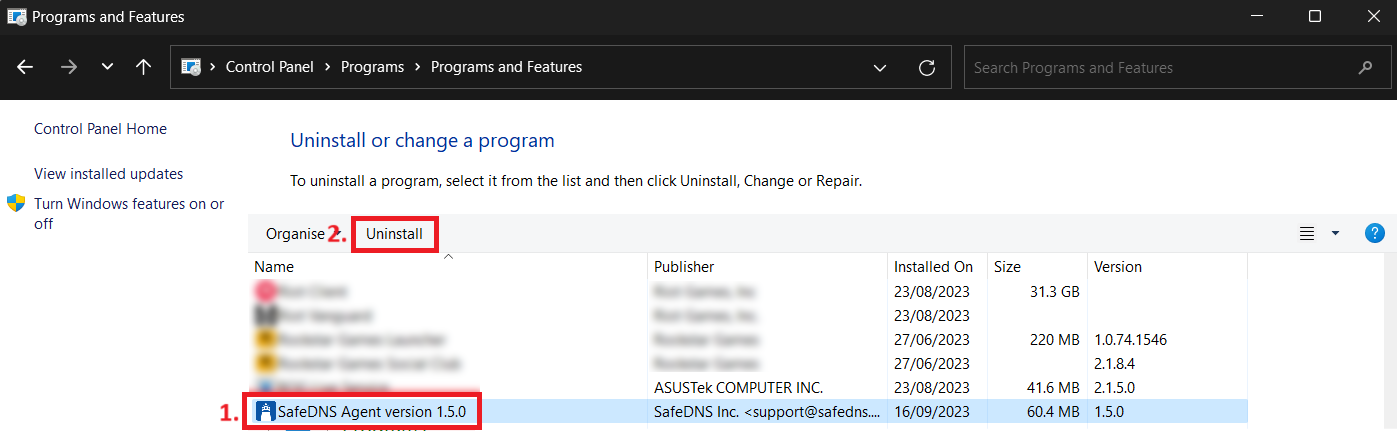
Find SafeDNS Agent in the list of all programs, click it once, and click Uninstall
Click Yes in appeared window of deletion confirmation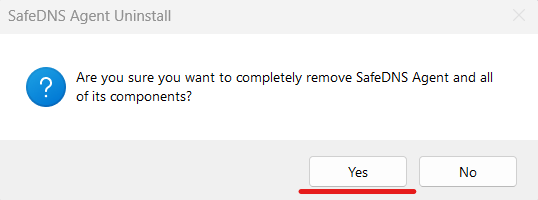
If the User Account Control window appears and asks "Do you want to allow this app to make changes to your device?', then click Yes 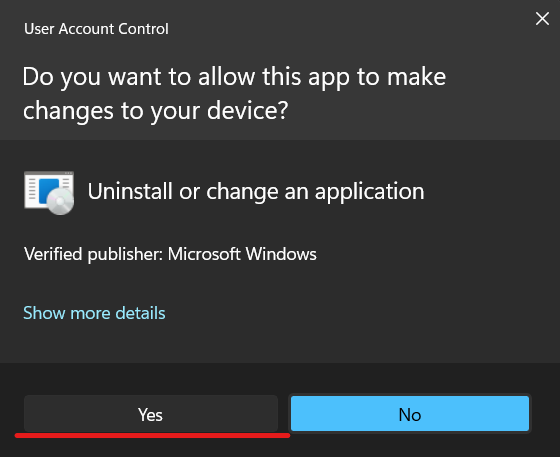
Click OK and the SafeDNS agent will be successfully uninstalled. 